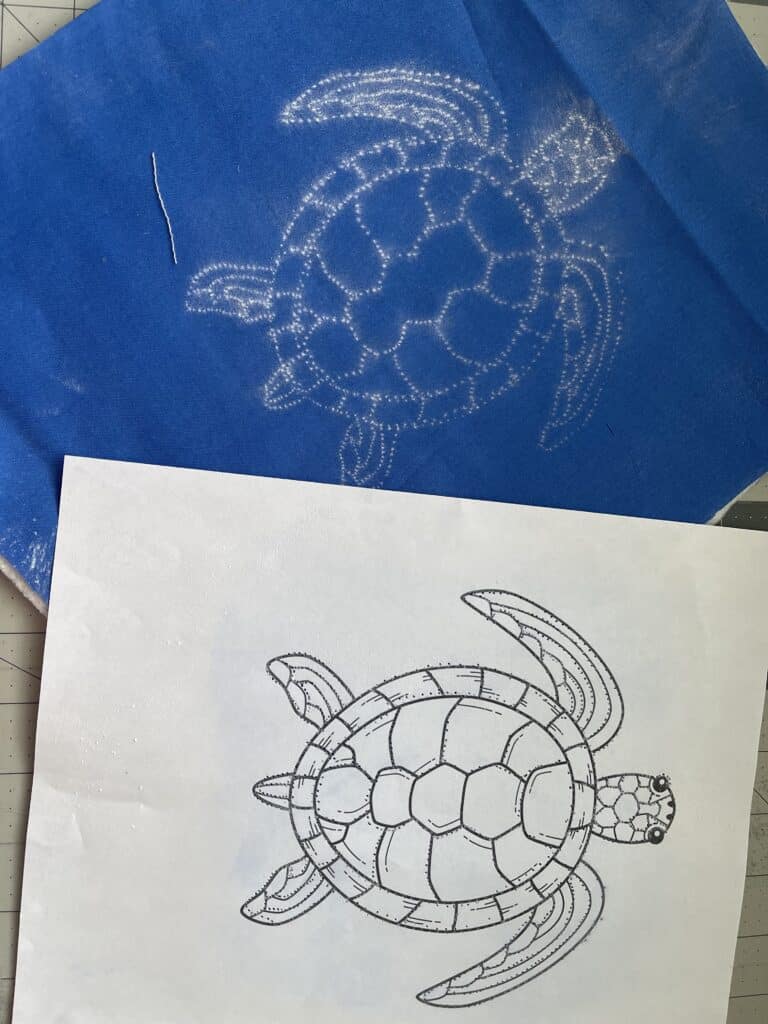
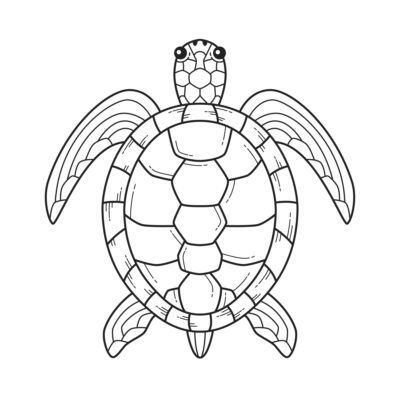
Have you ever been stuck on a quilting project because you can’t find just the right stencil? Did you know you can make your own quilting stencils for free? All you need is a sewing machine and a piece of paper. That’s it. Now, if you’re a good artist, you can draw your own design. But if you don’t trust your artistic skill, use Google. Do a google search for “free” images. Find something you like, save it to your computer and print it. I used this turtle drawing.
Once you have your image, it’s time to poke holes into it.Take your printed image to your sewing machine. Remove the thread. Exchange your needle for the thickest width needle you have. A needle size 14 or 16 on a domestic machine will do. If you’re using your domestic machine, lower the feed dogs. And, if you’re wondering, use any sewing machine foot that you can see the lines through.
I’m going to use my Baby Lock Regent. This sit down longarm machine has a bigger needle, a size 18. So the holes will be bigger.
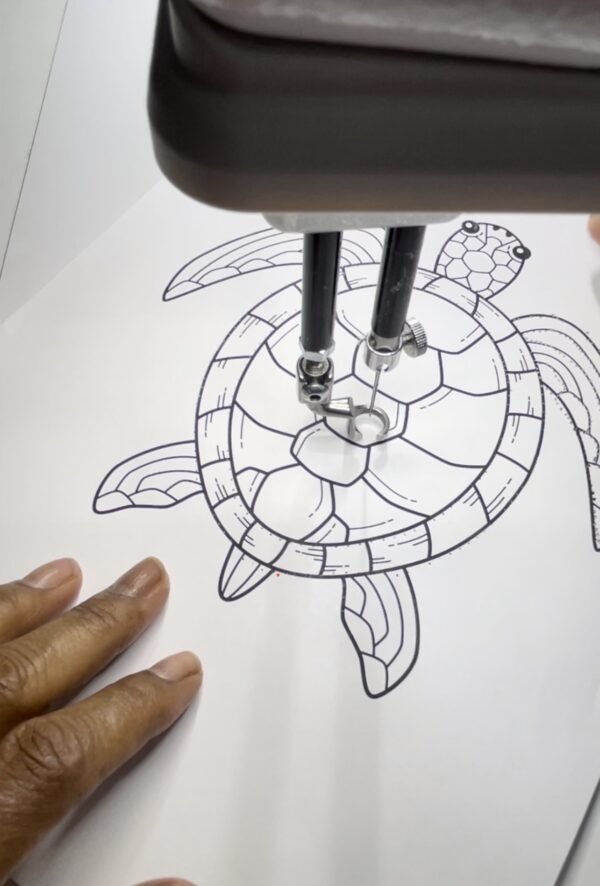
Find a starting point and begin stitching — moving your paper underneath the needle – following the printed lines. This does not have to be perfect. It’s okay if you do not stitch directly on the printed lines. In fact, there may be some areas that you do not want to stitch over at all. That’s okay. You decide where to poke holes.
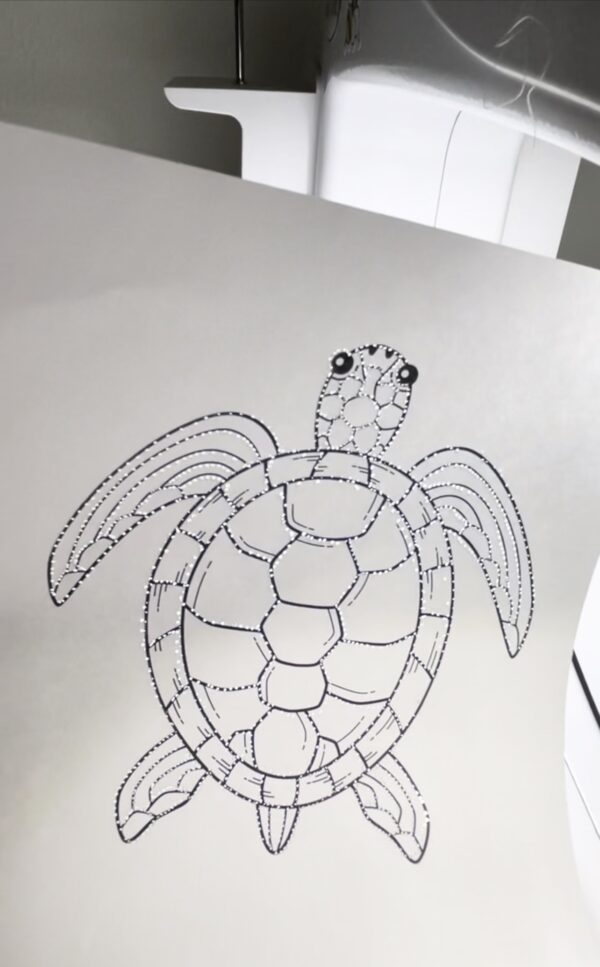
Once you’re done – you can hold up your paper to the light and see all the holes. That’s what we want.
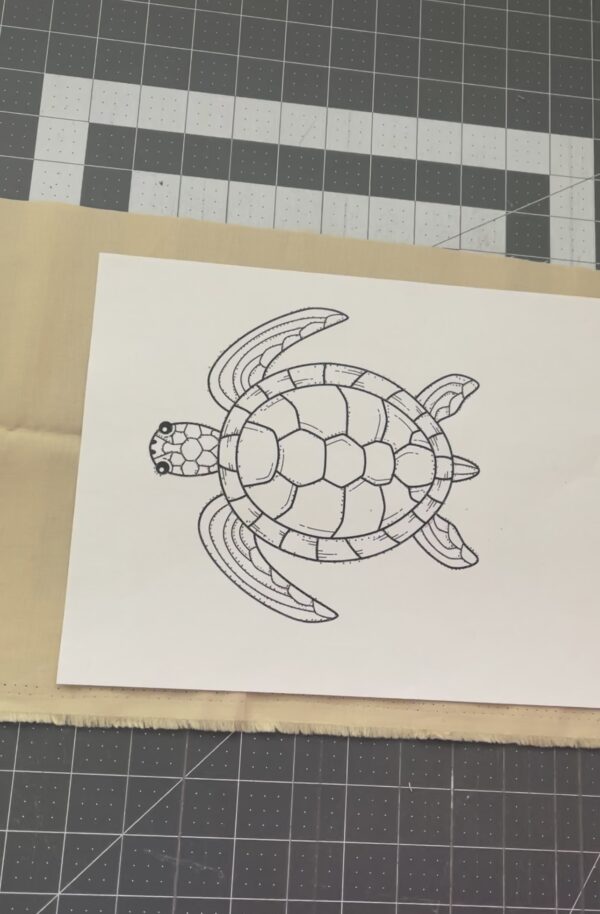
Now, simply place your paper stencil on fabric. I placed mine right side up.
Now it’s time to hold your stencil down with one hand and, using a chalk/pounce pad, rub the chalk into the holes. Any quilting pounce pad/chalk will do. Before lifting off the paper, securely hold it down with one hand and lift a corner, to make sure the chalk transferred onto the fabric.
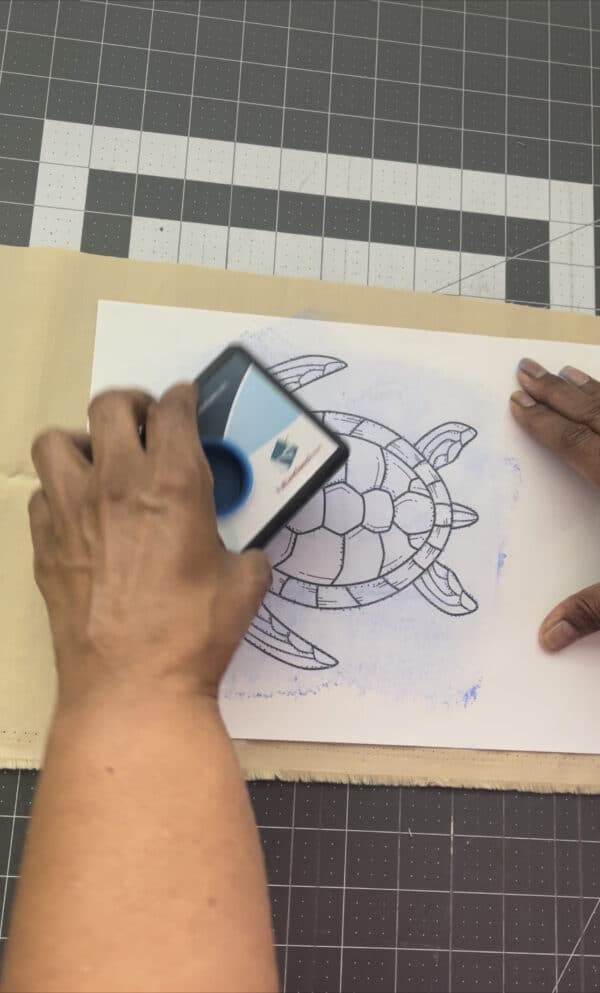
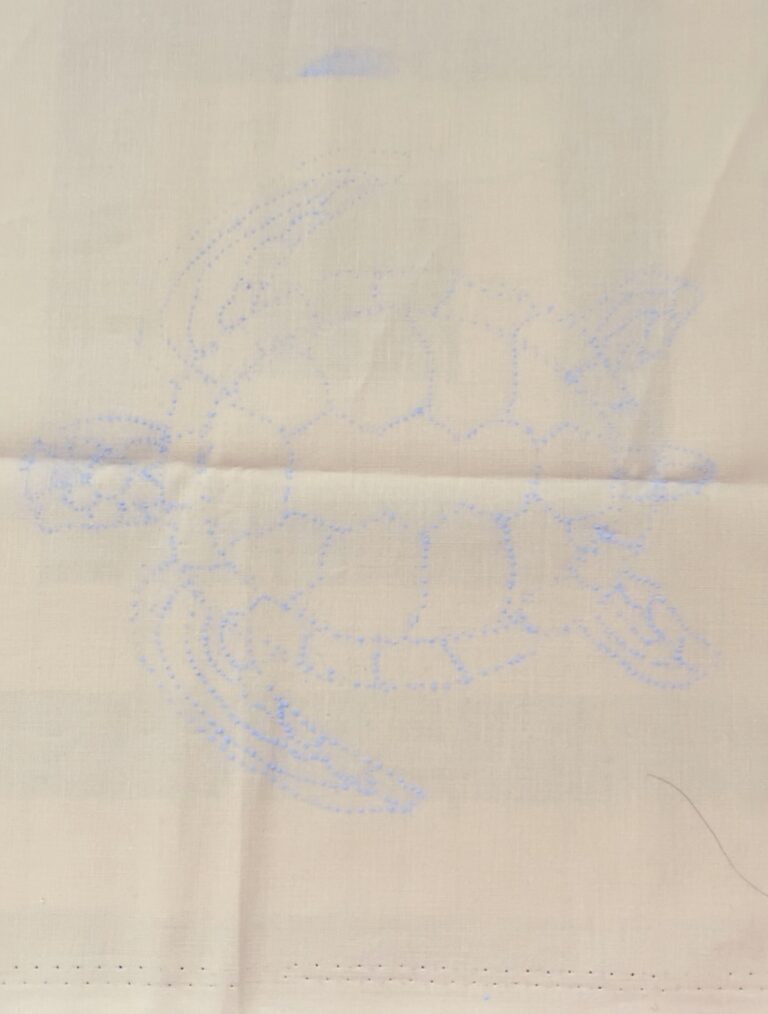
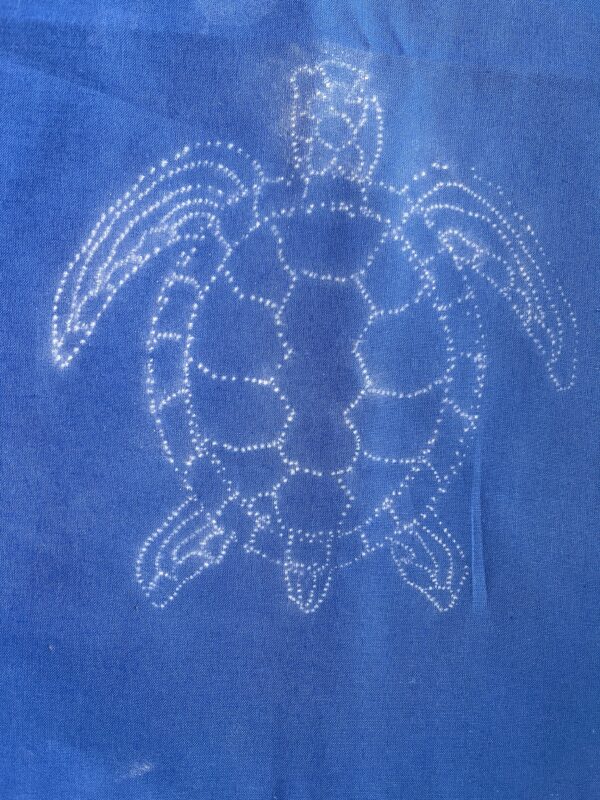
And there you have it! I used my blue chalk, and it didn’t show up as well on this cream color fabric. I tried it again on a dark blue fabric with white chalk and it shows up much better. And that is how you make your own quilting stencil. Give it a try.
