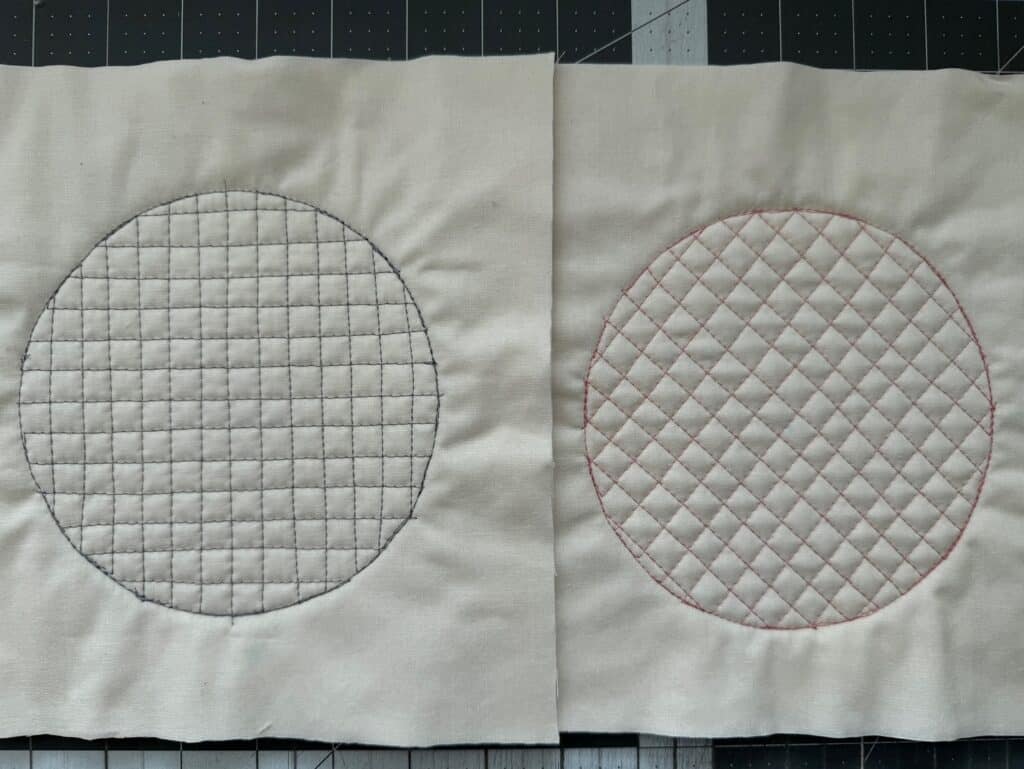
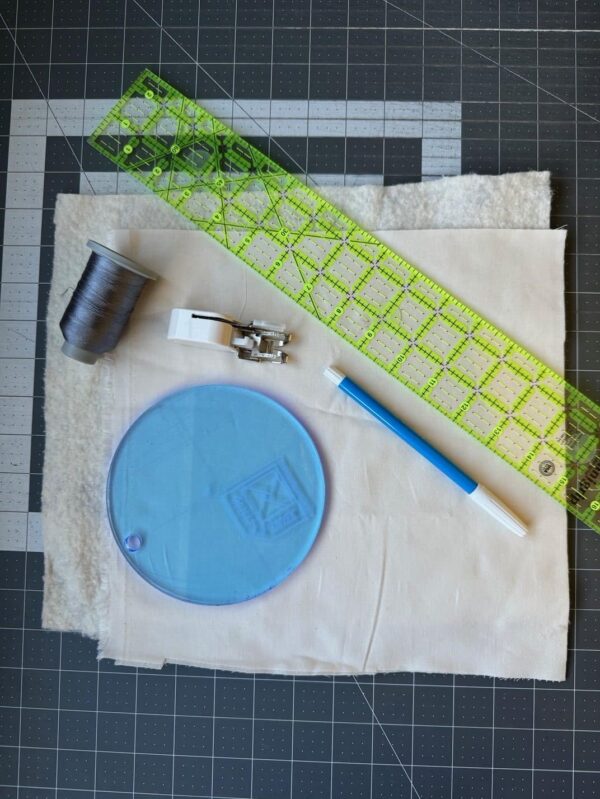
Because sometimes you want to make a grid in a circle… I’m going to show you how to make a circle grid using your sewing machine and walking foot. Grids or crosshatching can be done in any shape you can imagine. It makes a good filler design, in a small or large space. It’s easier than you think. Here’s what you’ll need.
Practice quilt sandwich
Circle ruler or template
Straight ruler
Air or water soluble pen
Thread
Baby Lock walking foot
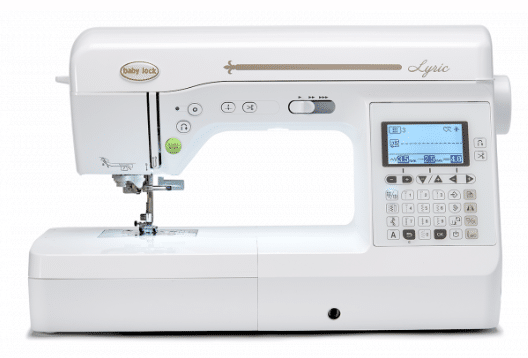
In addition, we need the walking foot and sewing machine. I’ll be using the Baby Lock Lyric.
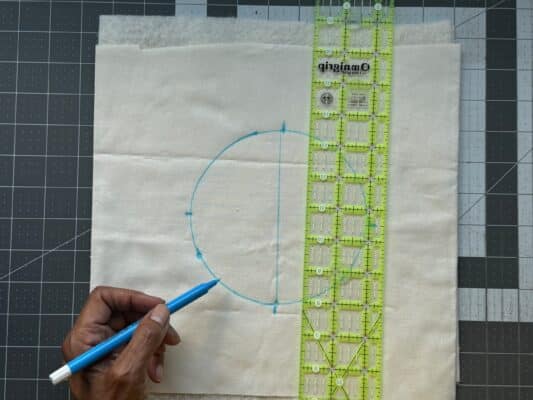
You will need something circular. I am using a circle ruler. You can use anything as a guide to transfer a circle onto your fabric. (i.e., a glass, bowl, can, candle –anything).
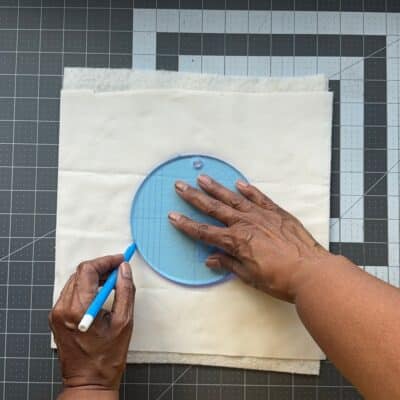

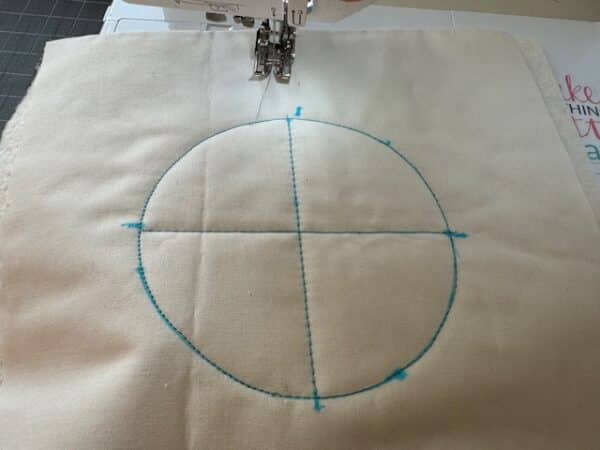
Mark the center top, bottom and sides. If you’re using a circle ruler, it will be easier to find the exact center using the markings on the ruler.
.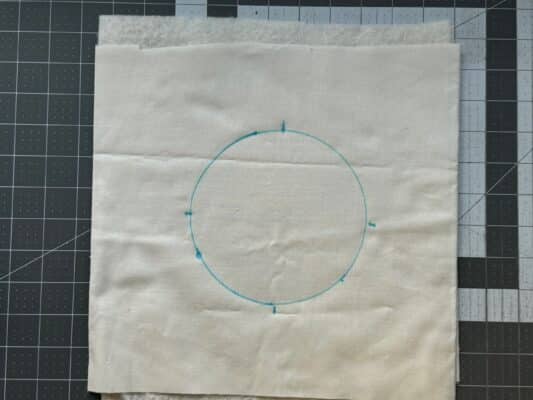
Now draw a line down the center from top to bottom, and another from side to side.

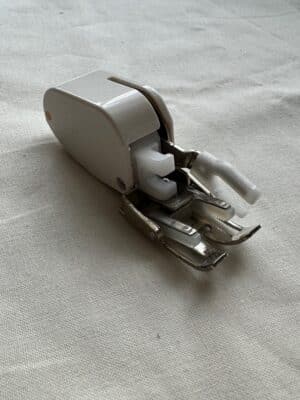
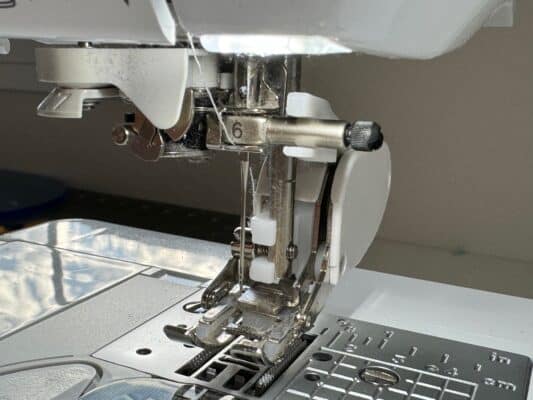
Before we start stitching, we need to remove our current sewing foot and add the walking foot. The walking foot is the funny looking one that has a big boxy piece surrounding the foot.
I’ll be stitching on my Baby Lock Lyric. The walking foot is included with the machine. The walking foot helps move bulky quilts under the needle with ease. The foot moves up and down as you stitch, and in conjunction with the feed dogs, moves your quilt under the needle smoothly, without making bunching, puckers or tucks in the quilt.
On my Baby Lock Lyric, I have to take off the entire foot assembly – not just the foot. Check your sewing machine manual to make sure you are putting on the walking foot correctly. The walking foot has a white “claw” that extends from the foot. This fits onto the needle bar. The bar moves up and down as you stitch. If you don’t attach the foot correctly, your quilt will not move under the needle.


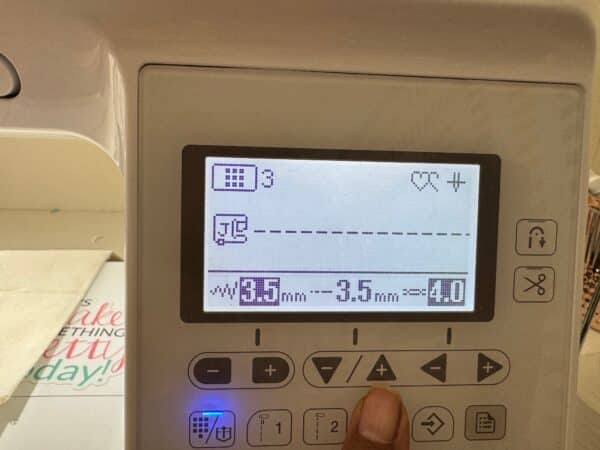
Now we’re ready to start stitching. When I’m working on quilts on my Baby Lock Lyric, I like to lengthen the stitches just a little. I don’t want really tight stitching. I’ll lengthen mine a little to 3 or 3.5mm.
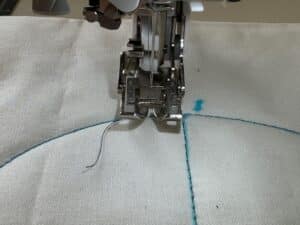
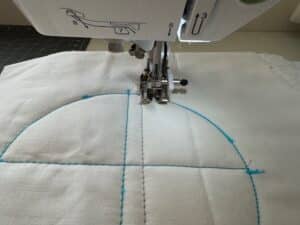
To begin, let’s stitch the outline of our circle. Don’t worry if it’s not perfect — you can stitch over it a couple times if you like.
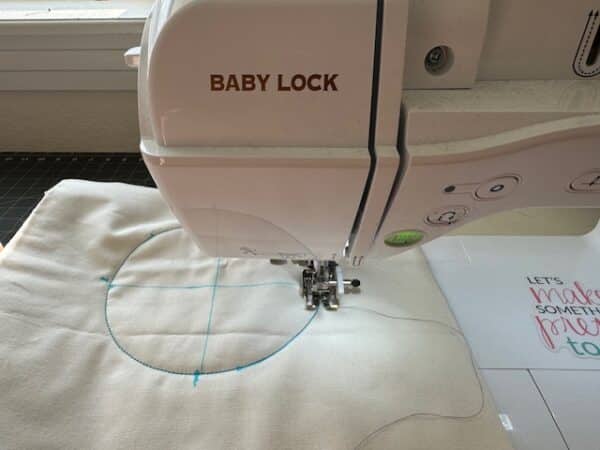
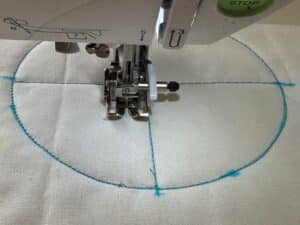
Next, stitch on the drawn straight lines. We will use these lines as a guide for our grid.
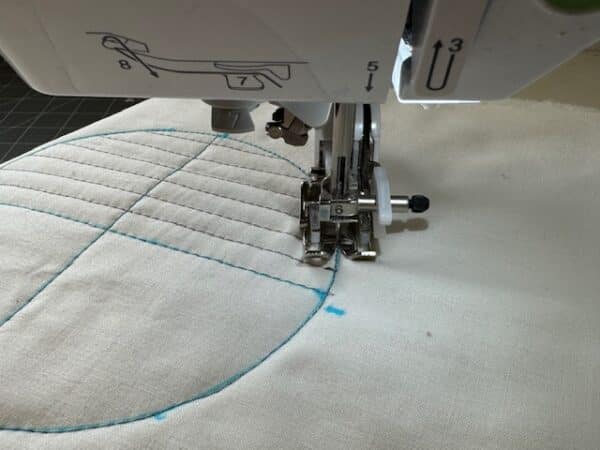
Using your walking foot as a guide, line up the edge of the foot with the straight line. Place your needle down so it touches the top of the circle. Stitch in a straight line to the bottom of the circle.
NOTE: You can make your gridlines any size, but for purposes of this post, I’m using 1/4″.
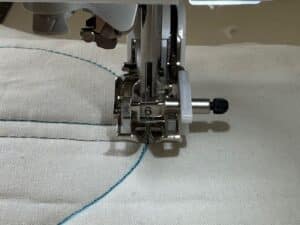
When you reach the bottom of the circle, leave needle in the down position and turn quilt sandwich until your walking foot opening is facing the circle. Stitch on the circle 1/4″ away from previously stitched line. You’ll get about 3-4 stitches. Needle down. Turn quilt so that the edge of the foot is now even with the previously stitched line. Stitch to bottom of circle.
Continue doing this until you have finished stitching grid lines on half of your circle. Once you’re done, stitch over your circle to reach the other half.
Continue making grid lines on the second half of circle.
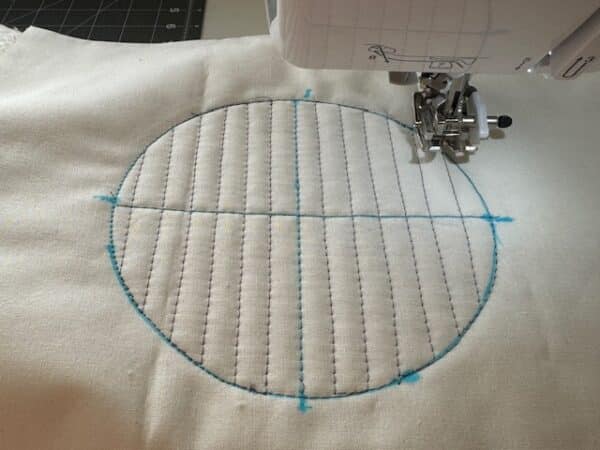
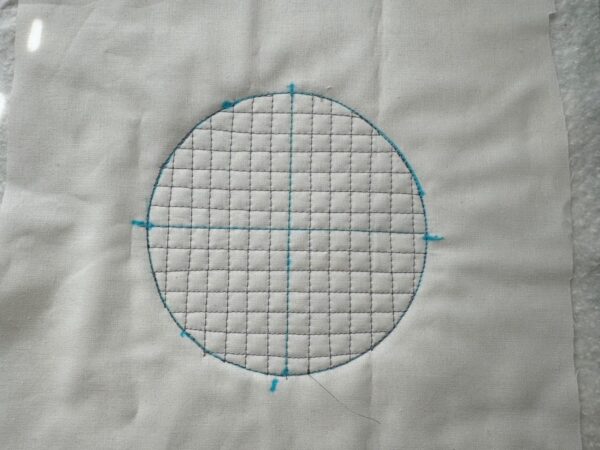
Now you have lines in the entire circle and it’s time to start stitching lines going crossways. Travel over the circle until you reach the horizontal straight line. Travel 1/4″ across the horizontal line. Needle down and turn your quilt a quarter turn. Now the horizontal line is facing you vertically. Repeat the process by stitching a straight line. Remember to use walking foot as a guide to keep your stitching line straight.
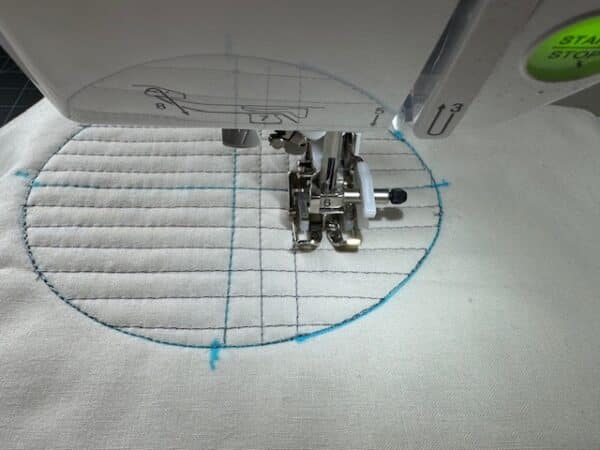
Repeat until you’ve completed one half of the circle. Stitch around the circle to the other side of the drawn line, and finish making your grid lines.
To see all Baby Lock machines and accessory feet, click HERE. Happy Quilting!