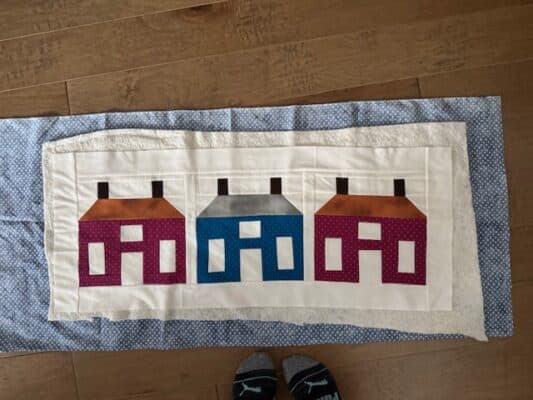
Have you made a house quilt block yet? I’ve been seeing house blocks of all different shapes and sizes, and I decided it was time for me to make one. This table runner has three house blocks sewn together with a border. I chose to make 2 houses in one color and 1 house in a different color. If you want to make all of yours the same color, or all three different, that will look great also.
This project does not use a lot of fabric. The most you’ll use is the background. It would be easy to simply pick out some pieces from your scrap bin than to buy yardage. Isn’t it just my luck that I cleaned out my fabric stash just a month before deciding to do this project. I’d been toting around a bin of scraps for so long, and hadn’t used any of them, so I decided it was time to donate them and make room in my craft space. GET THE FREE PATTERN HERE.
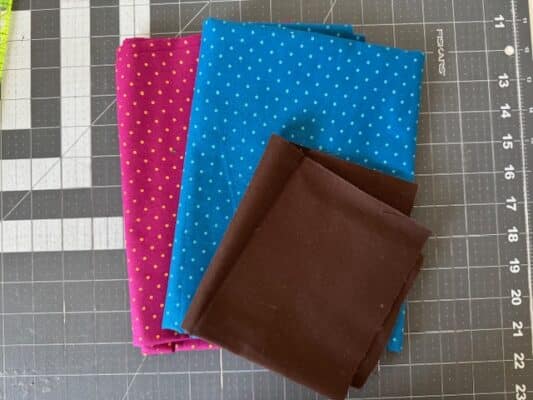
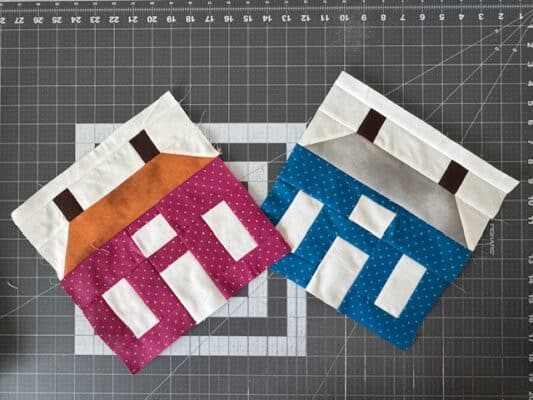
This meant I had to go through my larger pieces of fabric to find some house colors. One thing I like is polka dot fabric. I pulled out this maroon and blue fabric. Then I went about selecting a color for my roof, chimney and background.
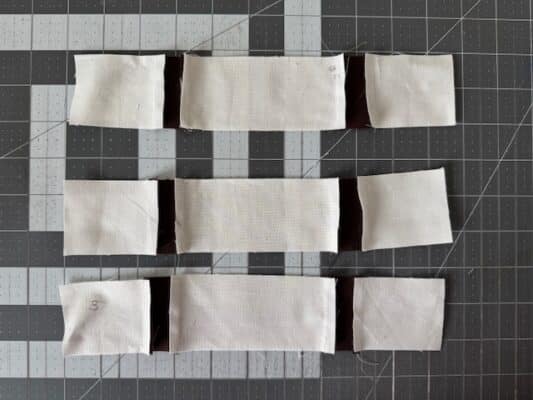
This is my first time designing a fabric with lots of little pieces. Even though there’s a lot pieces, it’s all straight line sewing. Easy peasy. One tip is to label all of your pieces as you cut them. I didn’t have stickies, or other alphabet squares – so I just wrote the corresponding letter on the back side of the cut pieces.
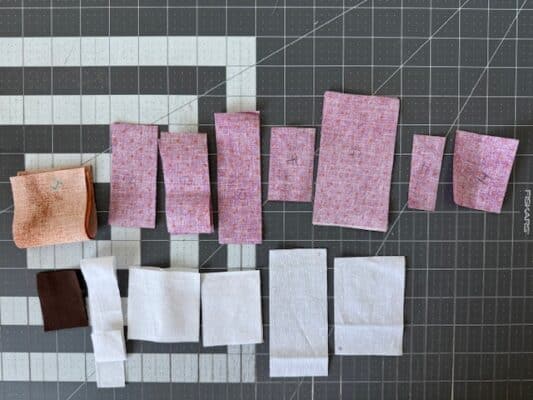
Since there’s a lot of pieces, make sure to double check that you have all your pieces cut and labeled before you begin sewing.
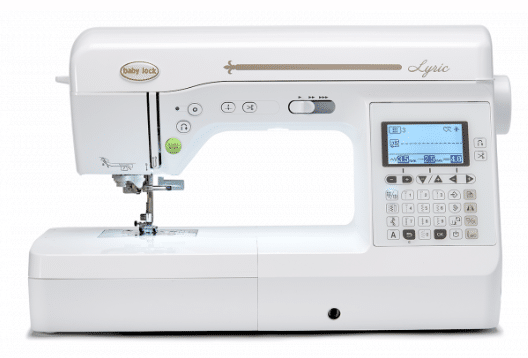
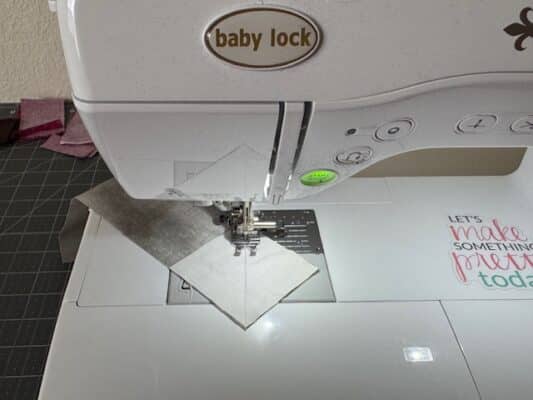
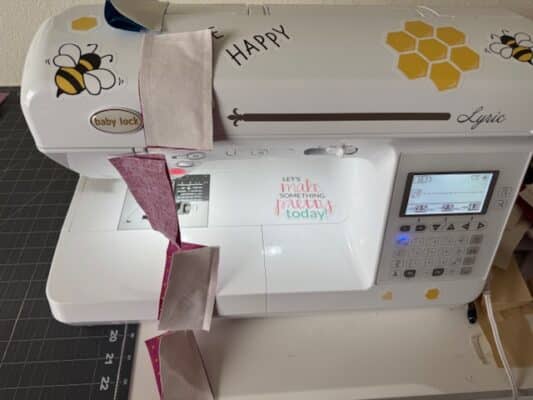
I used the Baby Lock Lyric to make this project.
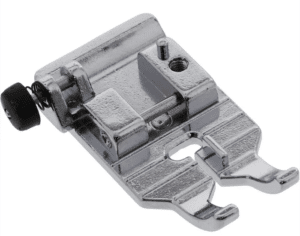
As with all quilting, the seams are 1/4”. I don’t know about you, but my Baby Lock 1/4″ foot rarely comes off of my machine. Ensure accurate stitches with a 1/4” foot. If you don’t have the ¼” foot, use the markings on your bobbin plate. My Baby Lock Lyric has the 1/4″ mark etched in white. As you’re stitching, line up the fabric with the 1/4″ line.
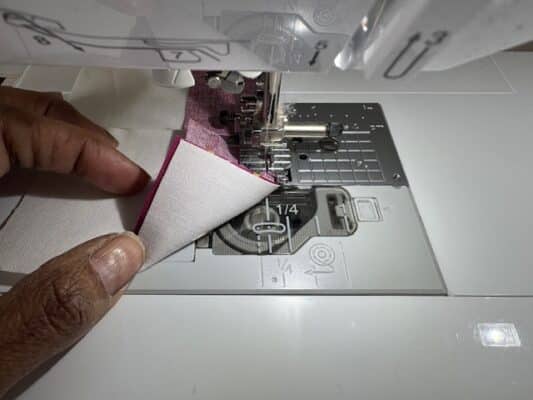
There is a little bit of stitch and flip involved in this table runner for the roof. A few squares are marked with a diagonal line, then stitched on the line. Trim 1/4″ from the stitched line, flip it open and press.
Pressing matters – I always press to the dark side. But if you like to press open – go for it!
Chain piece where you can. Chain piecing simply means sewing blocks together one after the other, without breaking thread. Once you’ve stitched one block, insert the next right under the presser foot…and keep on going. This is a time saver when sewing multiple pieces together.
The pattern consists of 4 rows. That’s easy right? Just stitch your rows together, and make sure to line up your seams. If you are following the pressing directions, you can nest your seams. If you opted to press open – simply match seams, pin and stitch.
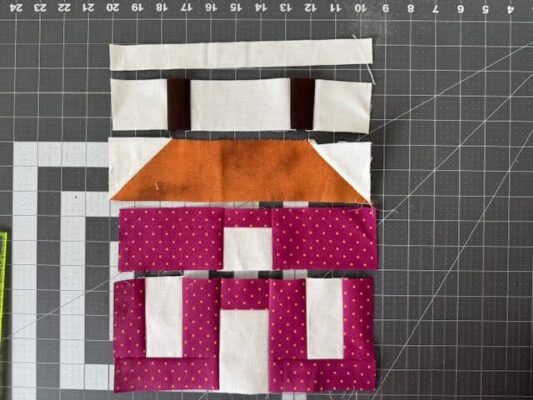
Aren’t these cute! The house block will measure 10 1/2″ unfinished.
Once it’s all stitched together, it’s time to sandwich your layers and quilt. GET THE FREE PATTERN HERE.
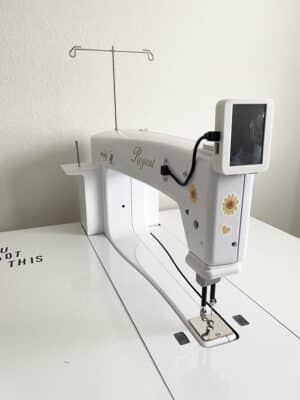
I’m using my Baby Lock regent to quilt this small project. The Regent is a sit-down quilting machine. It can do the same as a long arm machine, but the Regent is stationary and sits in a table.
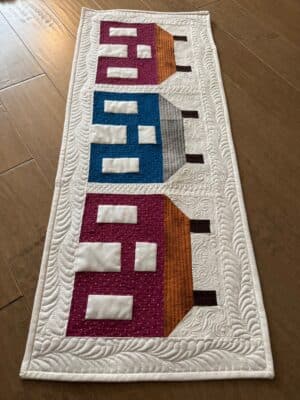
You can use an all over design, maybe a crosshatch over the entire area or some loops or spirals. Of course, I opted to do some custom quilting because I’m extra. LOL. I also decided not to quilt in any of the door/windows. But that doesn’t mean you have to leave yours blank. It would be really fun to quilt some curtains in the windows and maybe a vase with a flower in it.
Download the free table runner pattern here.
For more information on the Baby Lock machines that I used to make this table runner, click HERE.
This post contains affiliate links. By clicking on links, I will receive a small commission from any sales made.
Happy Quilting!
Mary Davis