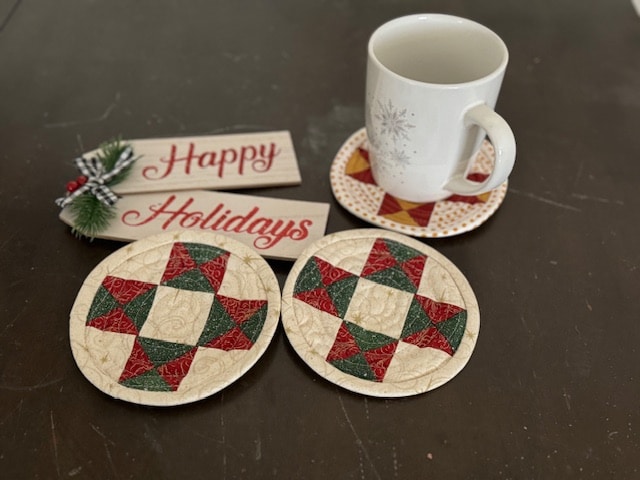
It’s that time of year where we start to think of smaller projects to keep or to give away as gifts. Coasters are the perfect small project. You can use your stash of holiday fabrics — it doesn’t take a lot. FREE PATTERN.
I decided I was going to buy new Christmas prints because I needed so little. So… it was justified. I bought all shimmery fabric. Unfortunately, the photo doesn’t do it justice.
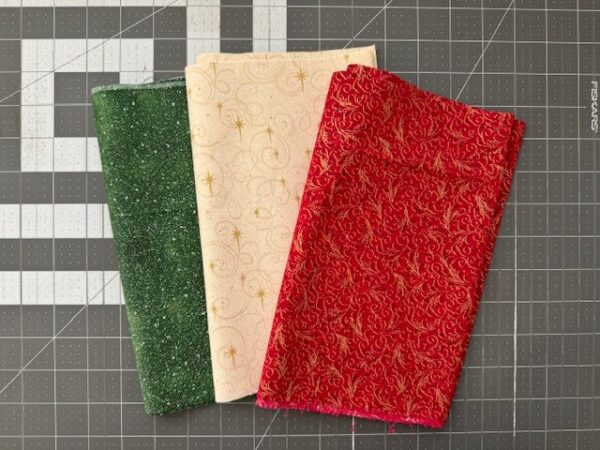
I made this pattern for Baby Lock. You can find the full pattern on the Baby Lock website, HERE.
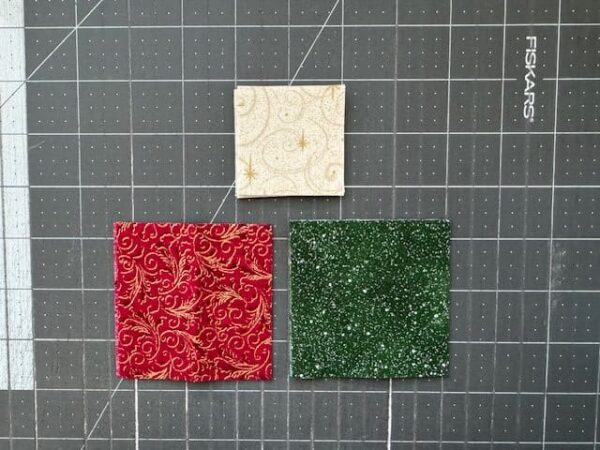
We will start with 3 squares.
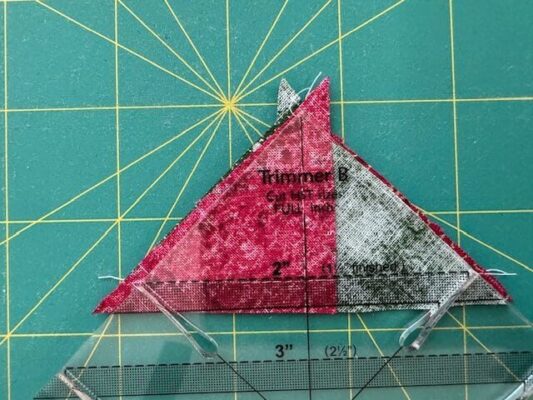
In the pattern, you’ll be shown how to make the hourglass blocks needed to complete this project. There will be some trimming involved. I use the Clearly Slotted Trimmer. This is a game changer because you can trim your half square triangles before you press open. I love this ruler.

Line up the stitching line on your HST with the dashed line on the ruler – for your desired size. And cut.
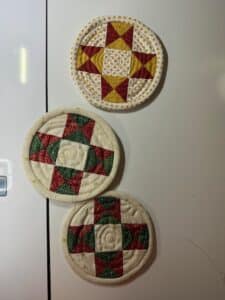
The layout for your coaster is pretty standard. You are making an Ohio Star.
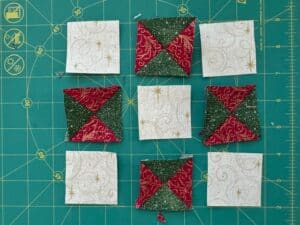
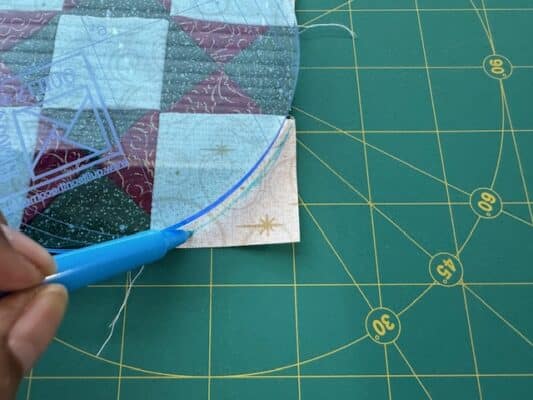
You can leave your coaster as a square if you like. I like the visual interest of turning it into a circle. You can do this next step and mark your corners now, or after you’ve quilted the block. To mark the circular corners, you can use a circle ruler like I did, or you can use any item that is circular — a coffee mug, glass, bowl…anything you like.
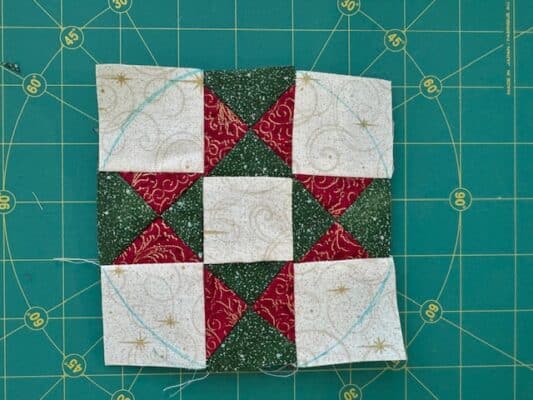
Now for the fun part, the quilting. Layer your block with batting and backing. Quilt as desired.
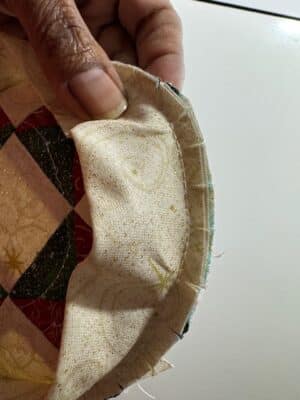
I stitched my binding to the front of my coaster. Remember to us bias cut binding since we’re adding to a curve. Clip the curve edges to the stitching line all the way around the coaster. I found this helped my coaster to lay flat. Make sure you do this before you fold the binding to the back and stitch down.
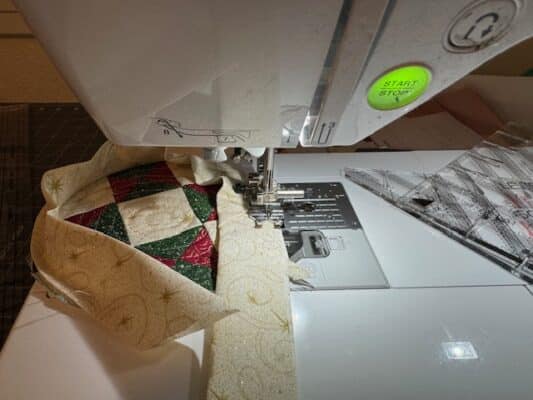
Then you’re all done. Remember to get your free pattern HERE.
Happy holidays!
Mary
