Pillows are such a great way to add a touch of color to your home décor. If you are looking to spruce up your living room sofa, add some quilted pillows. Choose any color of prints or solids. This quilted pillow tutorial is very quick to make. There are no zippers, and no fancy piecing. We are using strips. You probably have fabric in your stash you can use right now. This tutorial shows you how to make a pocket pillow. You do not need to do any fancy free motion quilting on this pillow — unless you want to. Let’s get started.
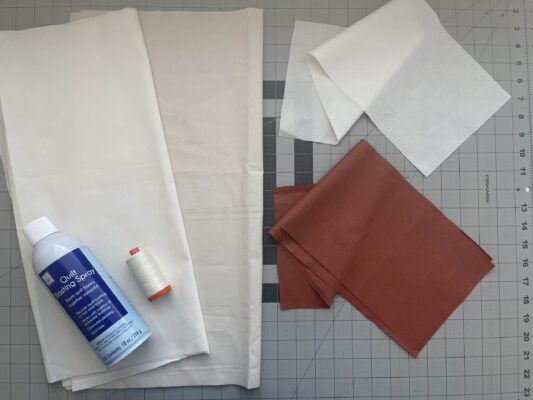
What you’ll need:
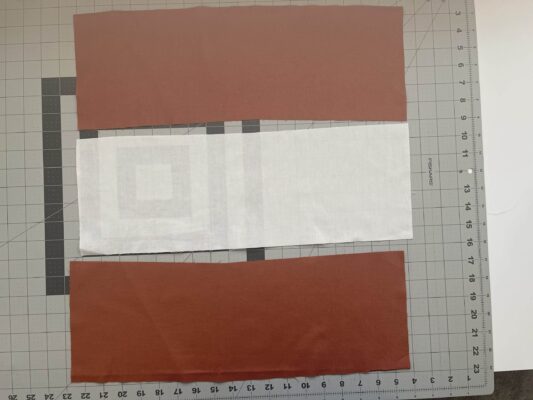
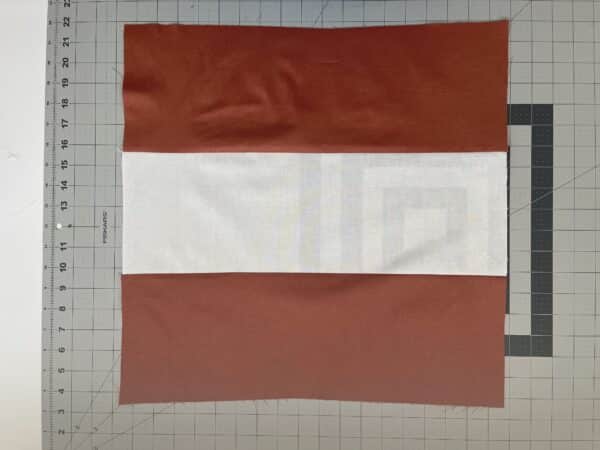
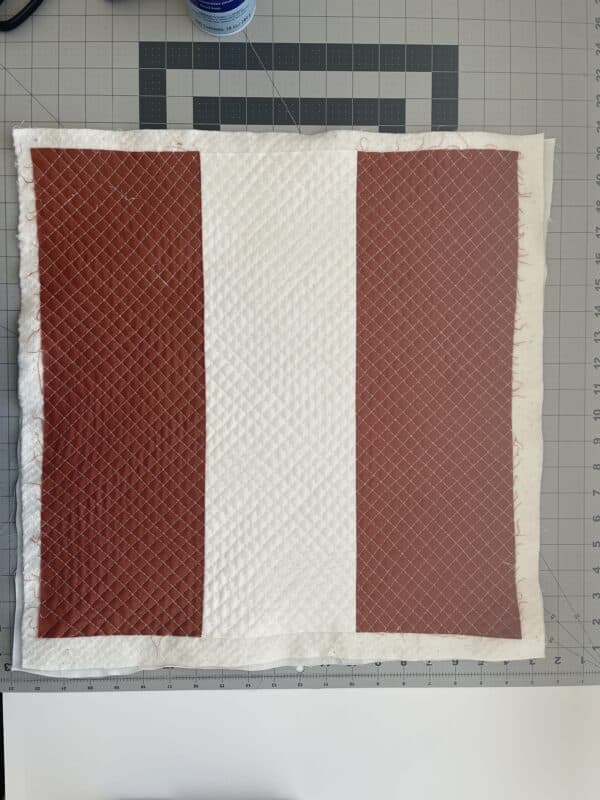
Fabric A – Cut (2) 6 ½” x 18 ½” strips
Fabric B – Cut (1) 6 ½” x 18 ½” strips
Cut (2) 18 ½” x 24″ pieces of fabric for pillow back
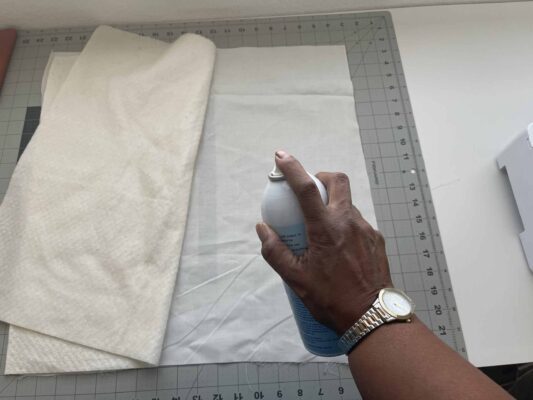
Cut (1) 20″ x 20″ piece of fabric to be used as backing for quilt sandwich (will not be visible on finished pillow)
Batting: Cut (1) 20″ x 20″ square
18″ x 18″ pillow form
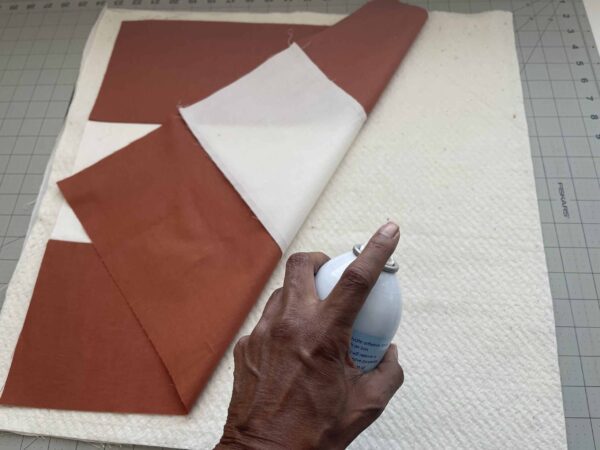
Basting spray (optional)

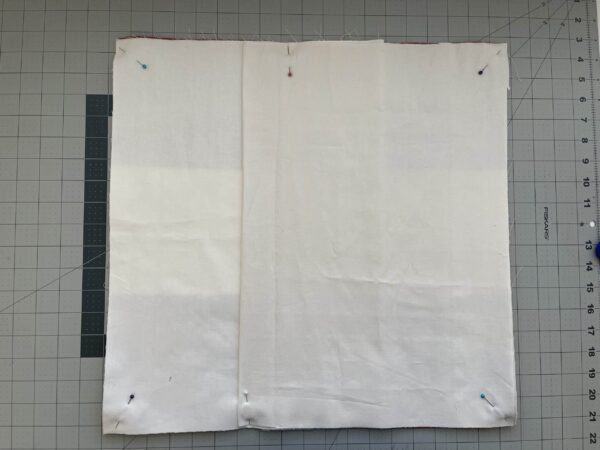
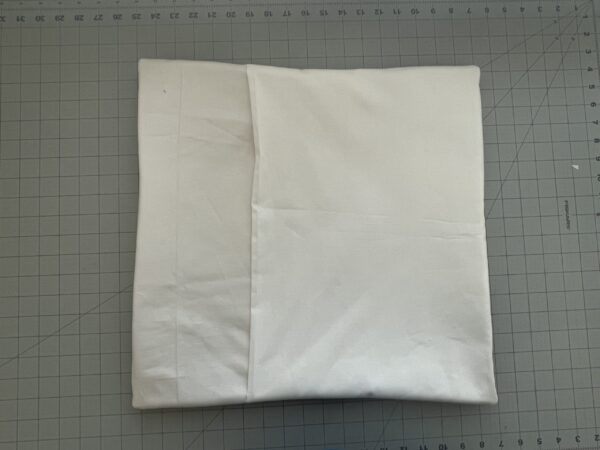
8. Now let’s work on the pocket opening for the back of the pillow. Lay your quilted block face up on your workspace. Take one 18 ½ x 24″ fabric piece and fold it in half, right side facing out. Place onto the left side of your quilt, matching raw of edges of the quilt. The folded side will be facing the middle of the quilt.
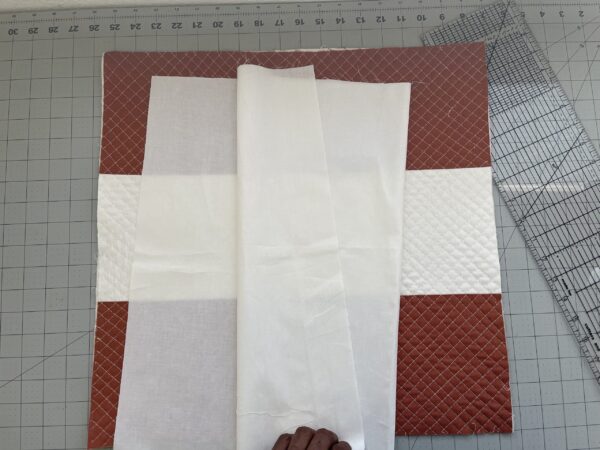
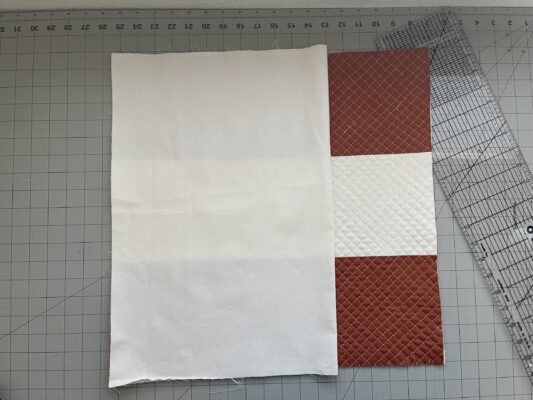
9. Repeat by placing the second 18 ½ x 24″ piece on the right side. Your pieces will overlap.
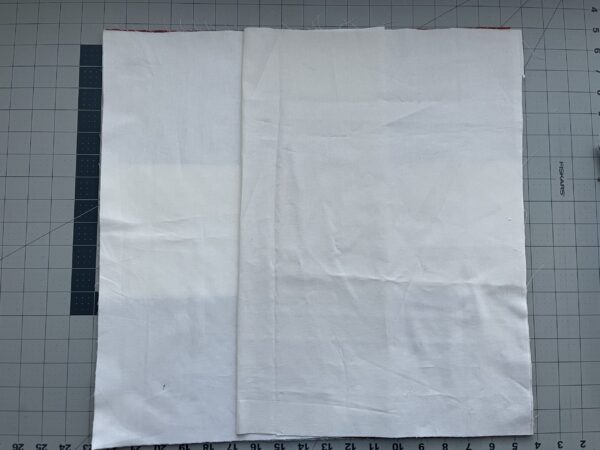
10. Pin in place. Stitch 1/4″ around the entire perimeter of the square. (Sorry I forgot to take a photo of the stitching around the pillow.)
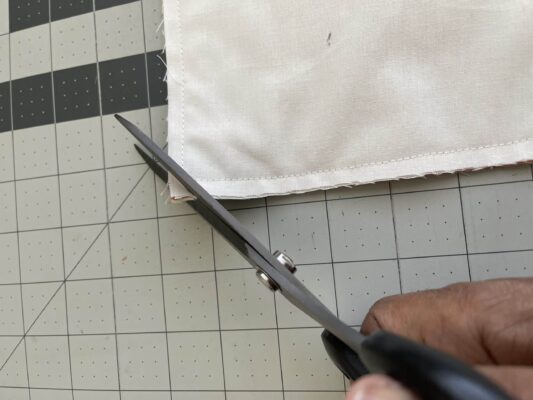
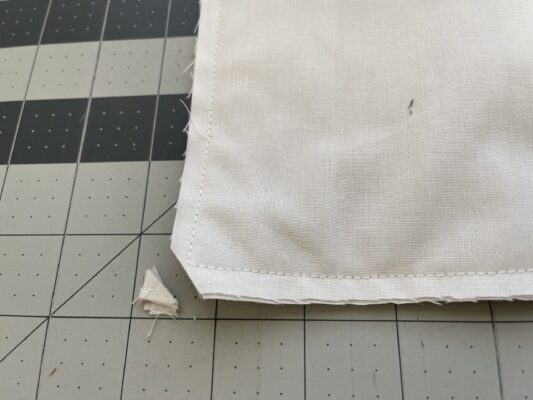
11. Clip the corners.
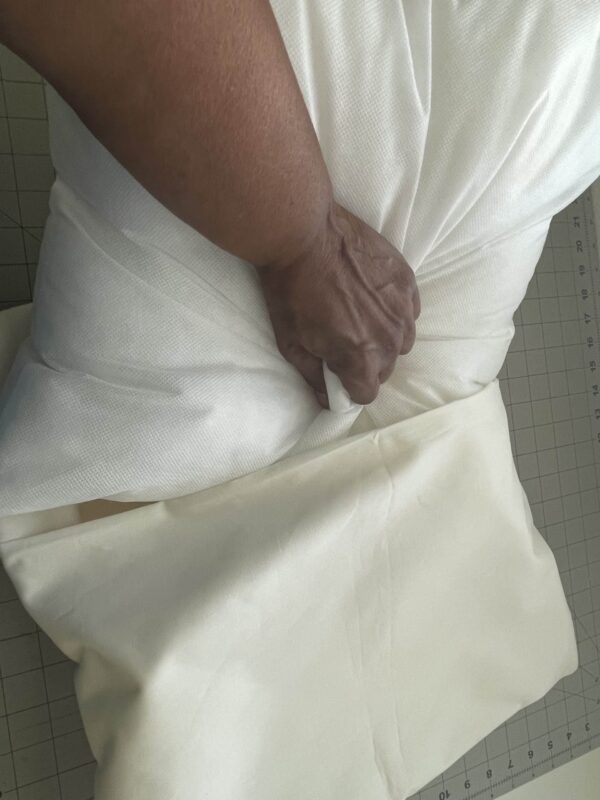
12. Stick your hand inside the opening, and pull your pillow right side out.
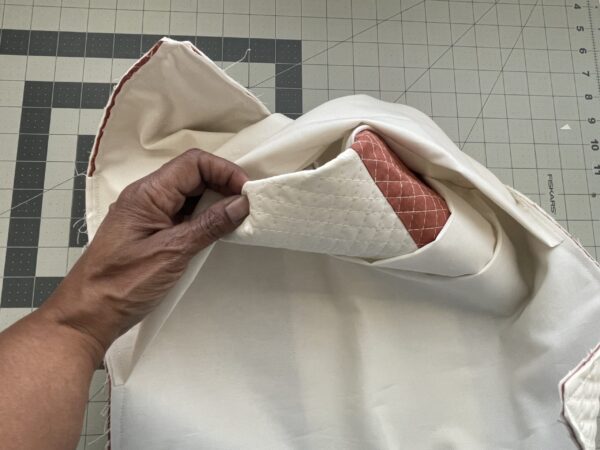
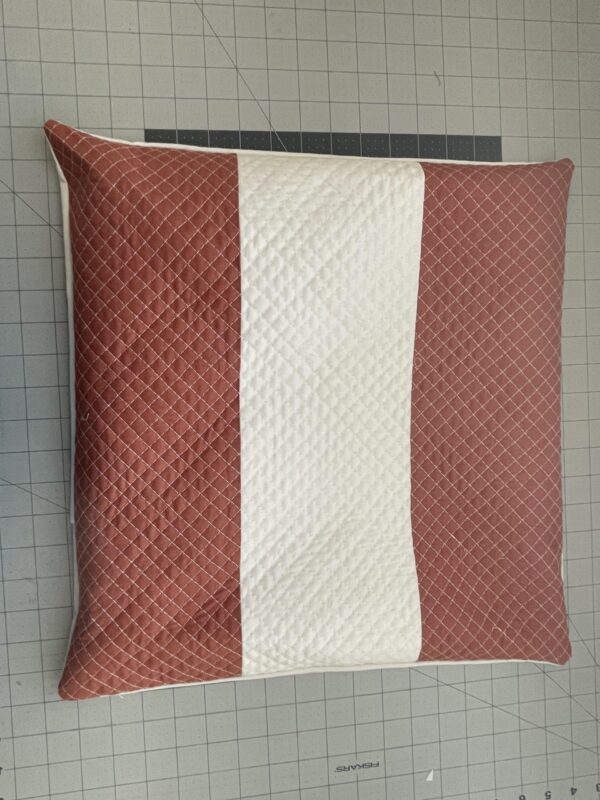
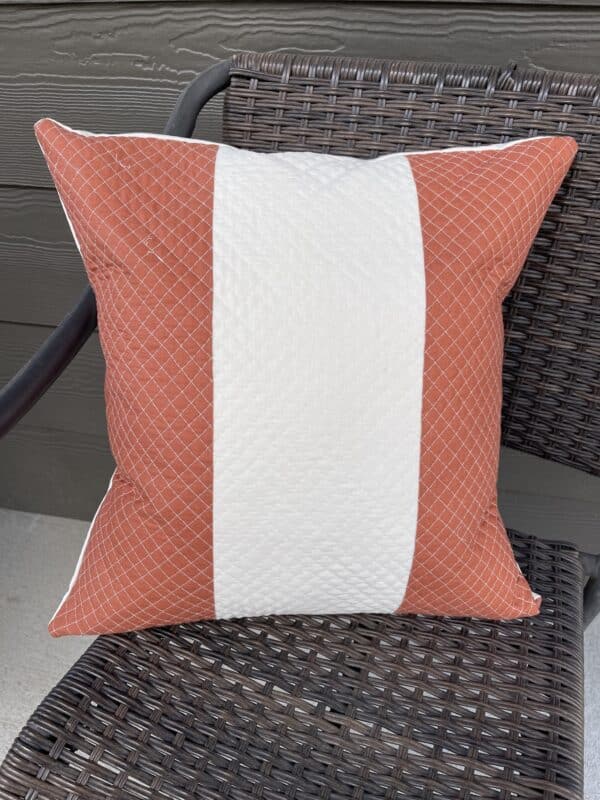
13. Here is a picture of the finished front and back after you pull it right side out.
Now it’s time to stuff your 18″ x 18″ pillow form inside the opening and enjoy your new pillow!
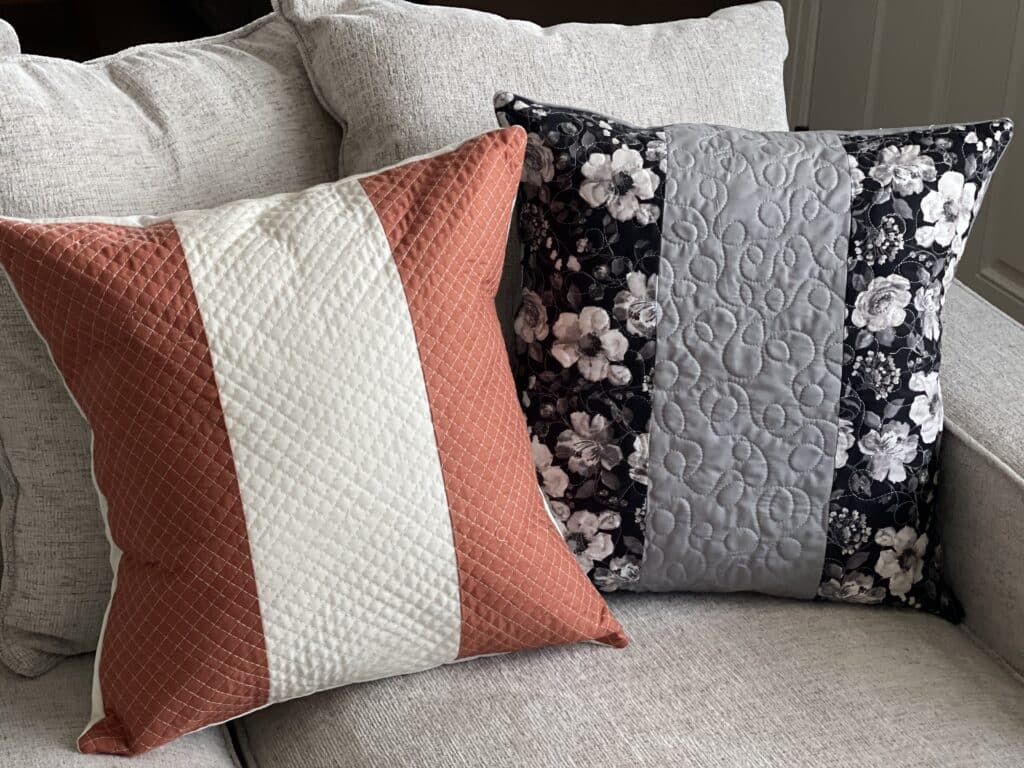
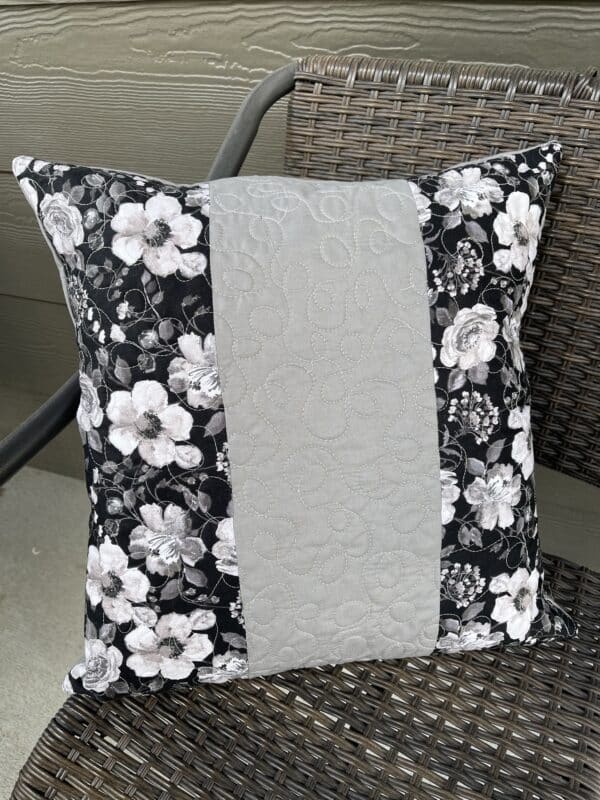
There you go! You did it! Remember, you can use any fabrics for your pillow in any combination of colors. Here’s an example of one I made using prints.
Happy quilting!
Mary Davis