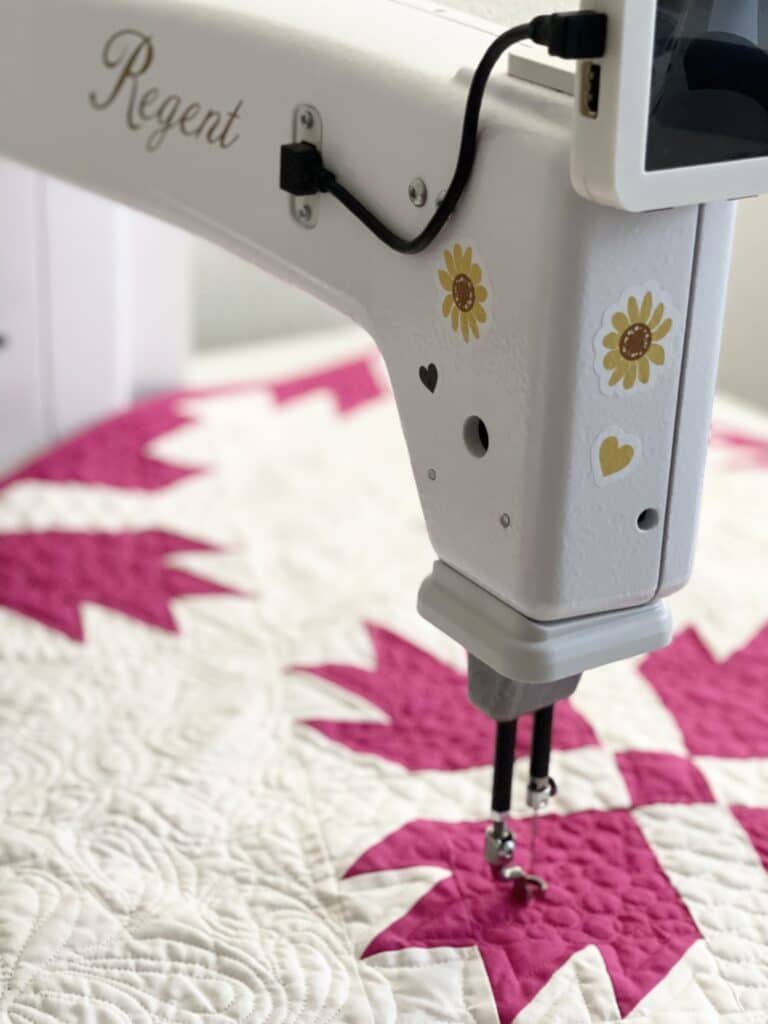
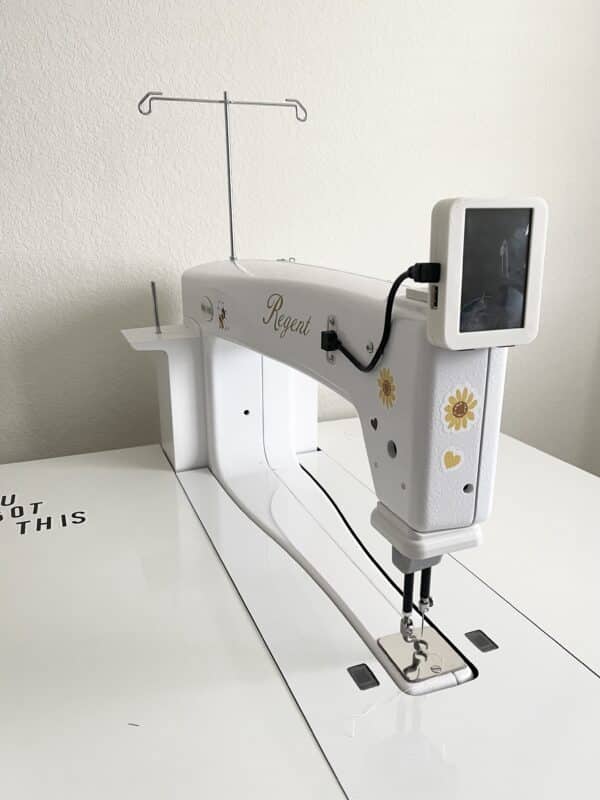
In this article, I’m going to show you how simple it is to get started free motion quilting on the Baby Lock Regent.The Regent is Baby Lock’s sit-down quilting machine. Some people refer to this as a mid-arm as well. There are larger quilting machines that come in a frame up to 12 feet, that take up a lot of room in your home. However, the Baby Lock Regent is perfect for a smaller space and doesn’t take up much room The Regent is a straight stitch machine — it does not do zig zag or any other fancy stitching. It has a large 18′ throat space which allows you to fit a king size quilt in that opening.
So what do you need to start quilting on the Regent? Let’s go over a few things.
Quilting feet: The Regent comes with two feet – an open toe foot, and a closed toe/ruler foot. The open toe foot is a circular foot with a portion cut out or open. This allows you to see your stitching as you are quilting. If you are doing a small filler design, it is easier to see what you are doing.

The other foot it comes with is a full circle – the closed toe foot. You can use this foot as you would the open toe foot. It’s a matter of preference. 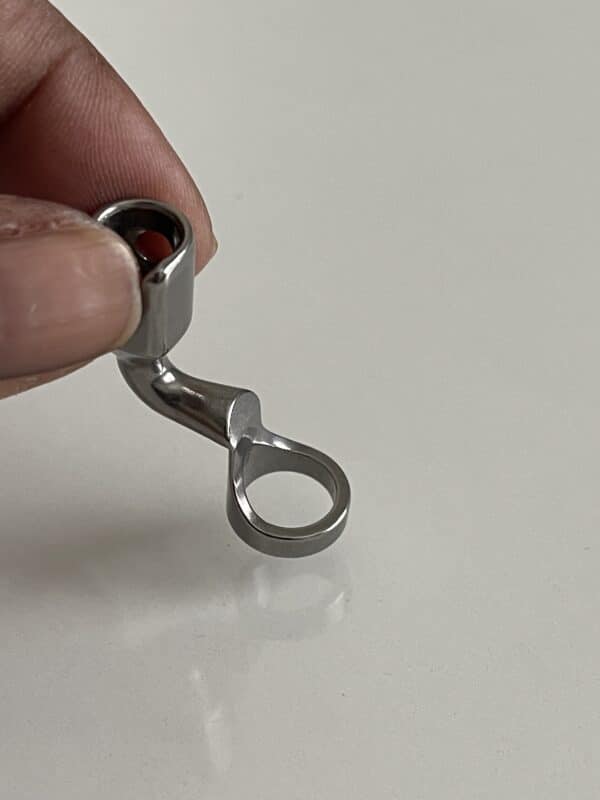
Quilting Gloves: These are a game changer in the world of free motion quilting. Unless you have tentacles on your fingertips to help grip the quilt, you’ll want a pair of gloves. Remember, with free motion quilting, you are the one moving and manipulating the quilt under the needle. To achieve those uniform, quality designs, you need to have control and be able to grip and move the quilt around freely. As an experiment, try moving a scrap quilt sandwich under the needle with and without gloves. You will definitely notice a difference.
There are many brands of quilting gloves out there. My personal favorite, Machingers. I’ve tried a few others, but I like the way these fit. Some people wear gardening gloves, but those are thick and can cause your hands to get hot and sweaty. Try several options, to find what you like the best.

Silicone mat: These are peel and stick mats that you place directly on your sewing machine surface under the needle. They provide a smooth surface so you can easily slide your quilt around. One such brand is the Supreme Slider. The Regent was designed with a very smooth surface, and this mat is not necessary.
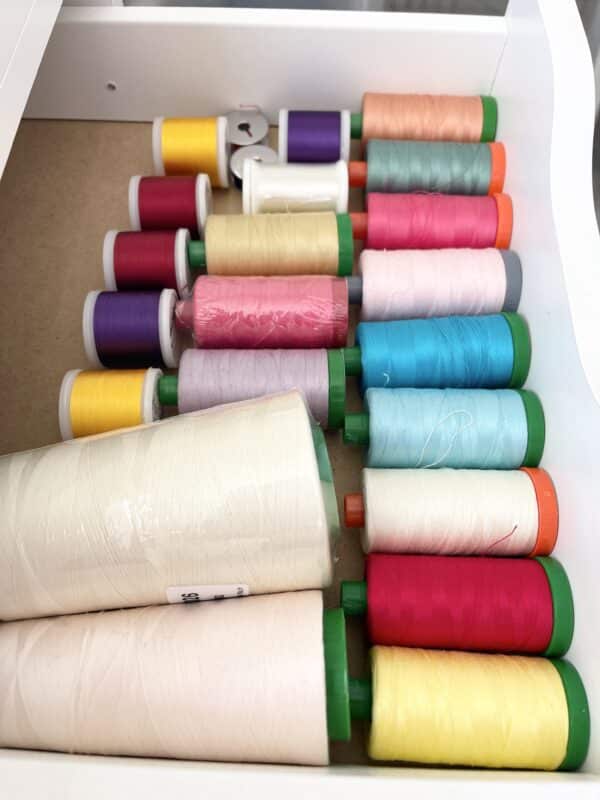
Thread: It’s recommended you do some experimenting with thread weights on the Regent. Setting your tension is a breeze. See the number right on the display. Just move the tension dial clockwise or counterclockwise, and see the tension number on your display screen. I typically use 40wt in the upper thread and 50wt in the bobbin. Always test your quilting design on a scrap quilt sandwich and adjust the tension as needed BEFORE moving onto your finished quilt.
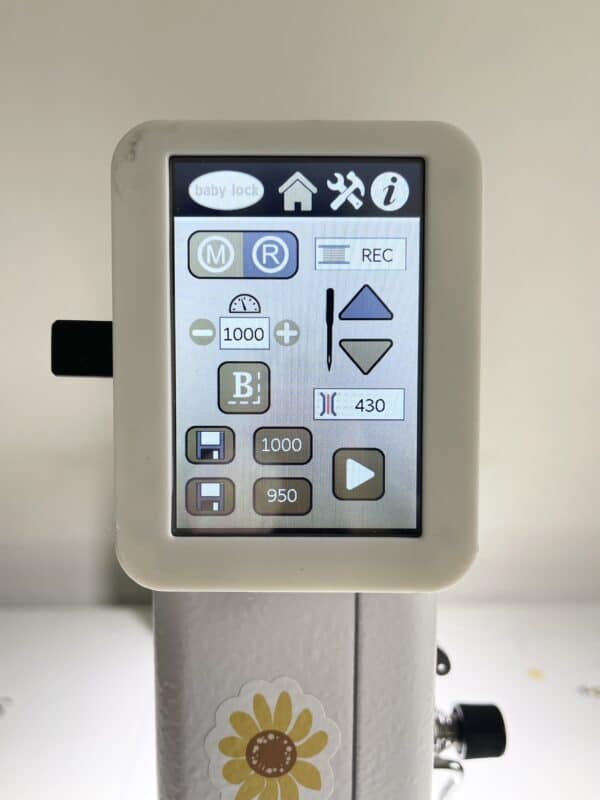
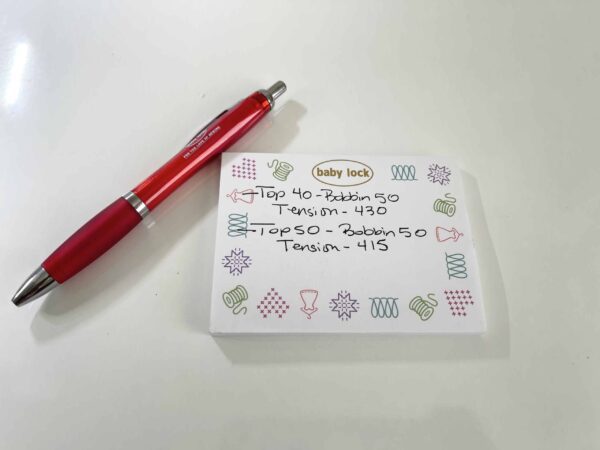
In this picture below, the tension is set at 430.
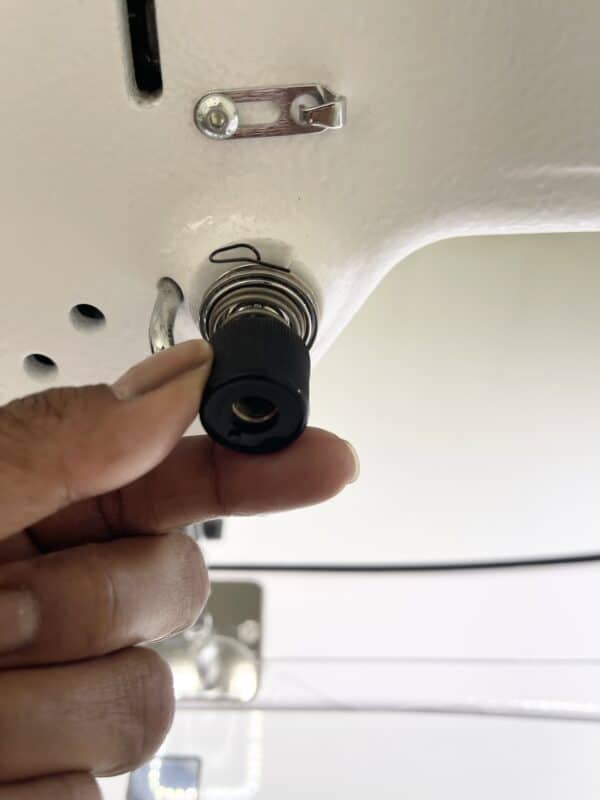
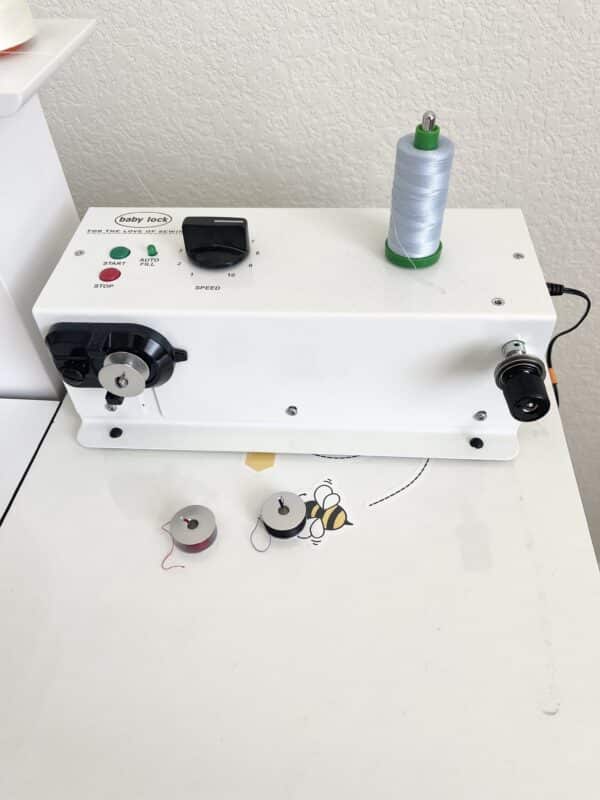
The Regent comes with a stand alone bobbin winder. It’s got some weight to it, and I leave mine siting on the back of my table. It won’t move around on you while quilting. I ALWAYS pre-wind some bobbins before I start a project. The Regent comes with the larger M-Class bobbin. I find it takes about 4-5 bobbins to complete a throw size quilt–depending on the density of design I’m quilting. Once set, the Regent will keep track of how much thread is left on your bobbin!
Tip or Trick – Once you find a good tension number that works for your project, write down the number you display. Top thread = X, bottom thread = X. This way, when you go to start a new project, you will know what works for your thread choices and can easily set your tension dial to that number. This removes the guess work of starting from scratch each time you change up your thread weights in top and bottom. Once you get those beautiful stitches, write down that number.
Ready to stitch: One of the things I love about the Regent is the ability to use manual mode or regulated mode while quilting. In Manual setting, you control the length of the stitches by how fast or slow you move your quilt under the needle. Regulated means the machine is set at a certain number of stitches per inch, and your stitch length will always be uniform. Play around with both modes to get the feel for them. I’m a bit of a speed demon when free motion quilting, and I like the freedom to go as fast as I like with manual mode.
Special features – the table is adjustable. Find your perfect height and simply lock into place. If you want to do free motion quilting by standing up, you can do that. I personally got the Regent because I cannot stand for hours and quilt. So I’m comfortable at a sitting height.
Extension table – This is an add-on feature, but you can get an extension table. For larger quilts, it’s important to keep your quilt level at all times – if it starts to spill over onto the floor, it begins to pull, and you can lose control of your quilting.. The extension table provides that extra space needed to keep your quilt level.
Next step…practice. Practice, practice, practice and then practice some more. Before moving onto a project, I always test out new designs on a scrap quilt sandwich. The more you practice, the more your brain will remember that design — making it easier once you move onto your quilt.
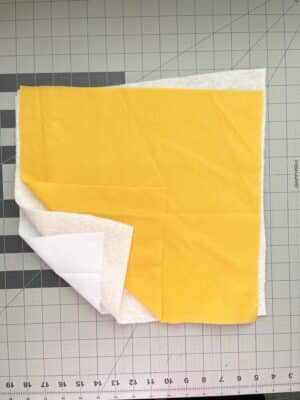
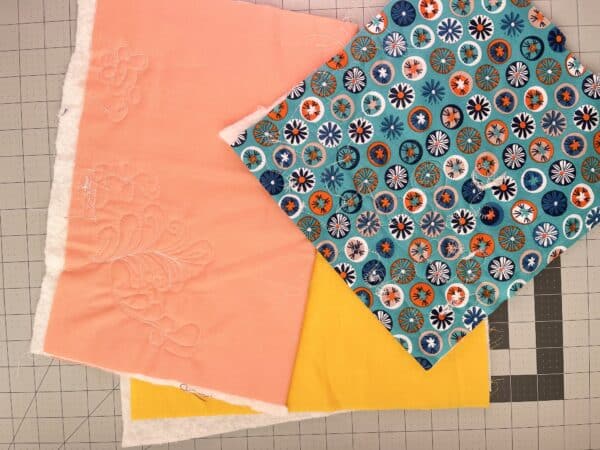
Tip or Trick: Make some practice quilt sandwiches. I cut leftover fabric roughly 12-14 inch pieces. I recommend a solid color – it’s easier to see stitching on solids than a print. I cut batting pieces to match. Make several of these at a time. Believe me, you will need them. It’s nice to have these handy when you are ready to do some practice stitching and test your thread tension.
For more information on the Baby Lock Regent or any other Baby Lock machines, please visit the Baby Lock website or your local retailer..
That’s it. You’re ready to start quilting on the Baby Lock Regent. Happy quilting everyone!
Mary Davis
Mary Go Round Quilts
This post contains affiliate links. By clicking merchandise links, I may receive a small commission for any sales made.