Your quilt top is done, now what? The very last step to a beautiful finished quilt is the binding. The binding is that pretty trim that frames your quilt. The binding hides all of the raw edges of your quilt sandwich to give you a polished and smooth finish.
Quilters have different preferences on how wide the quilt binding should be. Average widths are 2″, 2 ¼” and 2.5″. I like 2 ½”, personally. I feel it gives me enough room to work with.Quilt bindings typically are done in a color that coordinates with the quilt top. However, there is no rule, and many quilters like to use bold stipes, dots or other coordinating or contrasting colors for binding.
Start by cutting the desired number of width of fabric strips to complete your project. If you are following a quilt pattern, you will find the exact number of strips you need to bind your project. If you don’t know how much fabric you need, a simple google search will turn up lots of charts and formulas to help you.
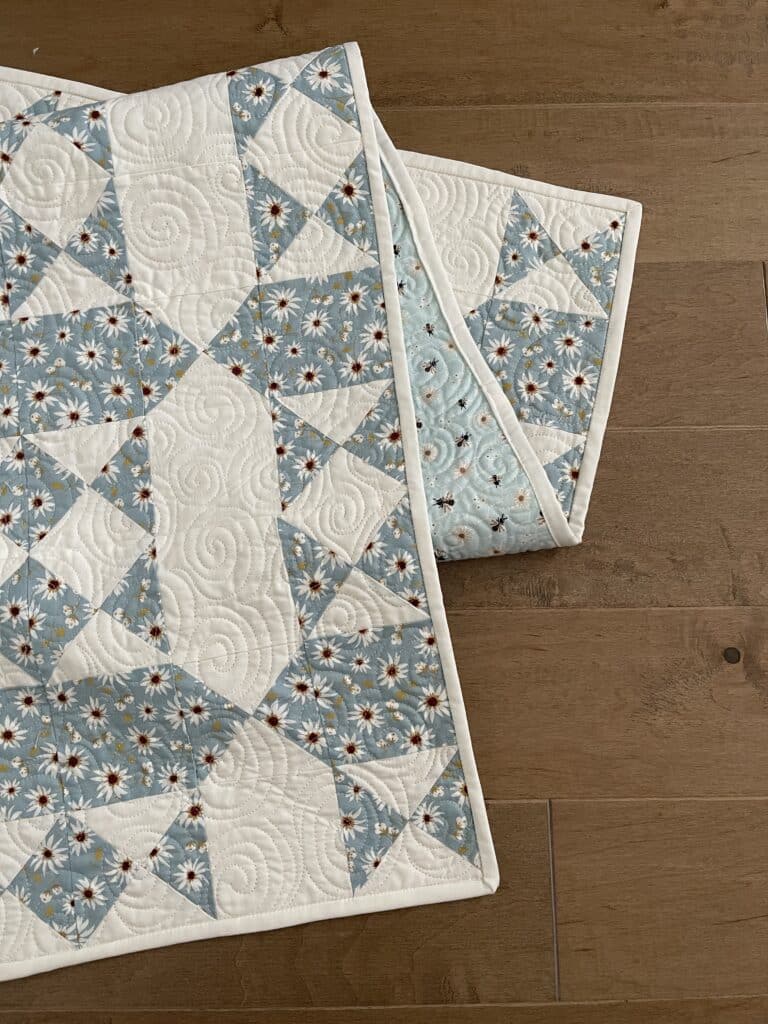
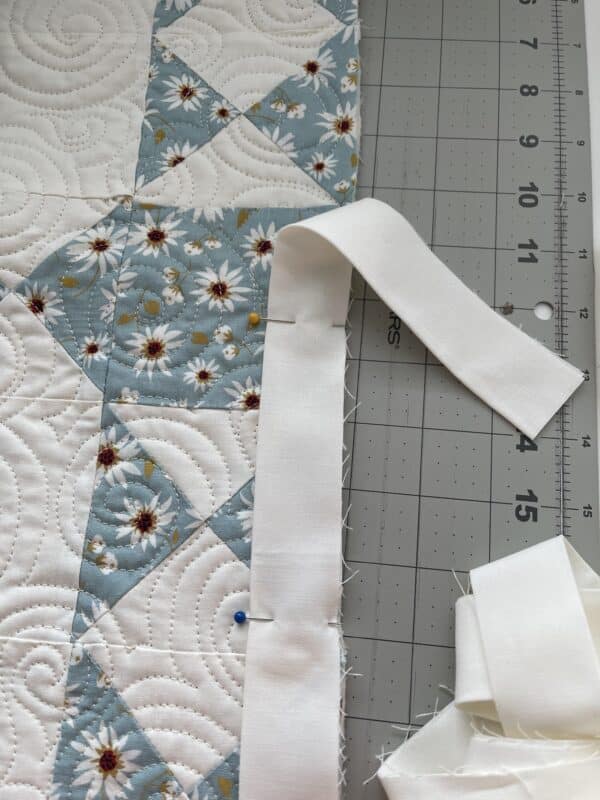
Start by sewing all of your strips right sides together, end to end. In this tutorial I am sewing the binding on my Hourly Quilt, which requires seven width of fabric strips.

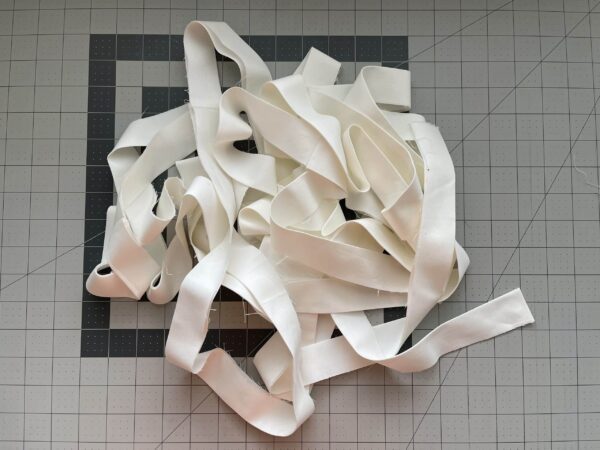
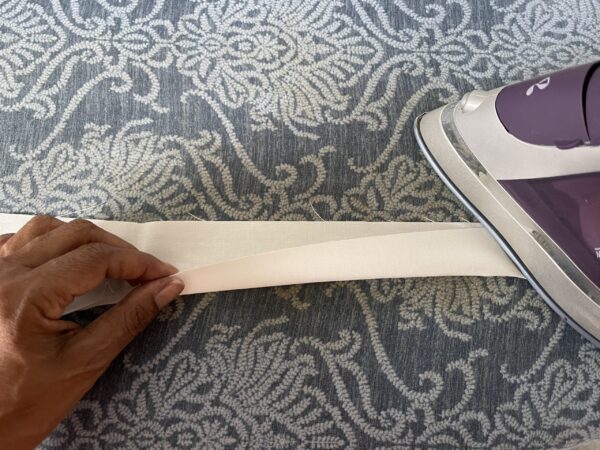
Press your strips in half – wrong sides facing each other – along the entire length. Make sure to line up your edges when pressing.
.
I like to load the whole length of binding in my lap loosely before I begin.

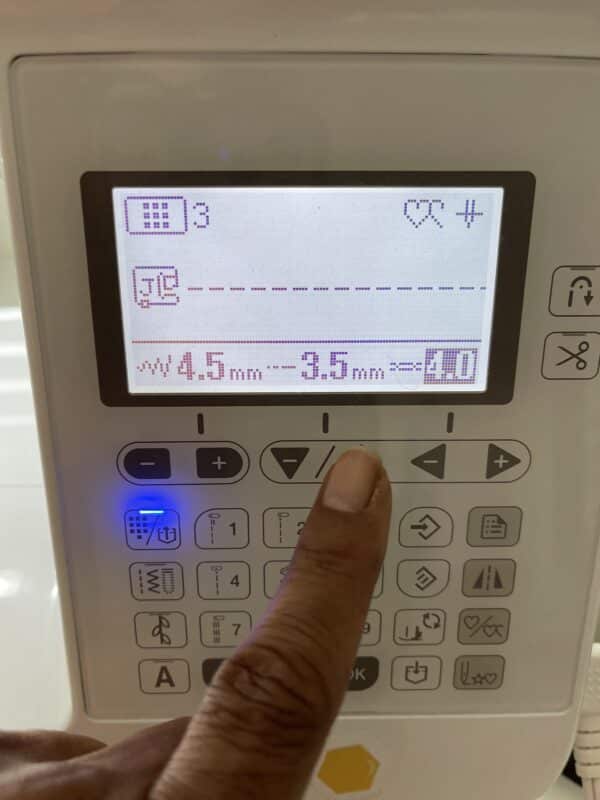
Before sewing, I like to adjust my stitch length so it’s a little larger. I’m sewing on the baby Lock Lyric, so your stitch length may look different.. Since we are basting the binding onto your quilt first, there is no need for a tight stitch. Plus, lengthening the stitches helps when stitching over bulky seams. At this point you can also add your walking foot onto your machine if desired. I find that my machine manages fine with the standard presser foot.
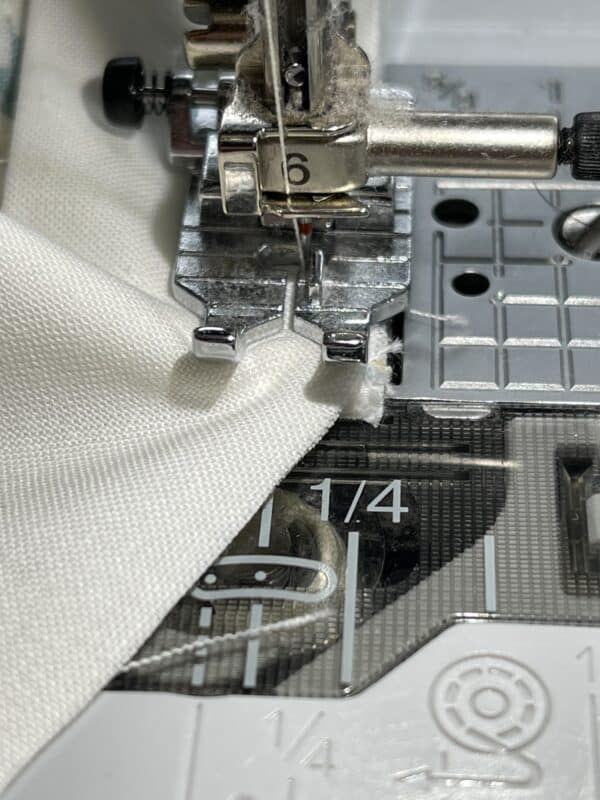
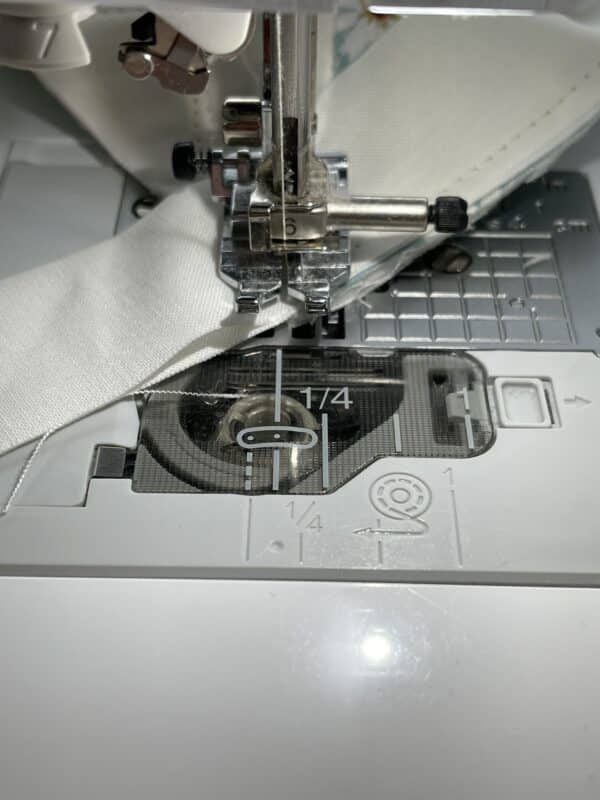
Now it’s time to sew our binding on. In this example, I am stitching my binding to the front of my quilt. Start by placing the binding strip onto the quilt, matching the raw edge of the binding to the raw edge of the quilt. Begin stitching approximately 6-7 inches from the end the binding. This loose end will be used to join your beginning and end pieces later.
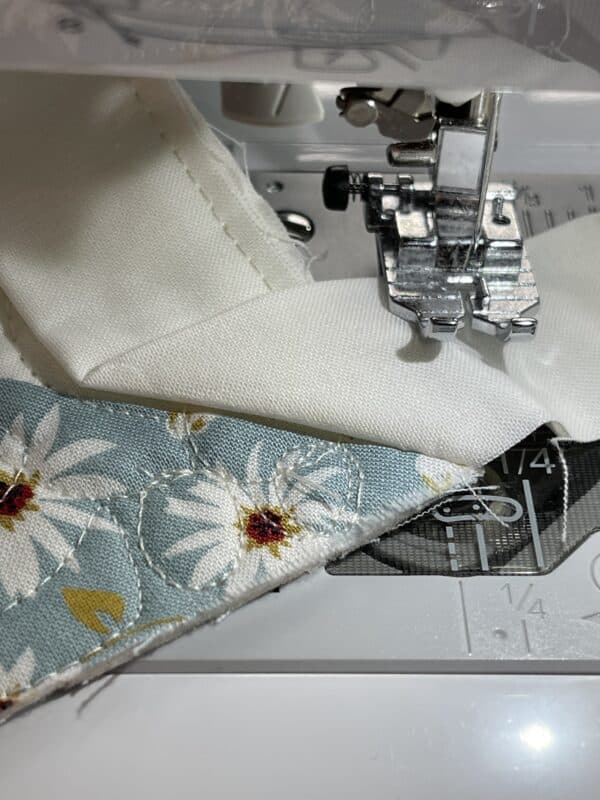
Making mitered corners. Continue stitching until you are 1/4″ from the corner. Stop stitching and leave your needle in the down position. Turn your quilt slightly so that it is angled the corner. Stitch diagonally to the corner.
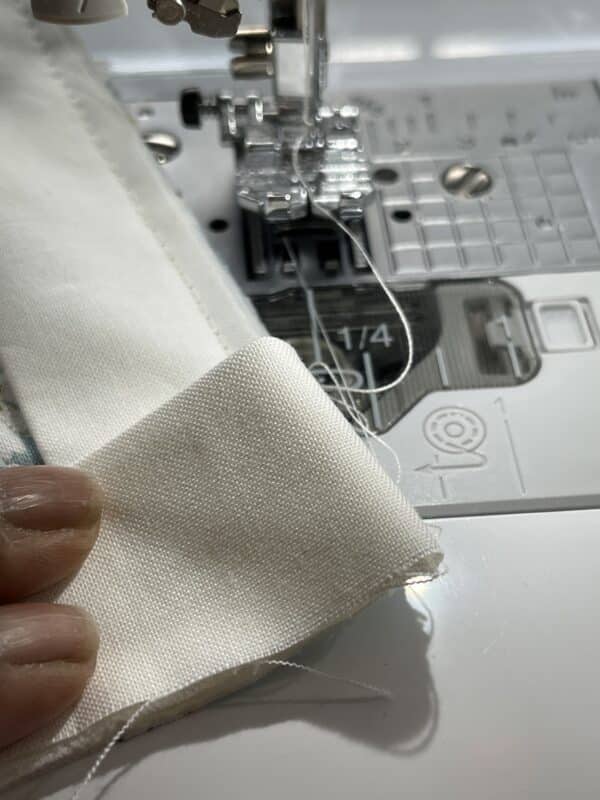
You will get about three stitches toward the corner. These stitches will act as a guide line. With the needle in the up position, gently pull the quilt out from under the needle. so you have about 3/4″ of thread showing. Do not cut the thread. You only need enough room to be able to fold your binding onto itself..

Using the diagonal stitch line as a guide, fold the binding back onto itself at an angle. Give the fold a finger press to crease.
Take the binding strip, and fold it back on top of the quilt, matching the fold with the raw edge, and covering the crease made in the prior step. Finger press. Hold your binding in place so it does not move. Gently slide the quilt back under the needle. Turn the quilt so the folded edge of the binding is now at the back of the presser foot. Continue stitching from the folded edge. Repeat stitching all sides and miter all corners.
This is how your finished mitered corner will look.

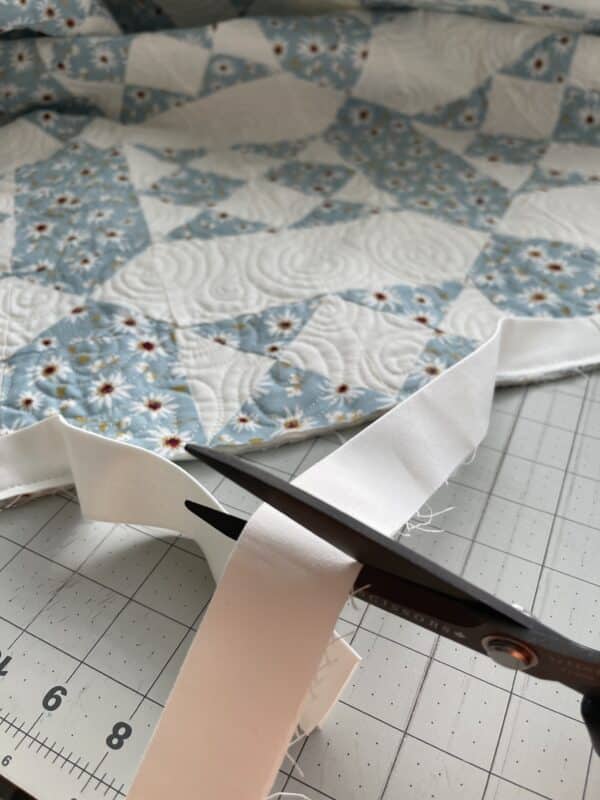
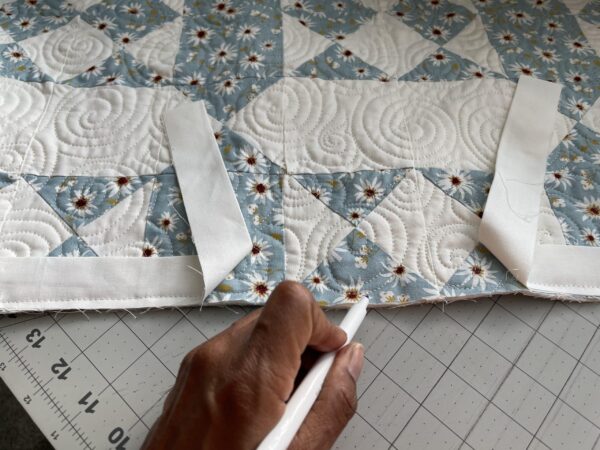
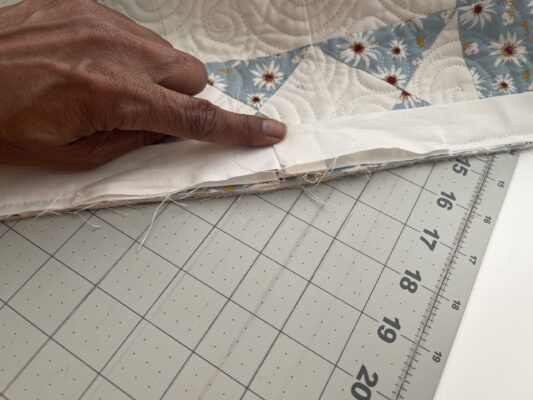
When you are nearing your start point, stop stitching about 8 inches from where you started. At this point, you can trim a lot of the extra binding but make sure to leave a long tail, approximately 7-8 inches.

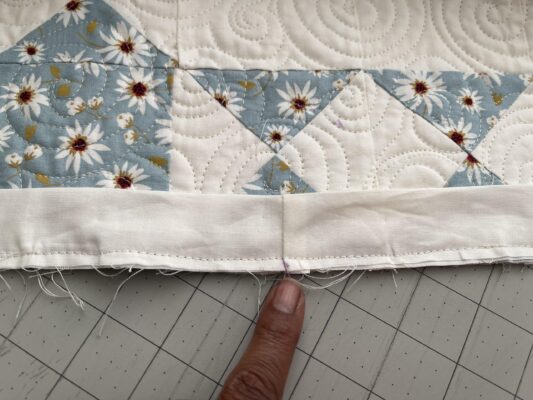
Using a water/air soluble pen, mark the center point on the quilt between the two binding ends.
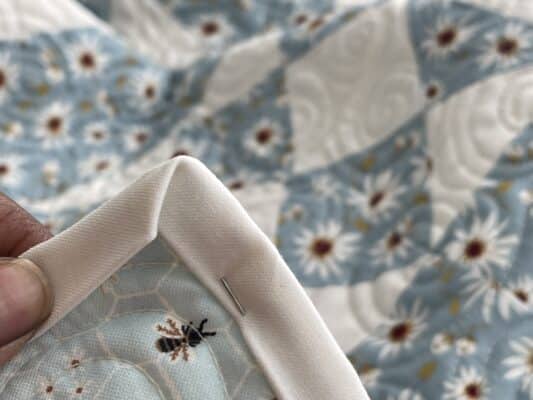
Place the right binding strip down over the mark. Open the binding, and place a mark on the inside top and bottom edges of the binding, in the same spot as the marking on the quilt. Repeat for left side.
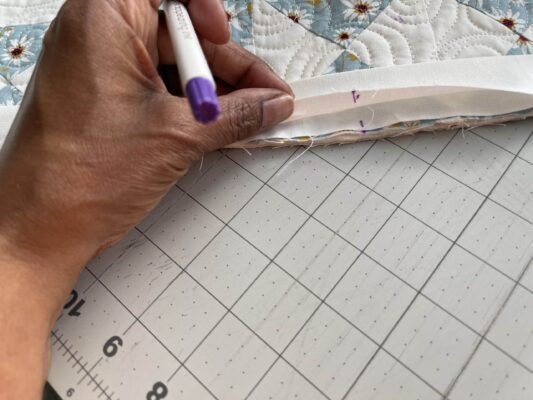

Here is a view of the inside binding where I made the marks.
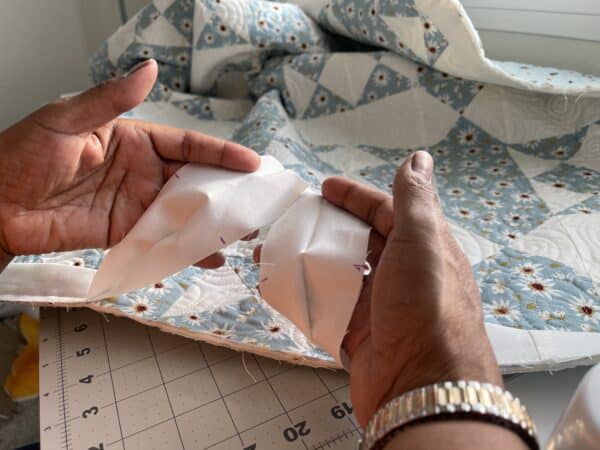
Place the binding right sides together. Match up the marks you made on the inside of the binding, and pin in place. This can get a little awkward with a large quilt because of the bulk, so pinning in place will help keep your marks matched up..
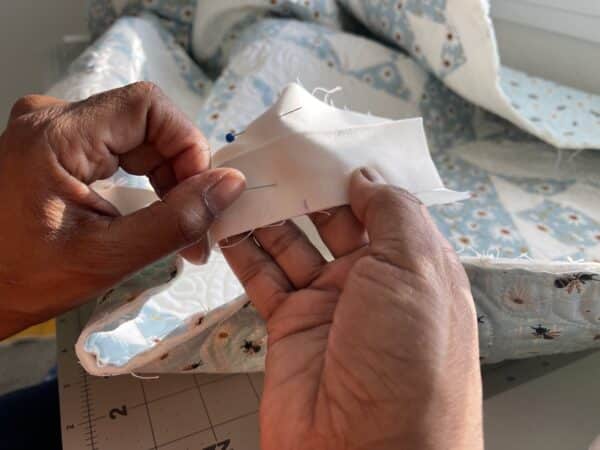
Stitch from mark to mark to sew the binding strips together.


Trim 1/4″ from the seam, and fold binding back into position. This is what it will now look like. Your marks are on the inside and you have a flat binding to stitch down. Pin in place if desired, and stitch.
Now it’s time to fold the binding to the back of the quilt, making sure to cover the basting stitching, and pin into place.
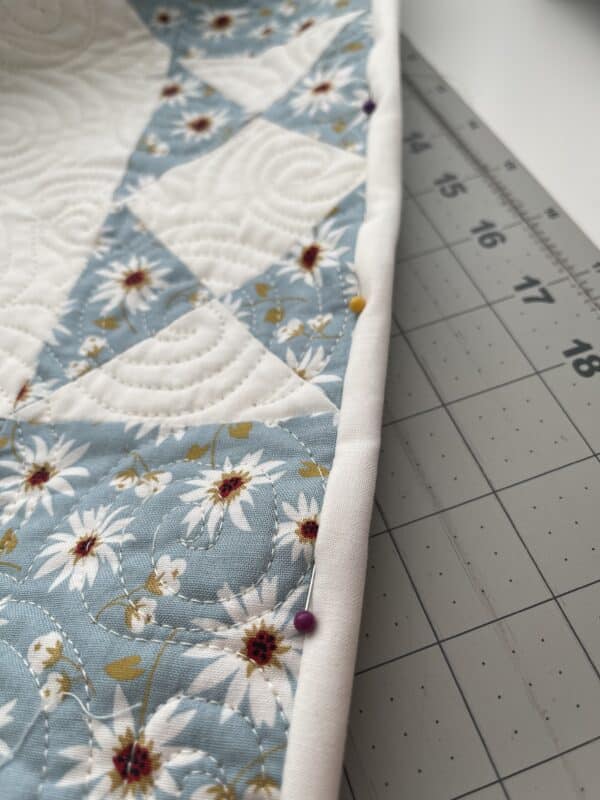
When you come to the corner, the binding will naturally want to fold for you. Pin binding until you are close to the corner. See how the corner is now at an angle. Fold the corner on top, and continue pinning in place. This is what it will look like from the back.

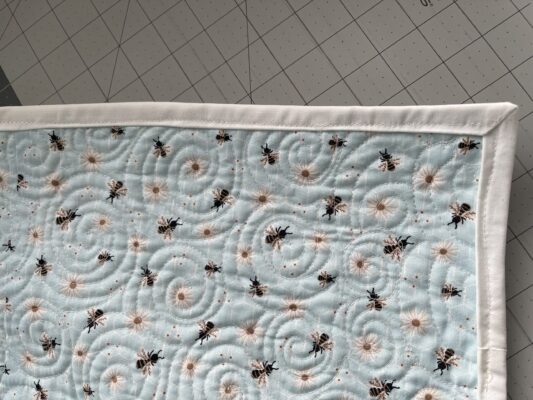
And from the front, you have a nice mitered corner.

Once all sides and corners are pinned. You can stitch in the ditch all the way around using your sewing machine (the seam where the quilt meets the binding).

And that is all there is to it!
Mary