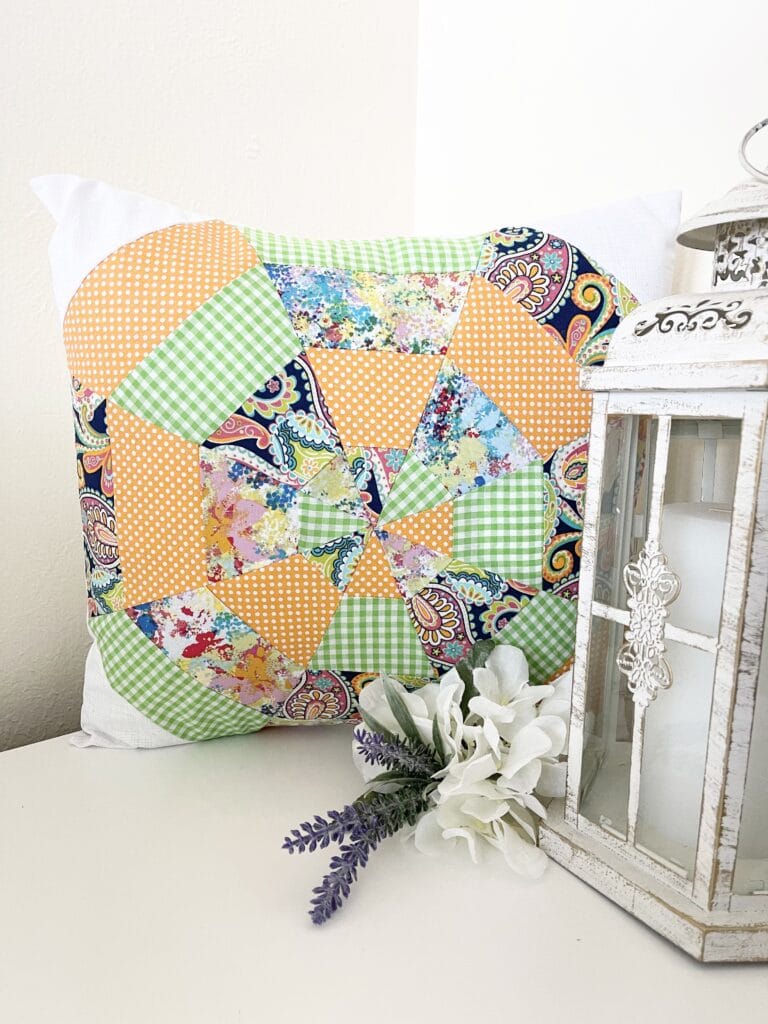
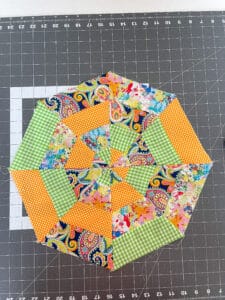
Have you tried using the triangle rulers yet? I’m amazed at what one can do with them. Just look at this pillow! This is a super easy pillow to make. For this tutorial, we will be using the 45 degree triangle ruler. Any brand of ruler will do. If you have leftover jellyroll strips, this is a good way to make use of them.
What you’ll need:
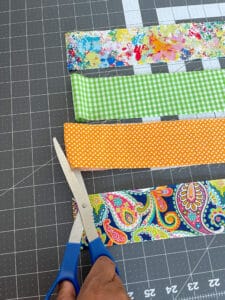
1. Cut each 2 1/2″ x WOF strip in half. Now you have 2 of each color.
2. Randomly arrange your strips into 2 sets of 4. Make sure each set has the strips in different places.
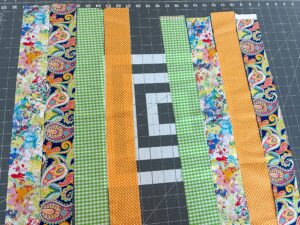
3. Using a 1/4″ seam, sew the 4 strips together. Repeat for second set.

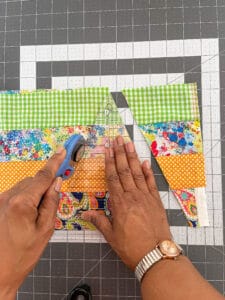
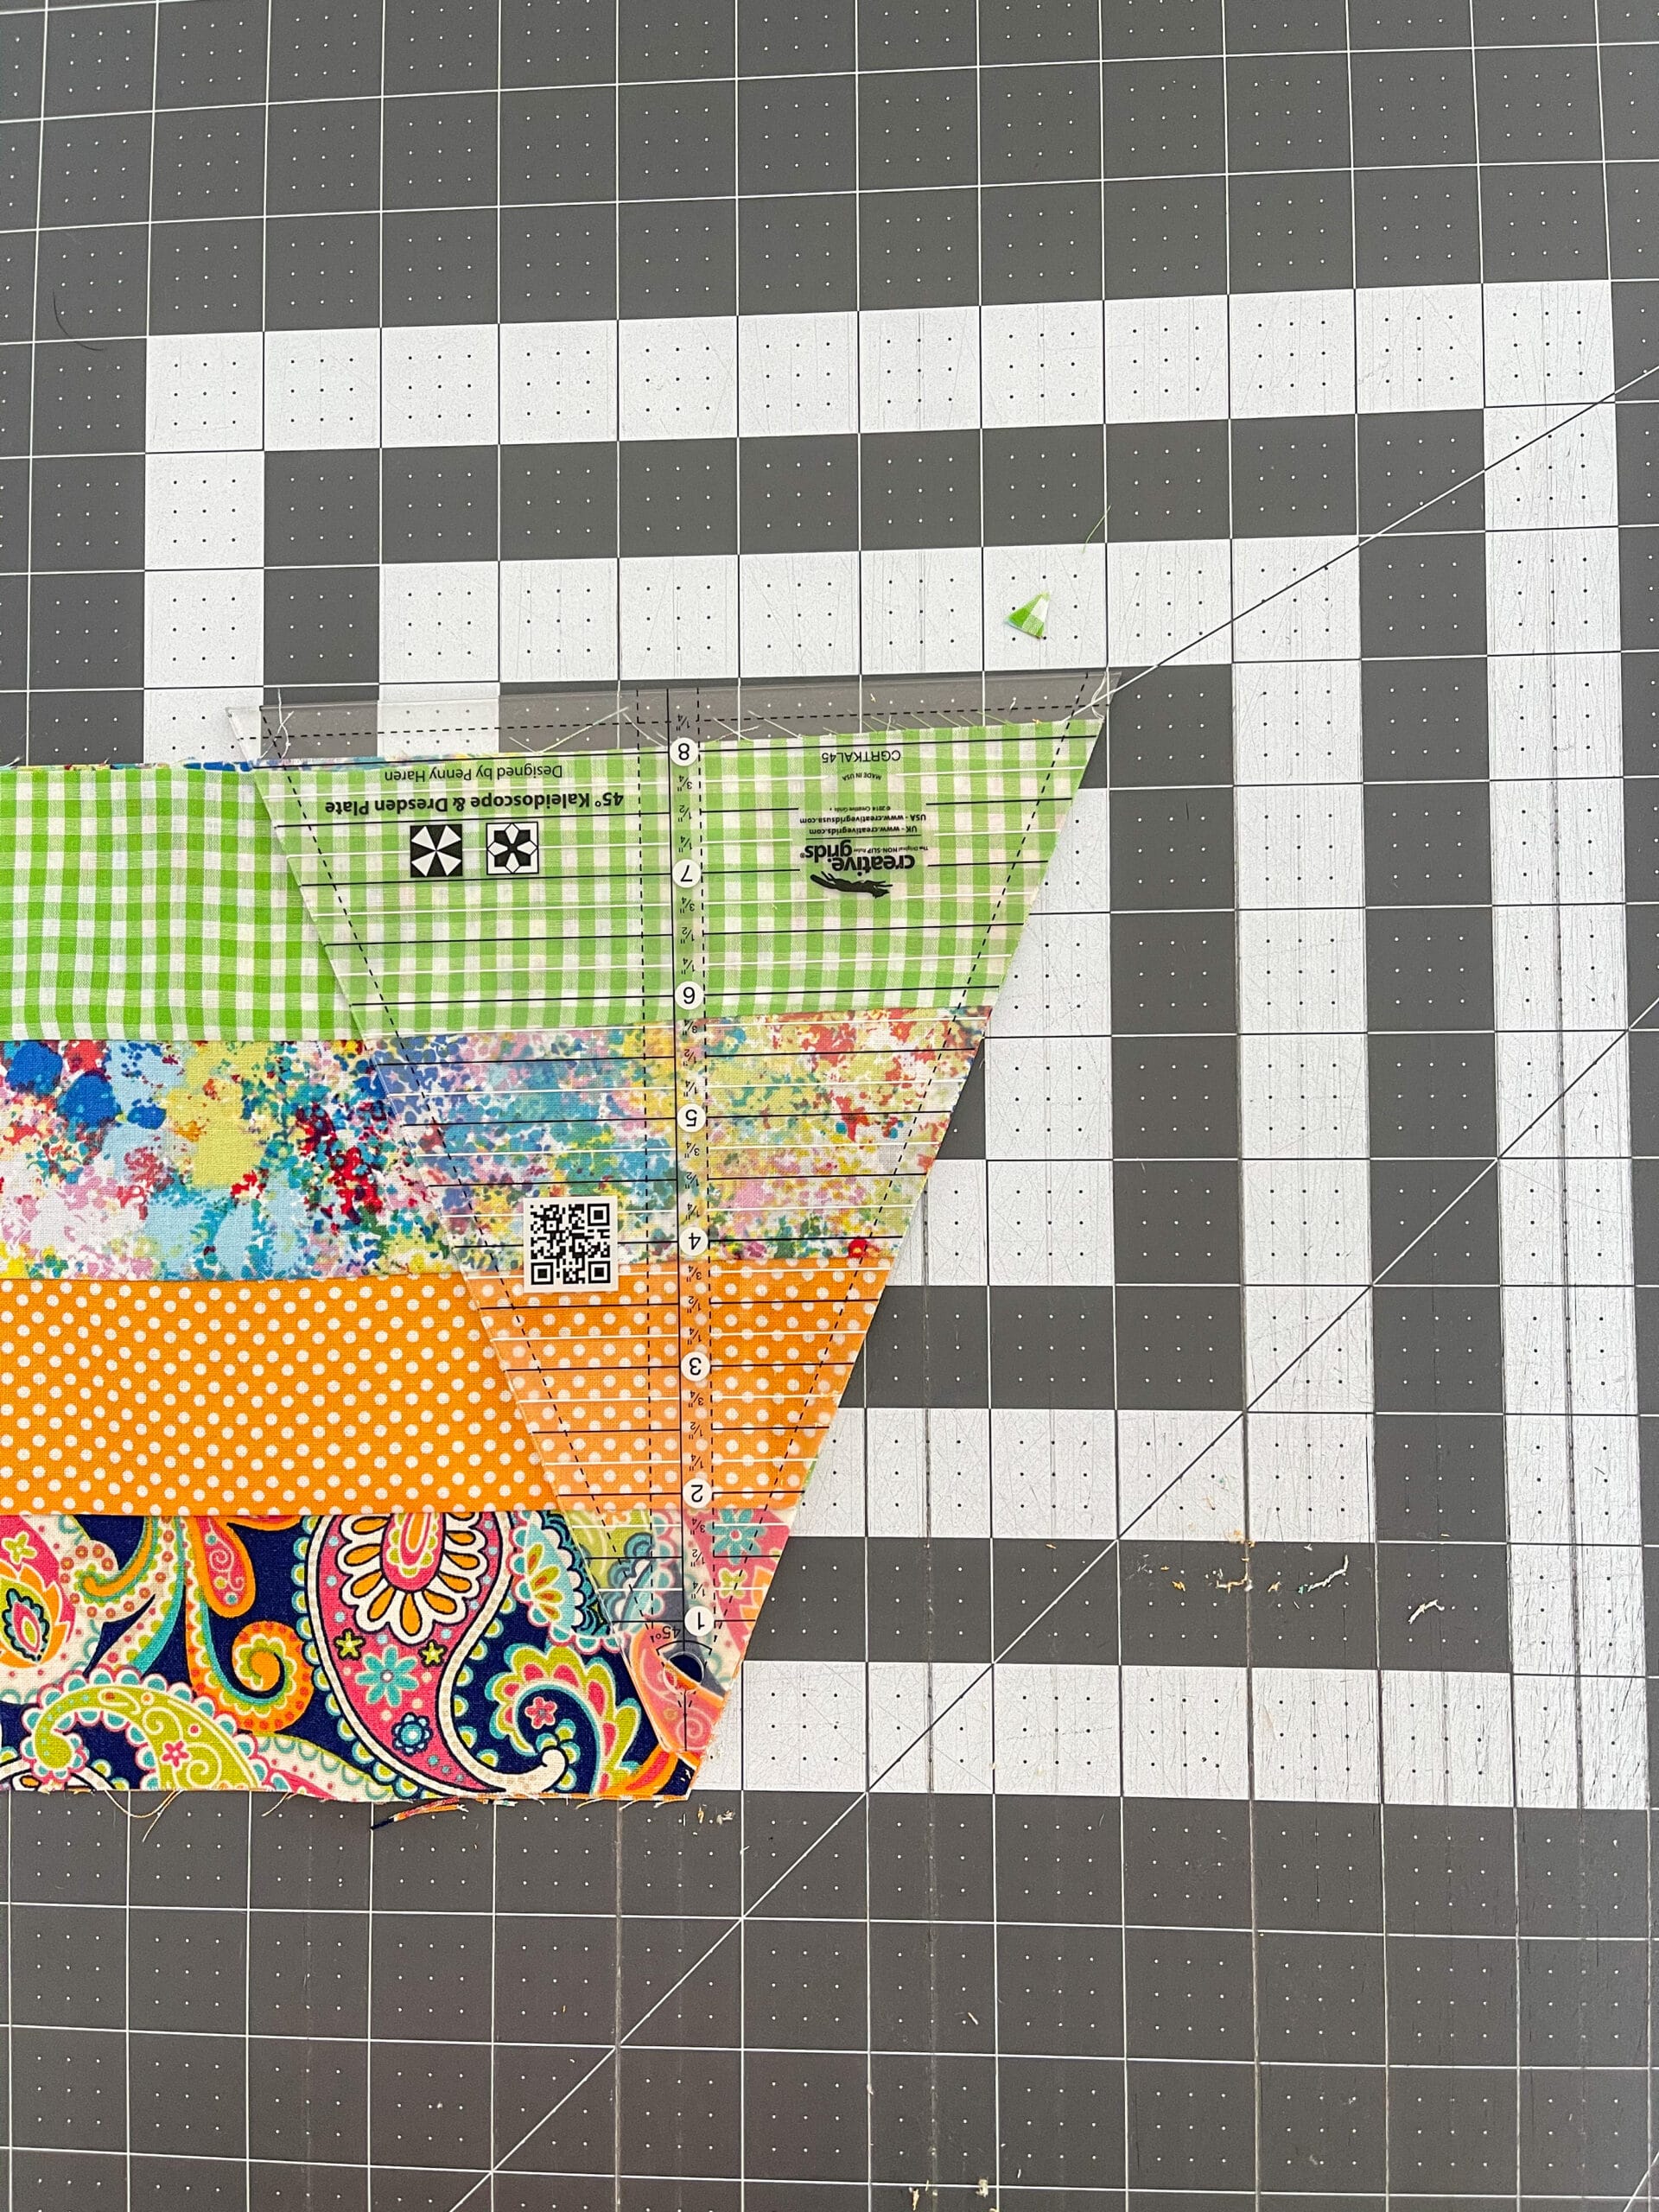
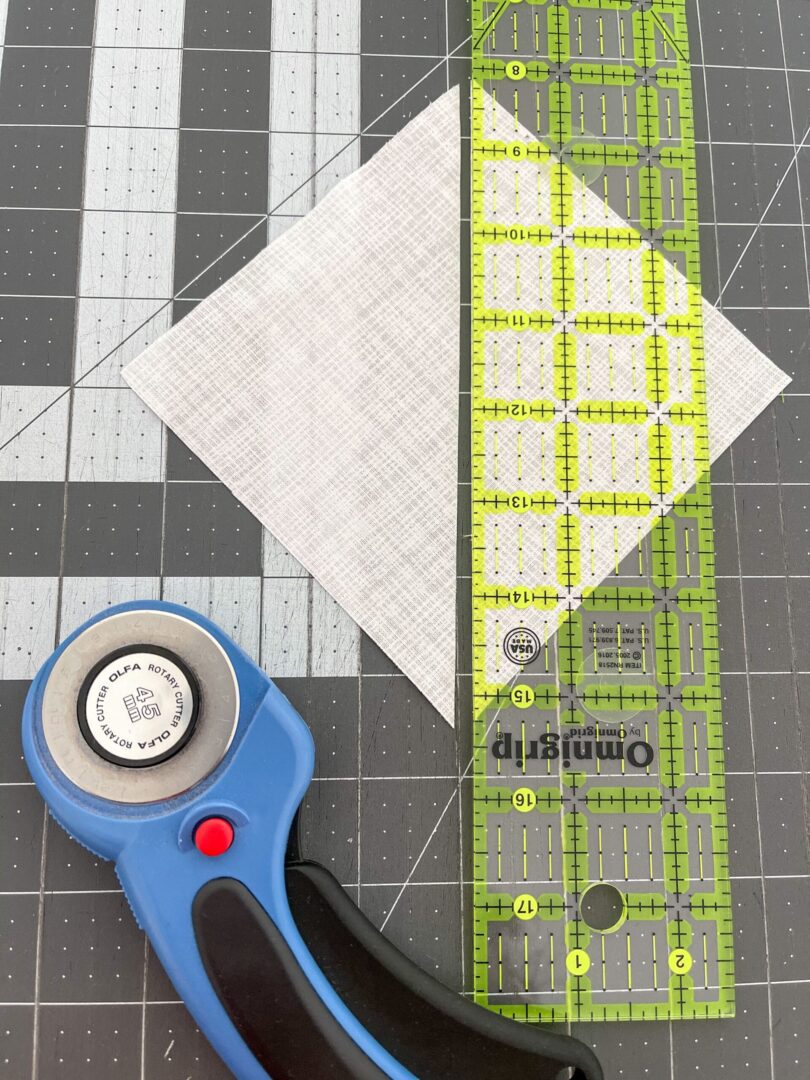
4. Now it’s time to get your 45 degree ruler. Lay out one strip set on your cutting mat. Place your 45 degree ruler on the end of the strip set. Line up the bottom edge of the fabric with the 8″ line of you ruler. Make sure you scoot the ruler over enough so that you are not including the selvage in your cut.
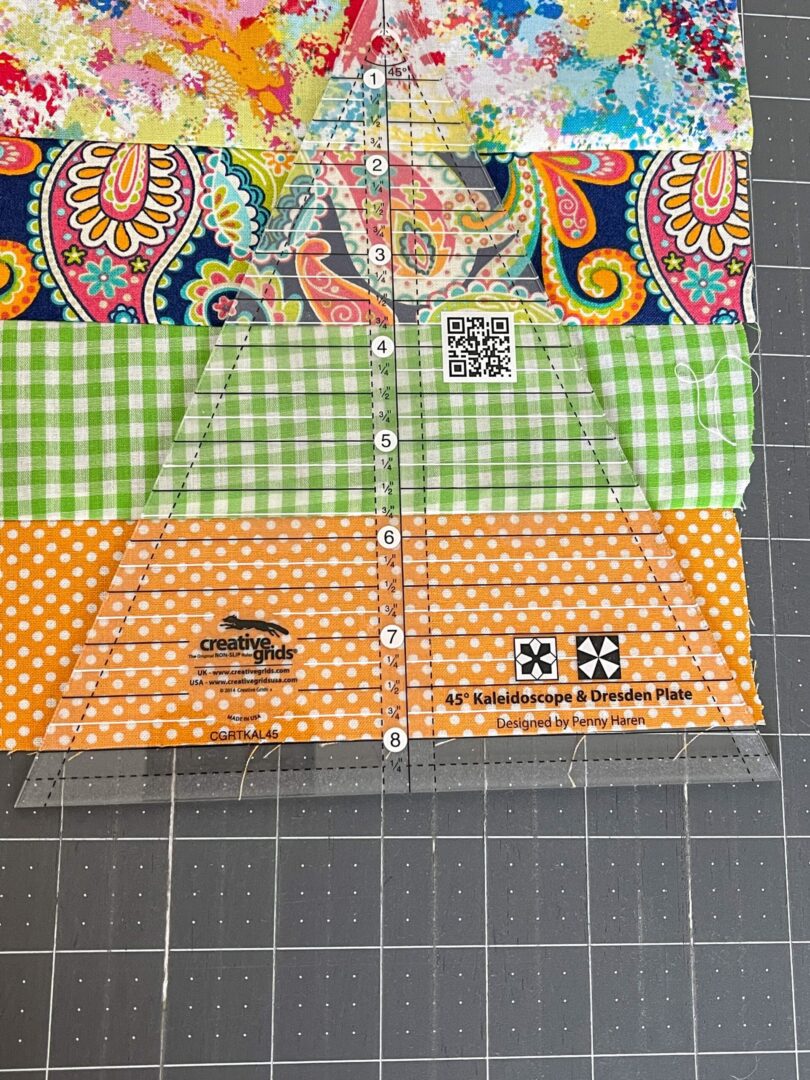
Note: I chose to place both of my strip sets on top of each other and cut two layers at one time. Do what you are comfortable with.
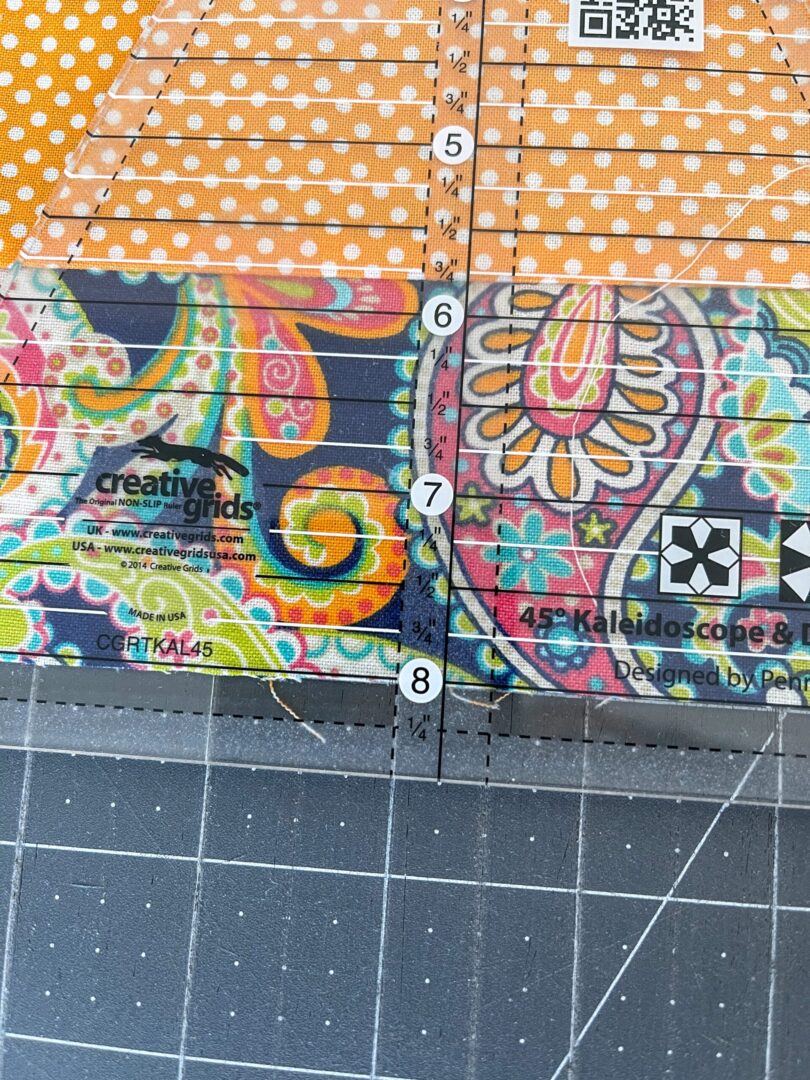
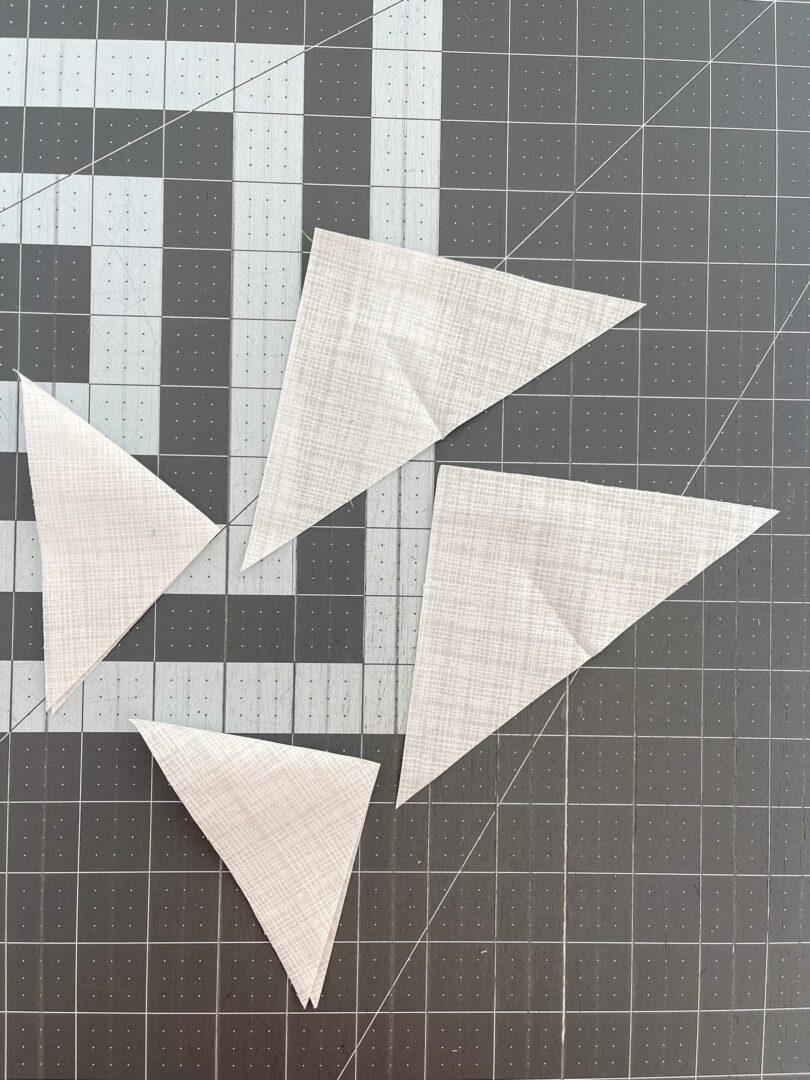
5. Press firmly on your ruler, use your rotary cutter to cut the right and left sides of the triangle. Cut off the excess at the tip. This triangle is the only one that requires you to cut on both sides.
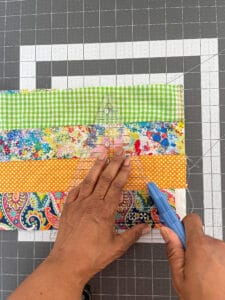

6. Take your ruler and flip it so that the 8″ line is now even with the top of your strip set, aligned with the cut edge. Cut the side and tip. Continue flipping and cutting until you have 4 triangles from each strip set.
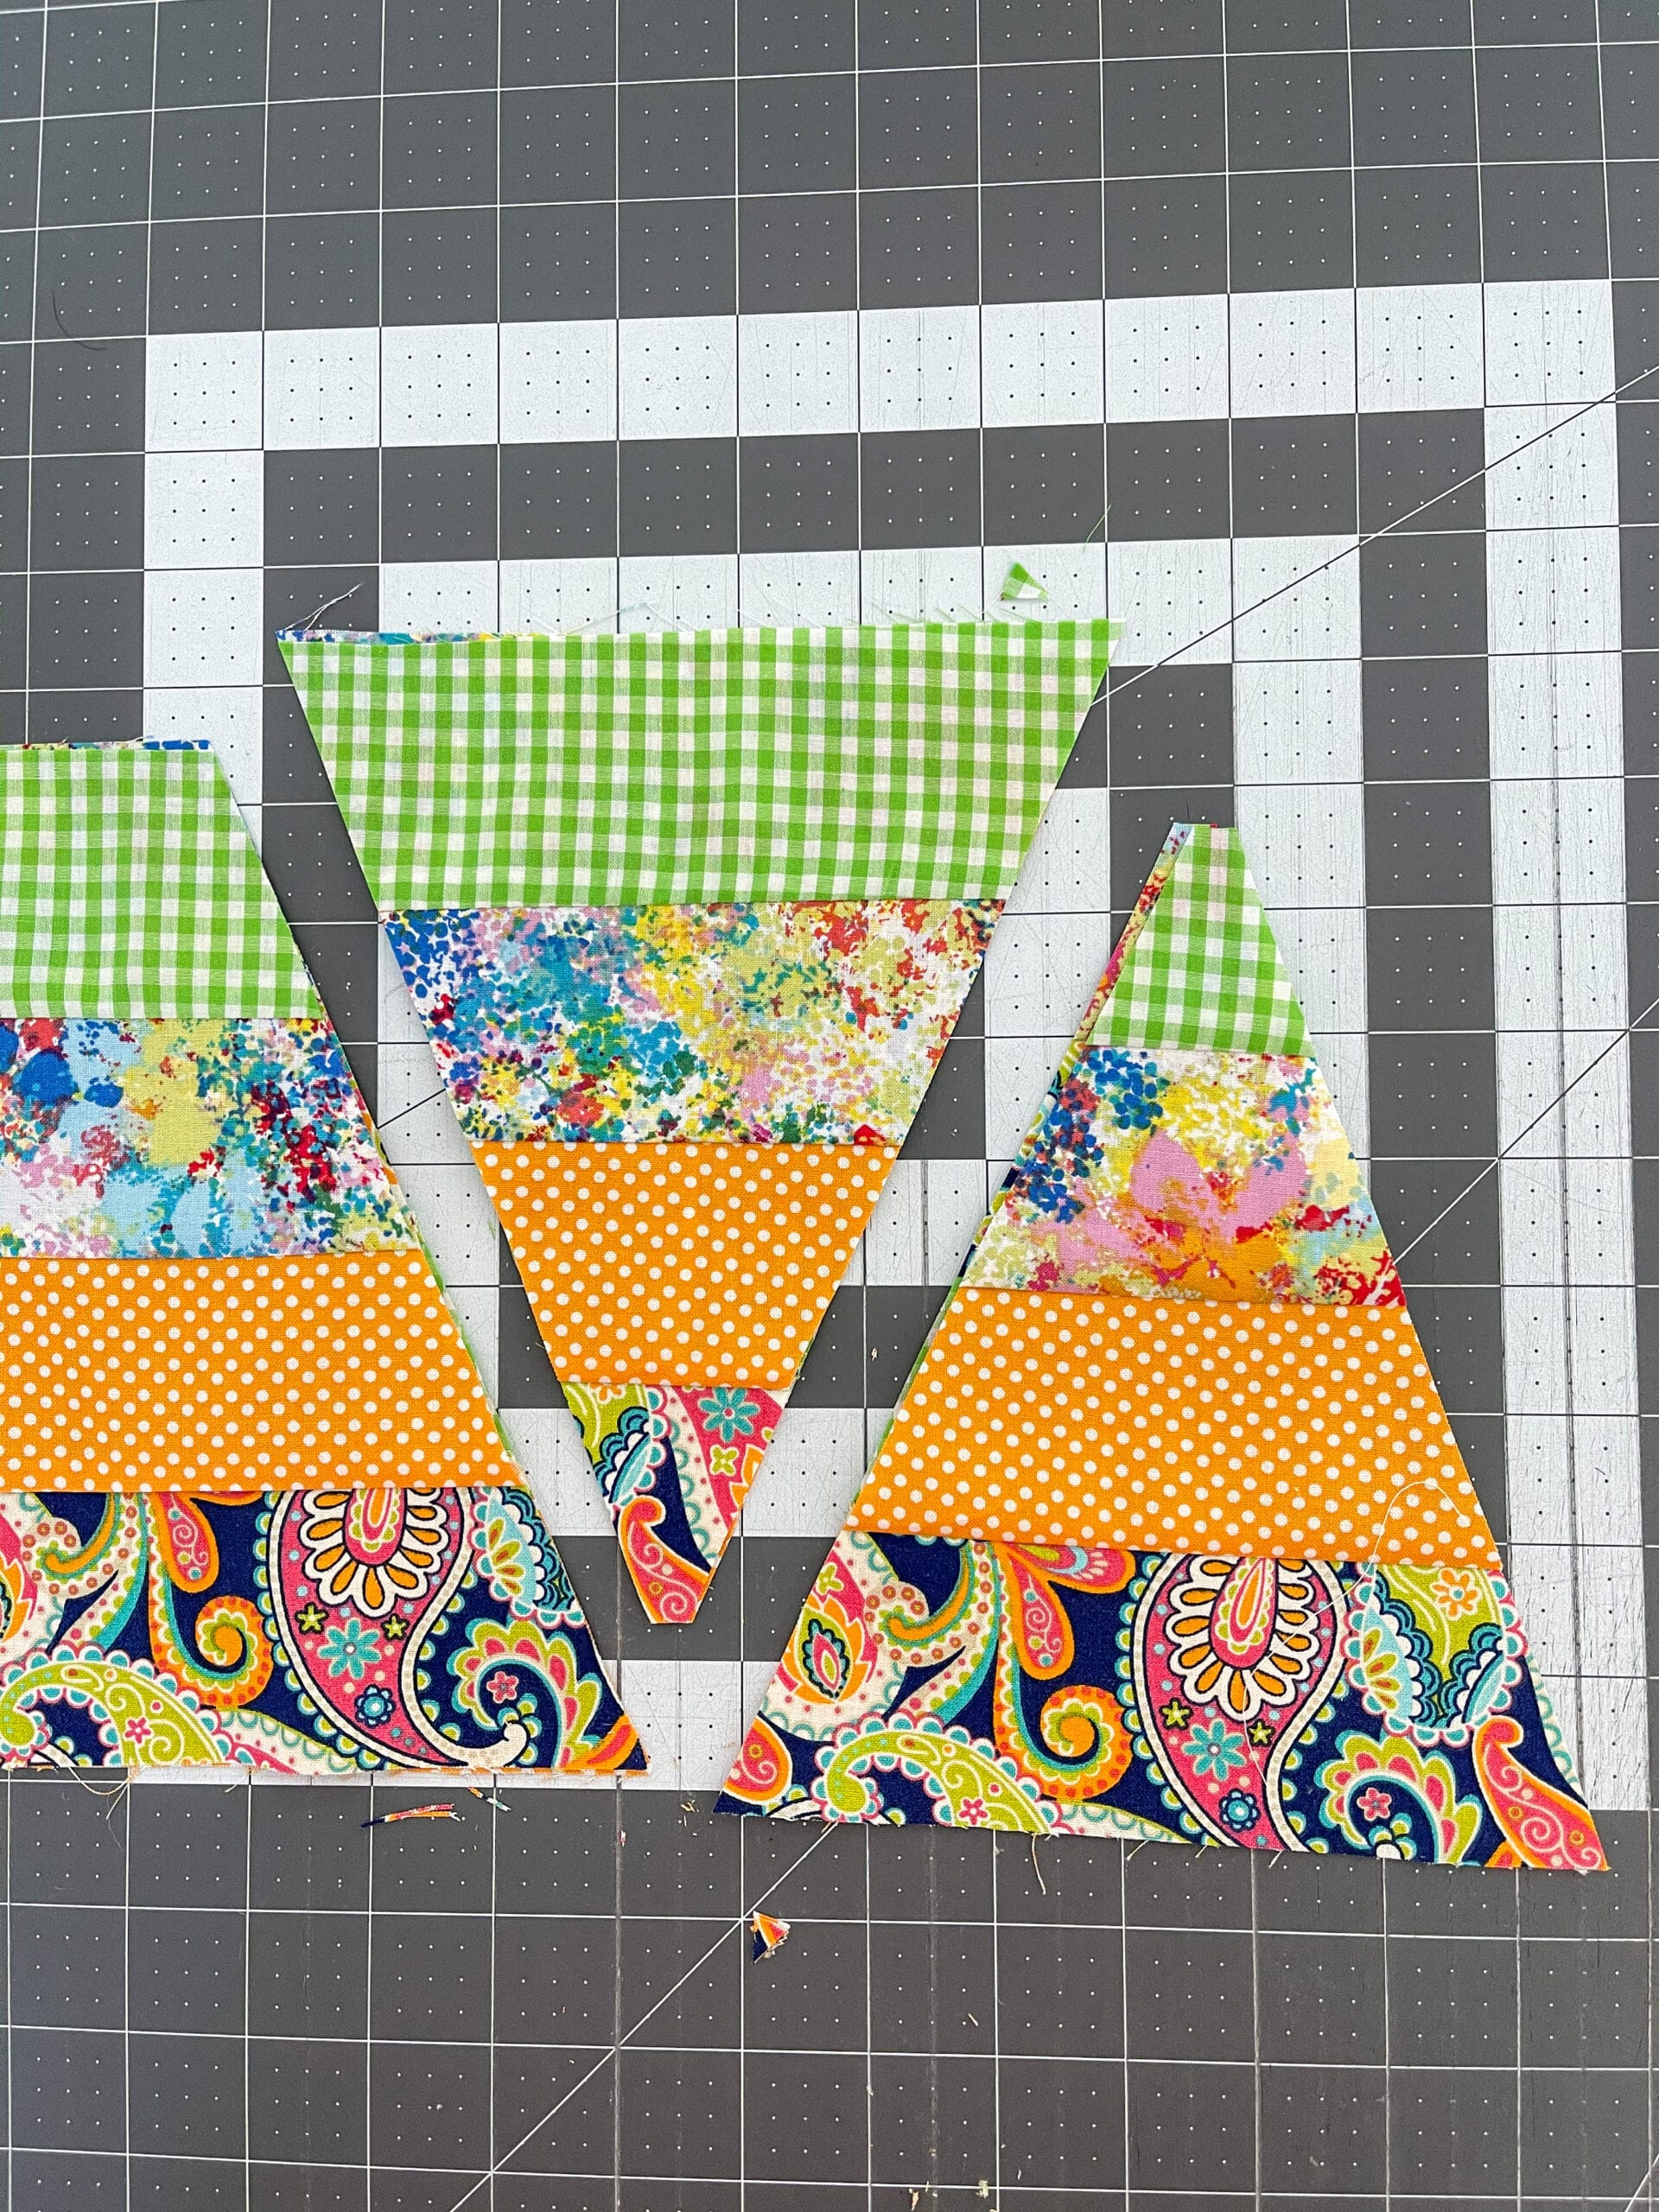
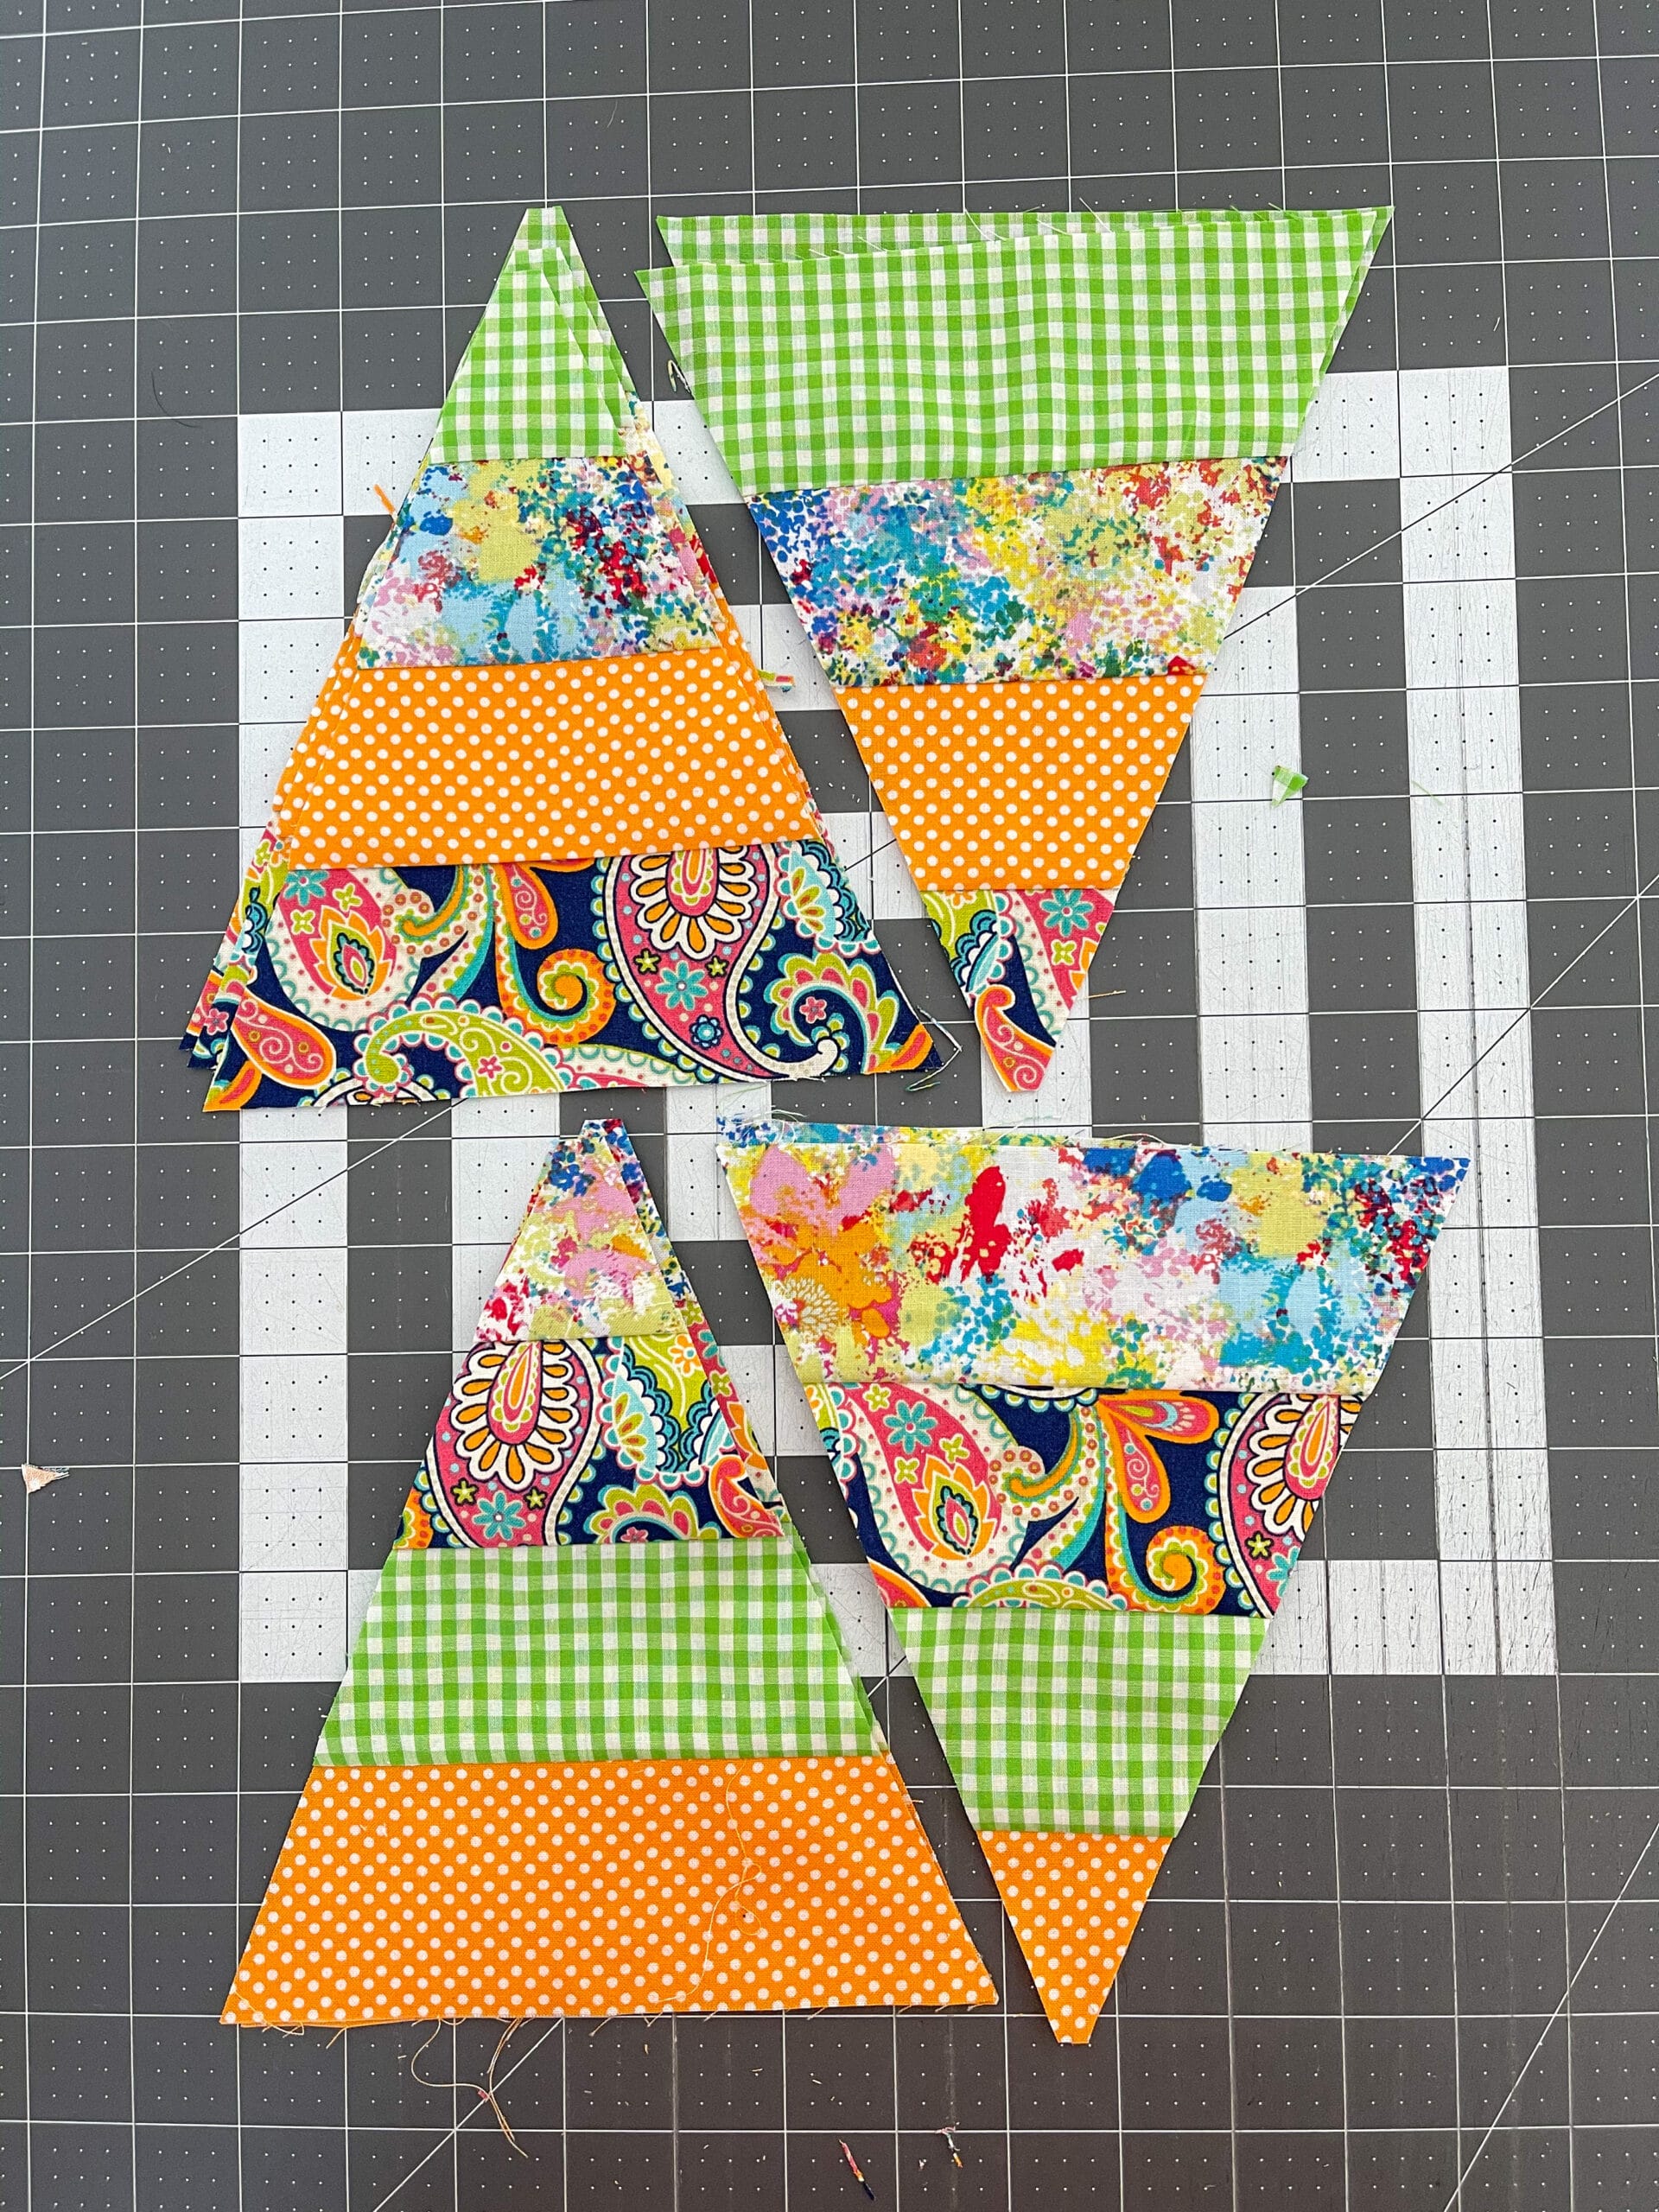
7. Place your triangles in random order in sets of 4. We will be making two halves. Try not to put two like triangles together side by side.
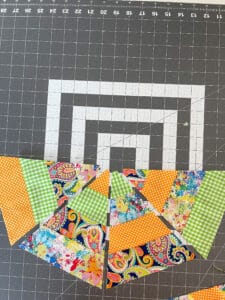
8. Sew 4 triangles together. Press. Repeat for remaining 4 triangles.
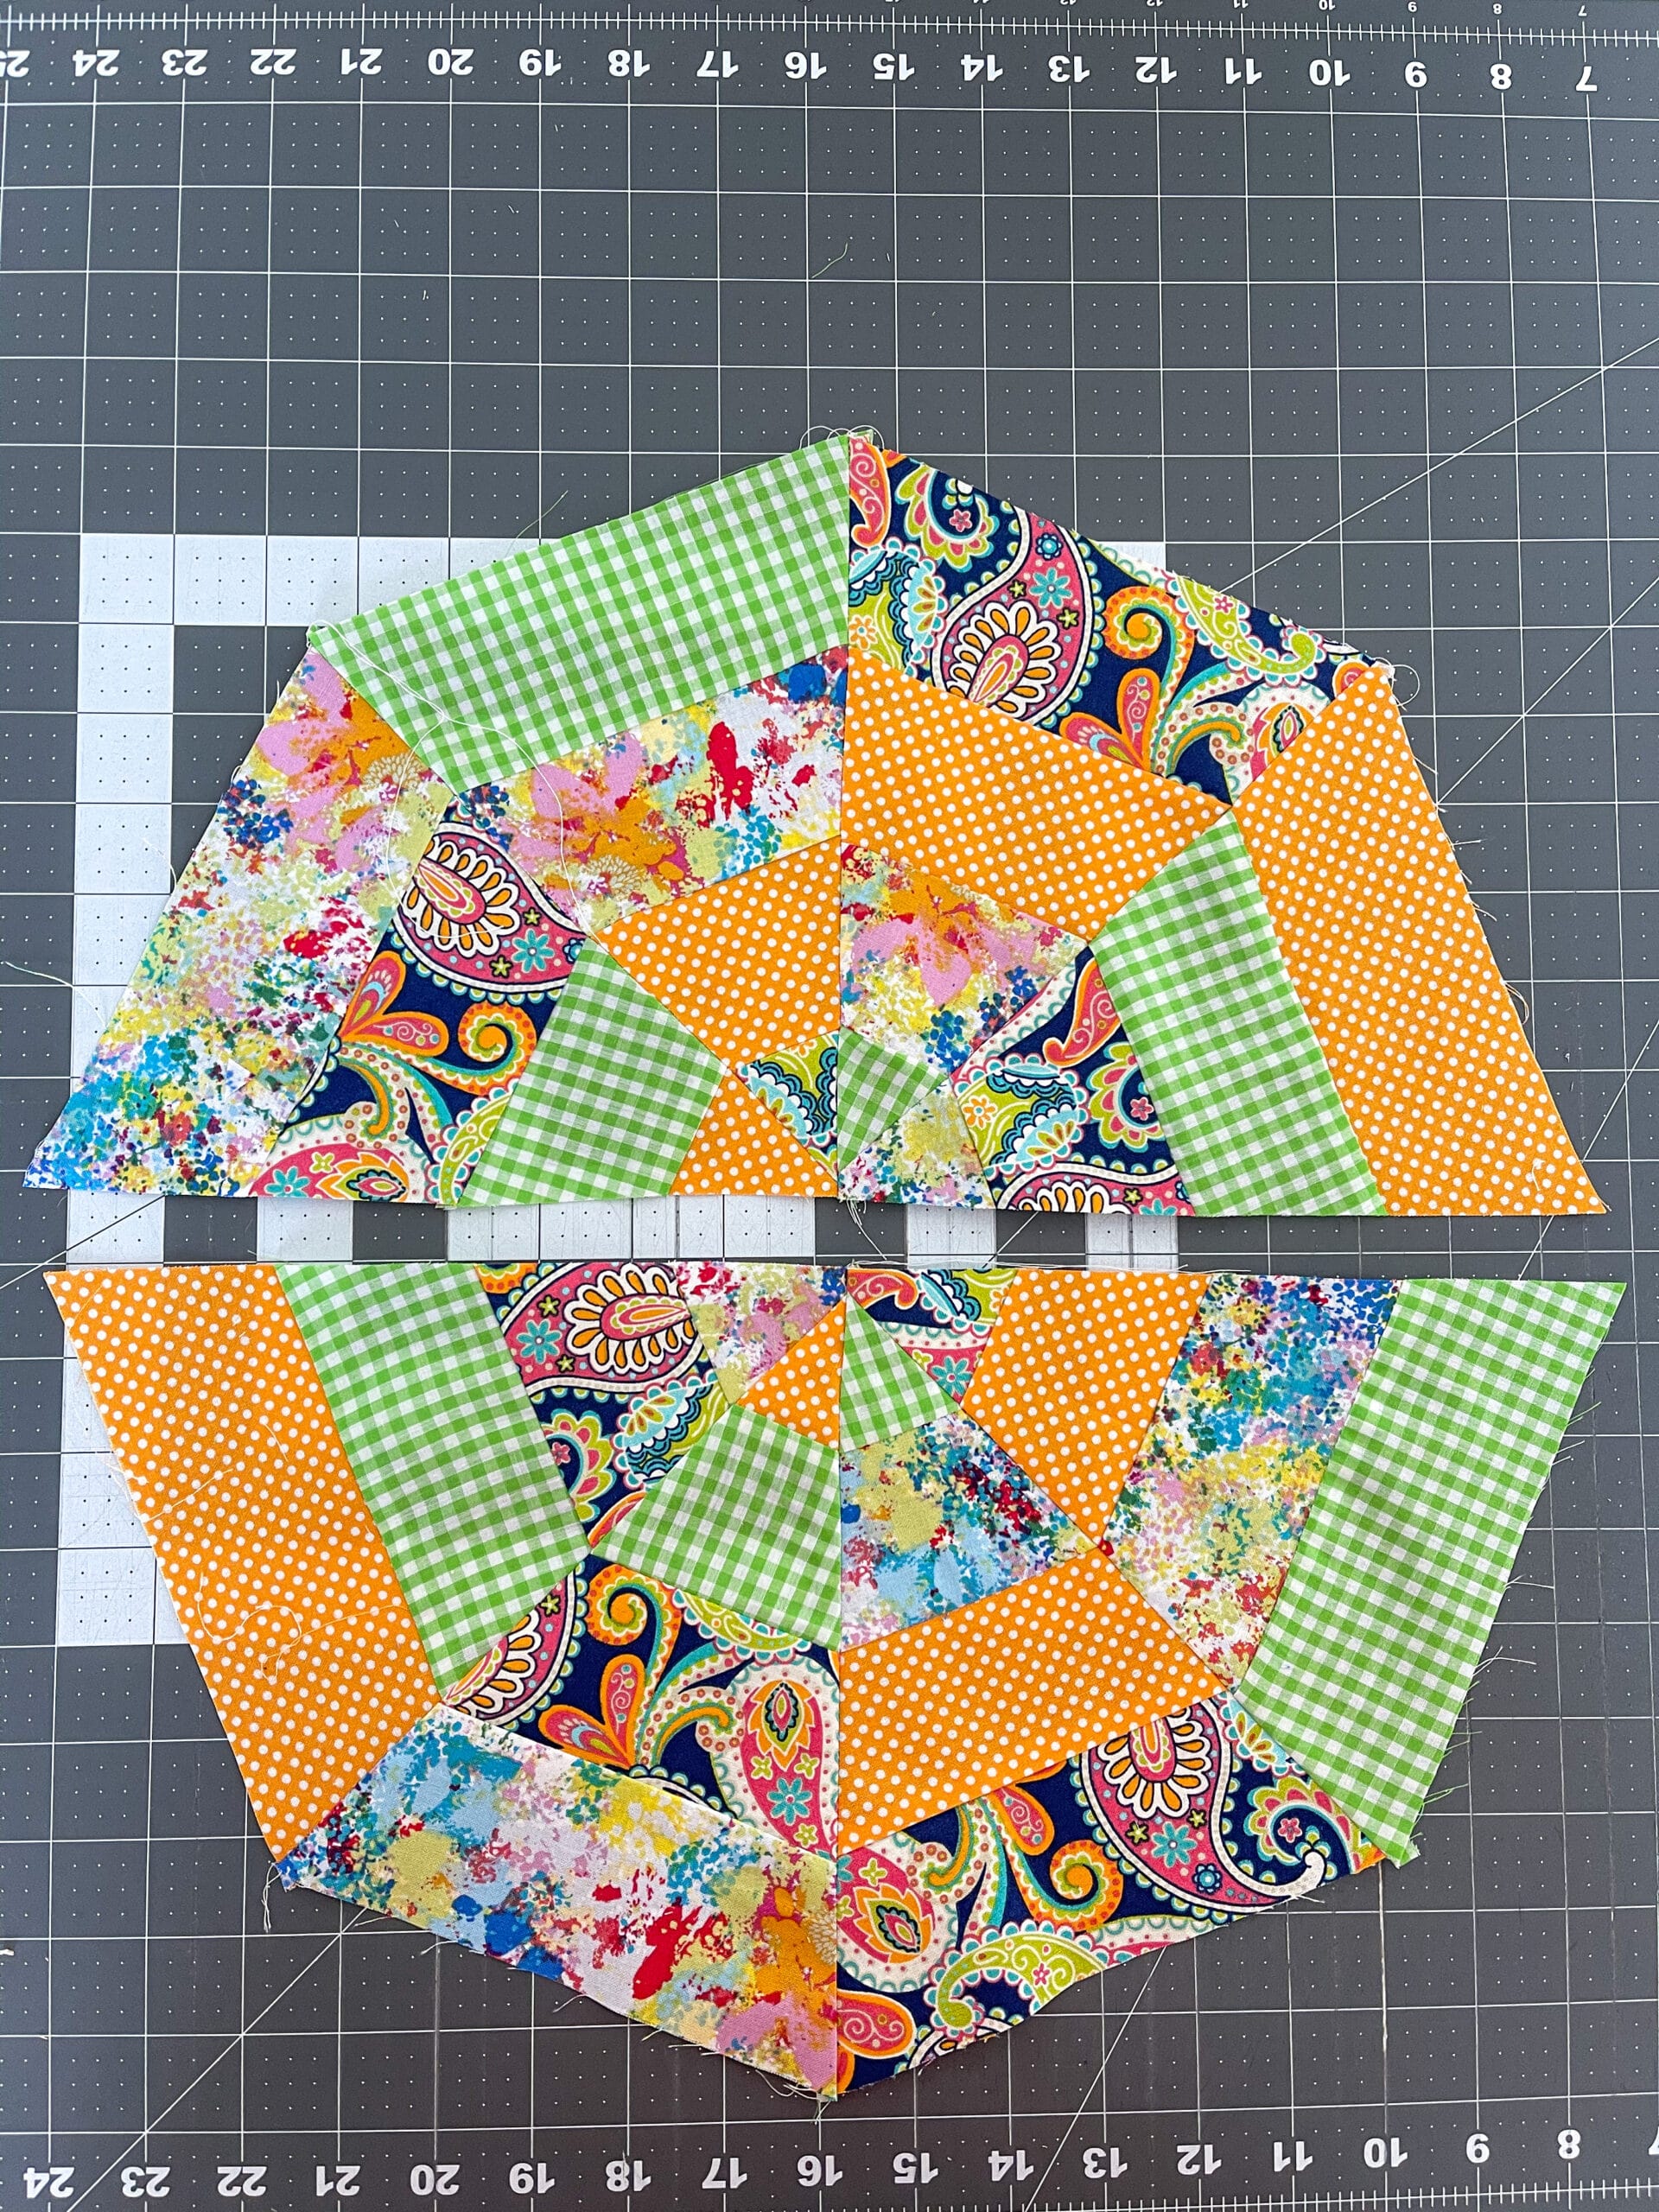
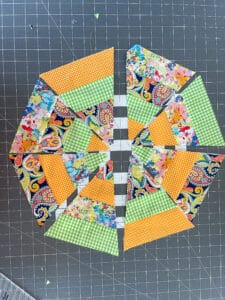
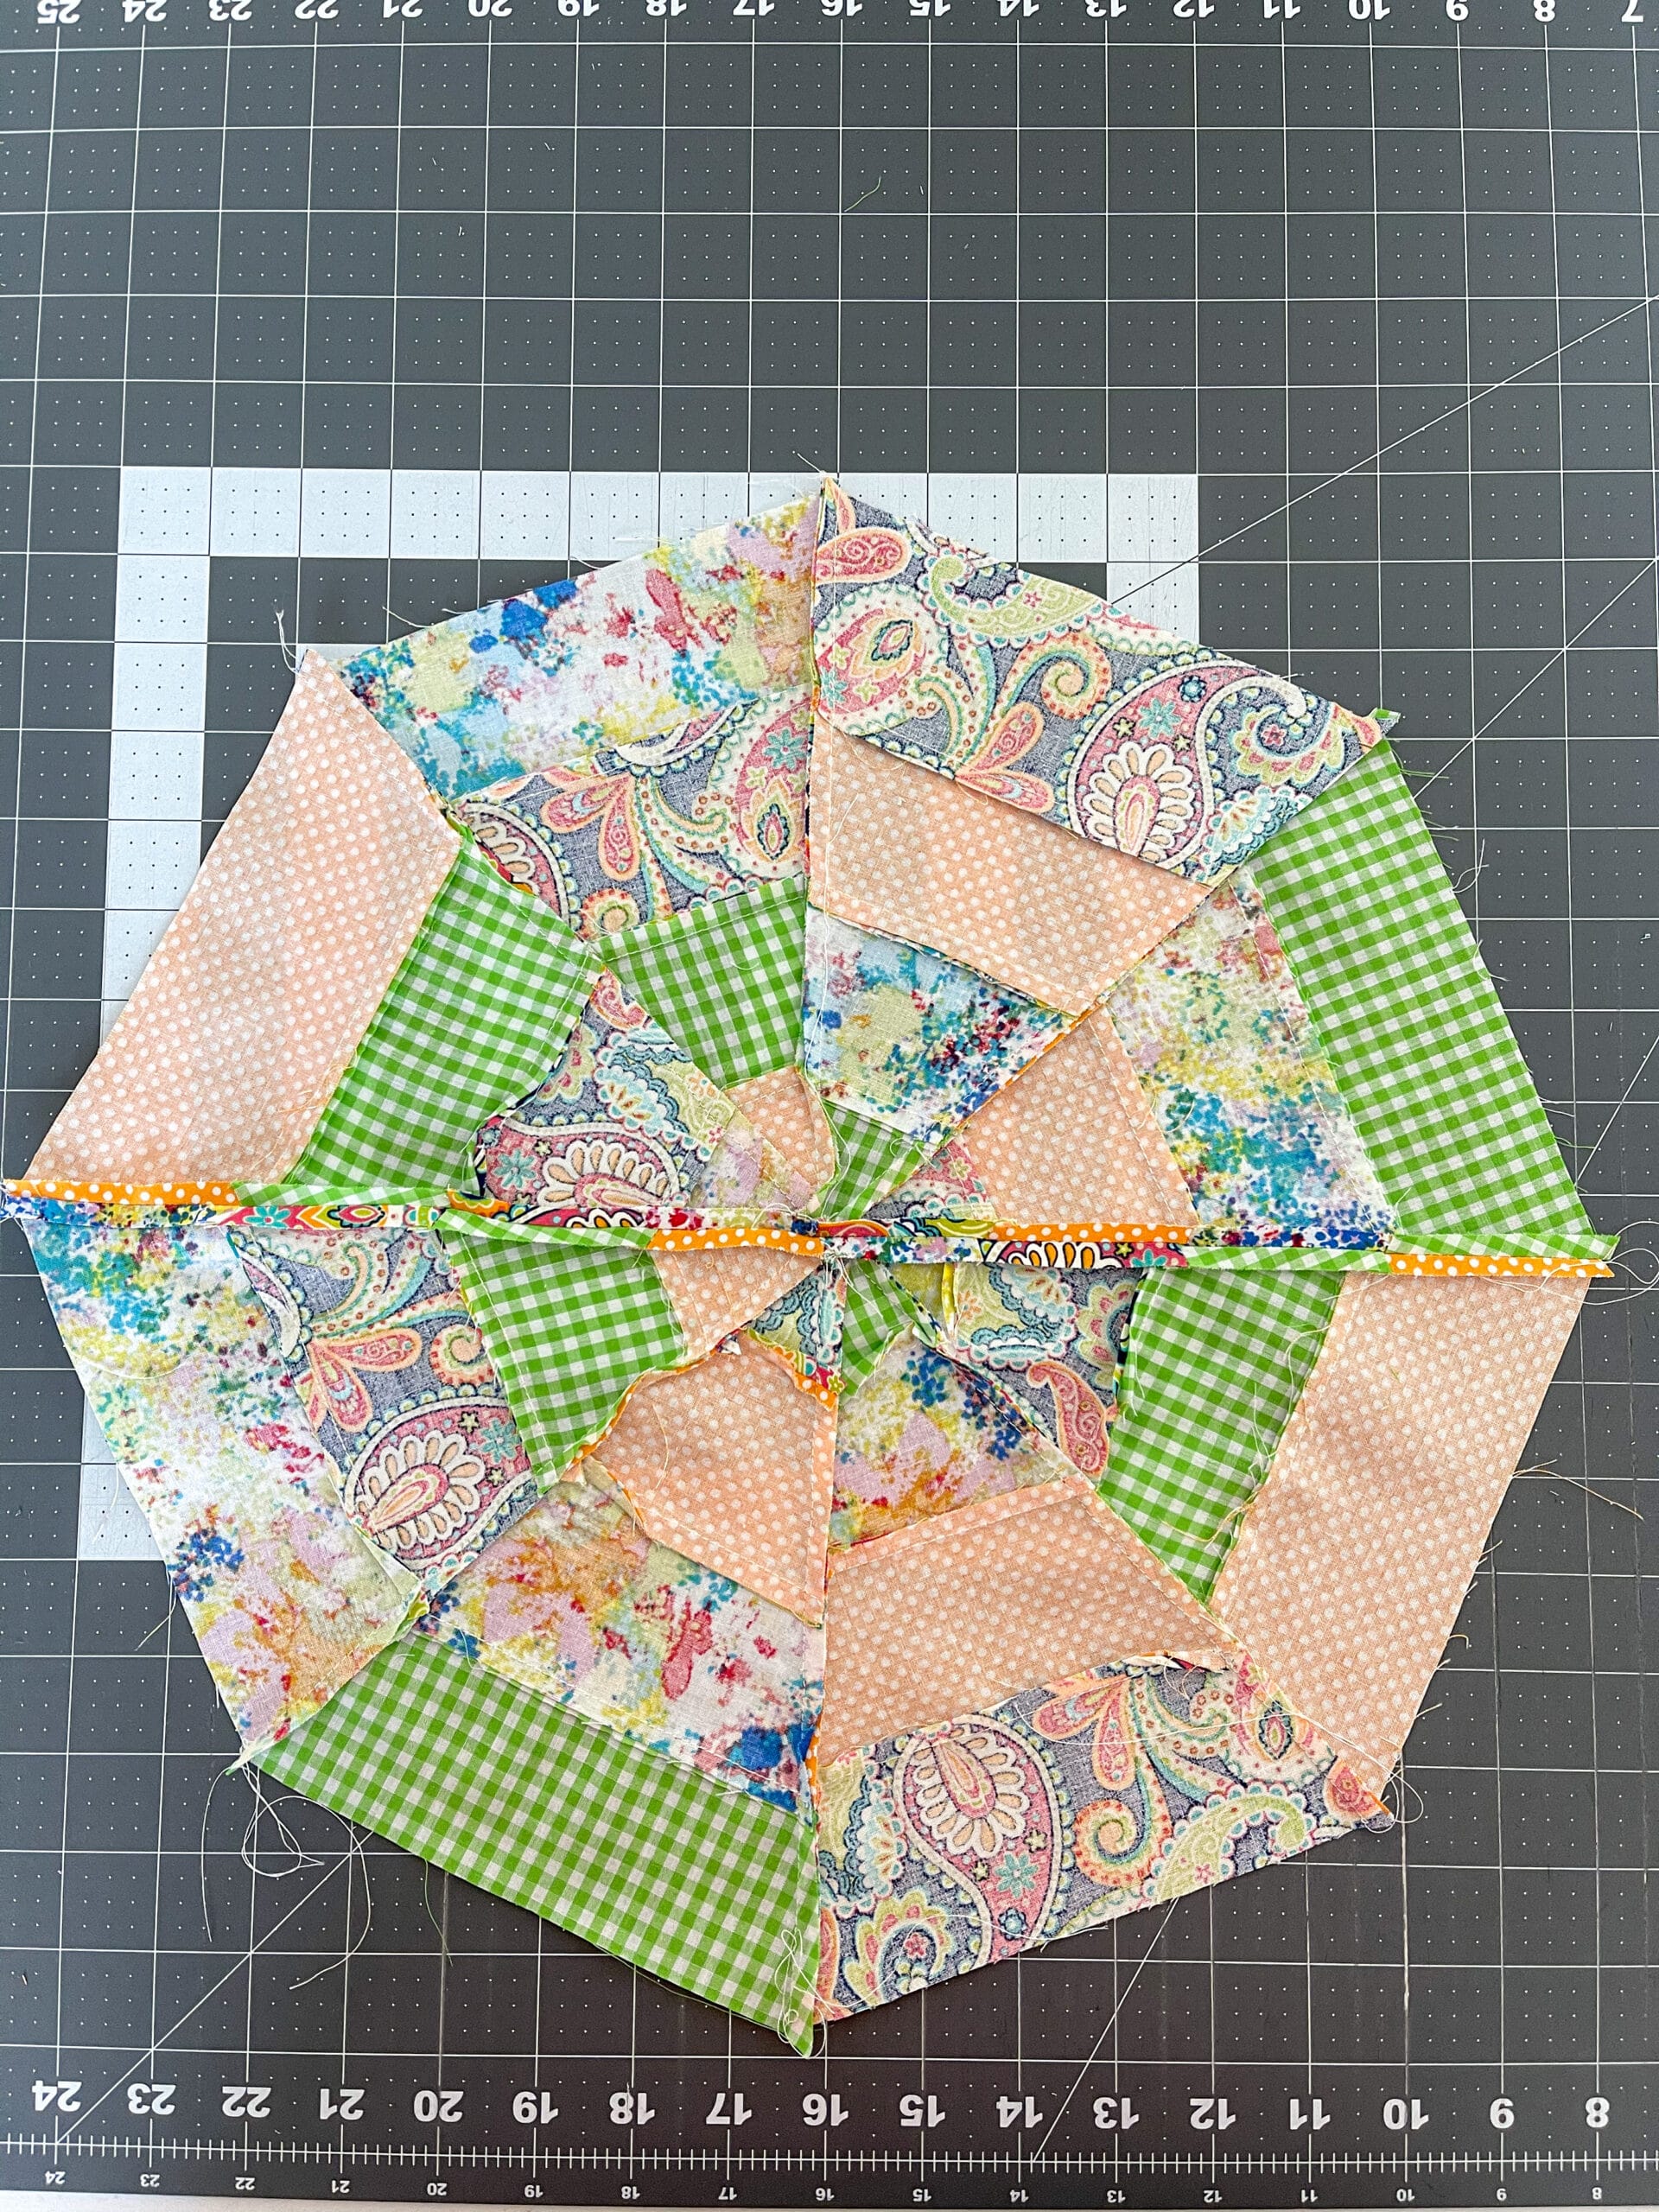
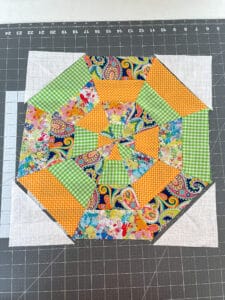
9. Sew the two sides together to form your octagon. Press. I pressed my center seam open, but you can press in your preferred method.
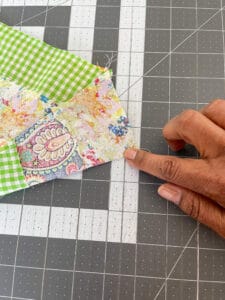
10. To make the octagon into a square, we need to sew triangles to four of the corners. Take the 6″x 6″ squares and cut in half diagonally, from corner to corner. Fold the triangle in half, and finger press on the center fold. This will be your guide marker to line up with your block.
11. Mark the bottom center of every other triangle of your octagon block. You can use a pen to mark the center, or finger press. These will be the the blocks you sew your background corners onto.
12. Matching your center marks, place a background at every other triangle of your block.
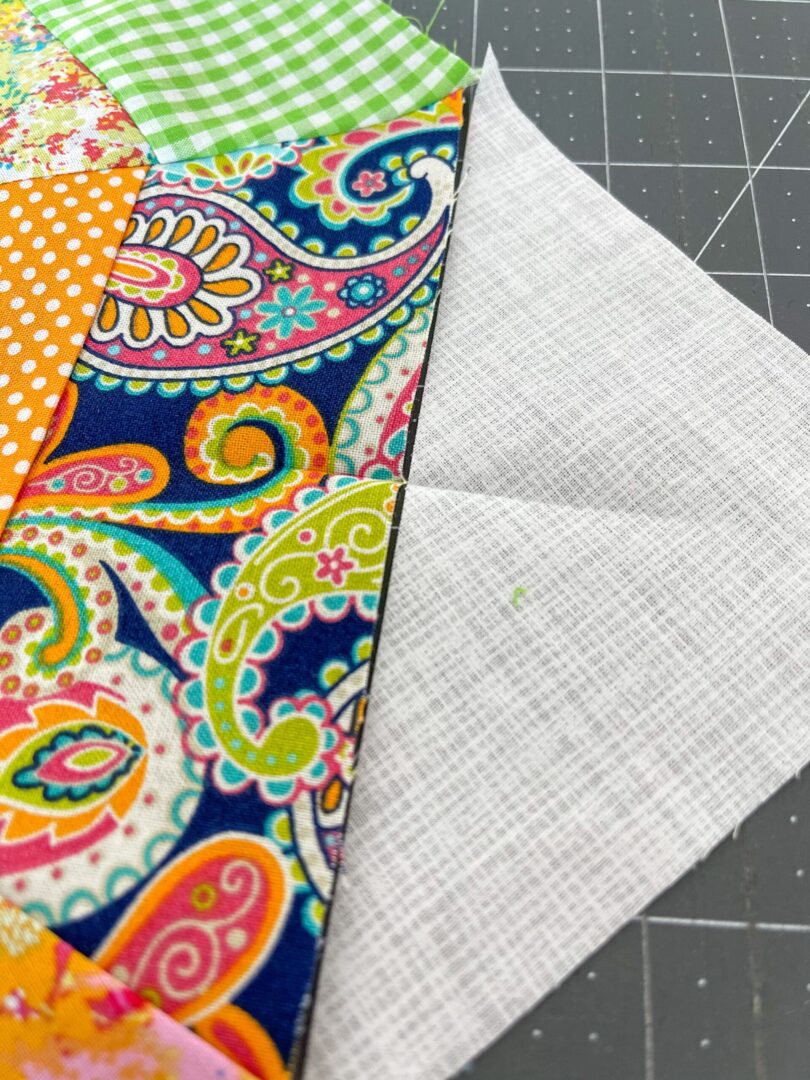
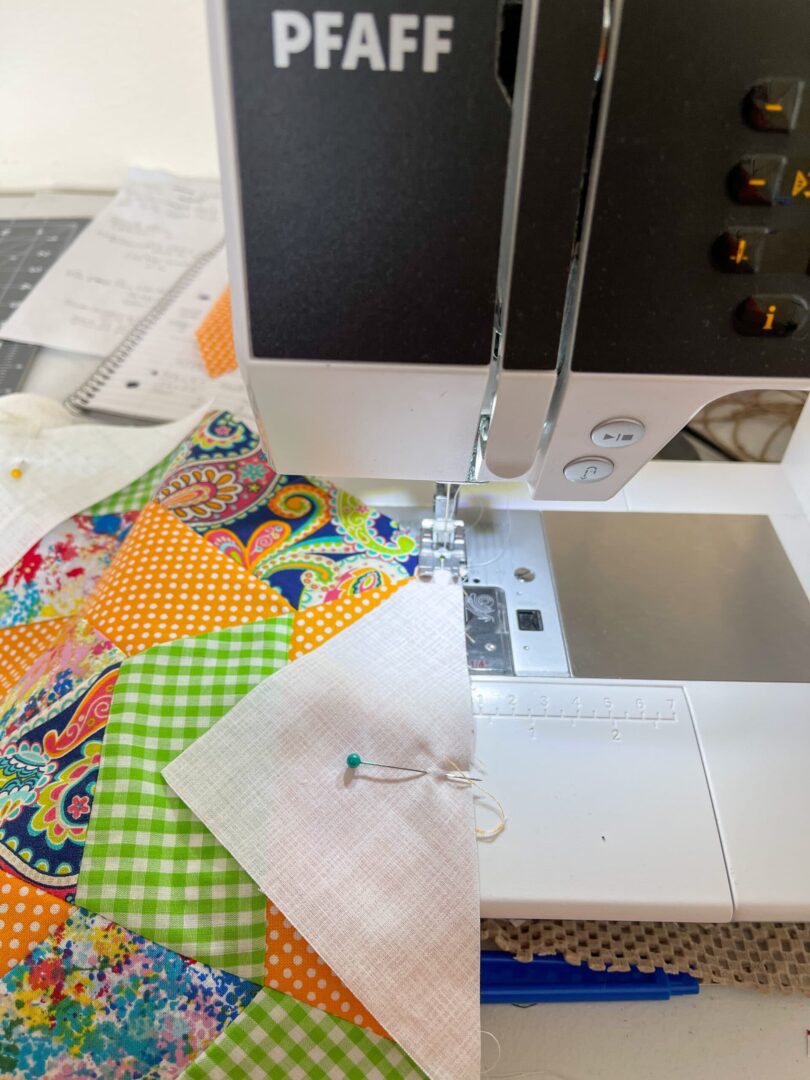
13. Pin the background pieces to your block, right sides together. Stitch in place.
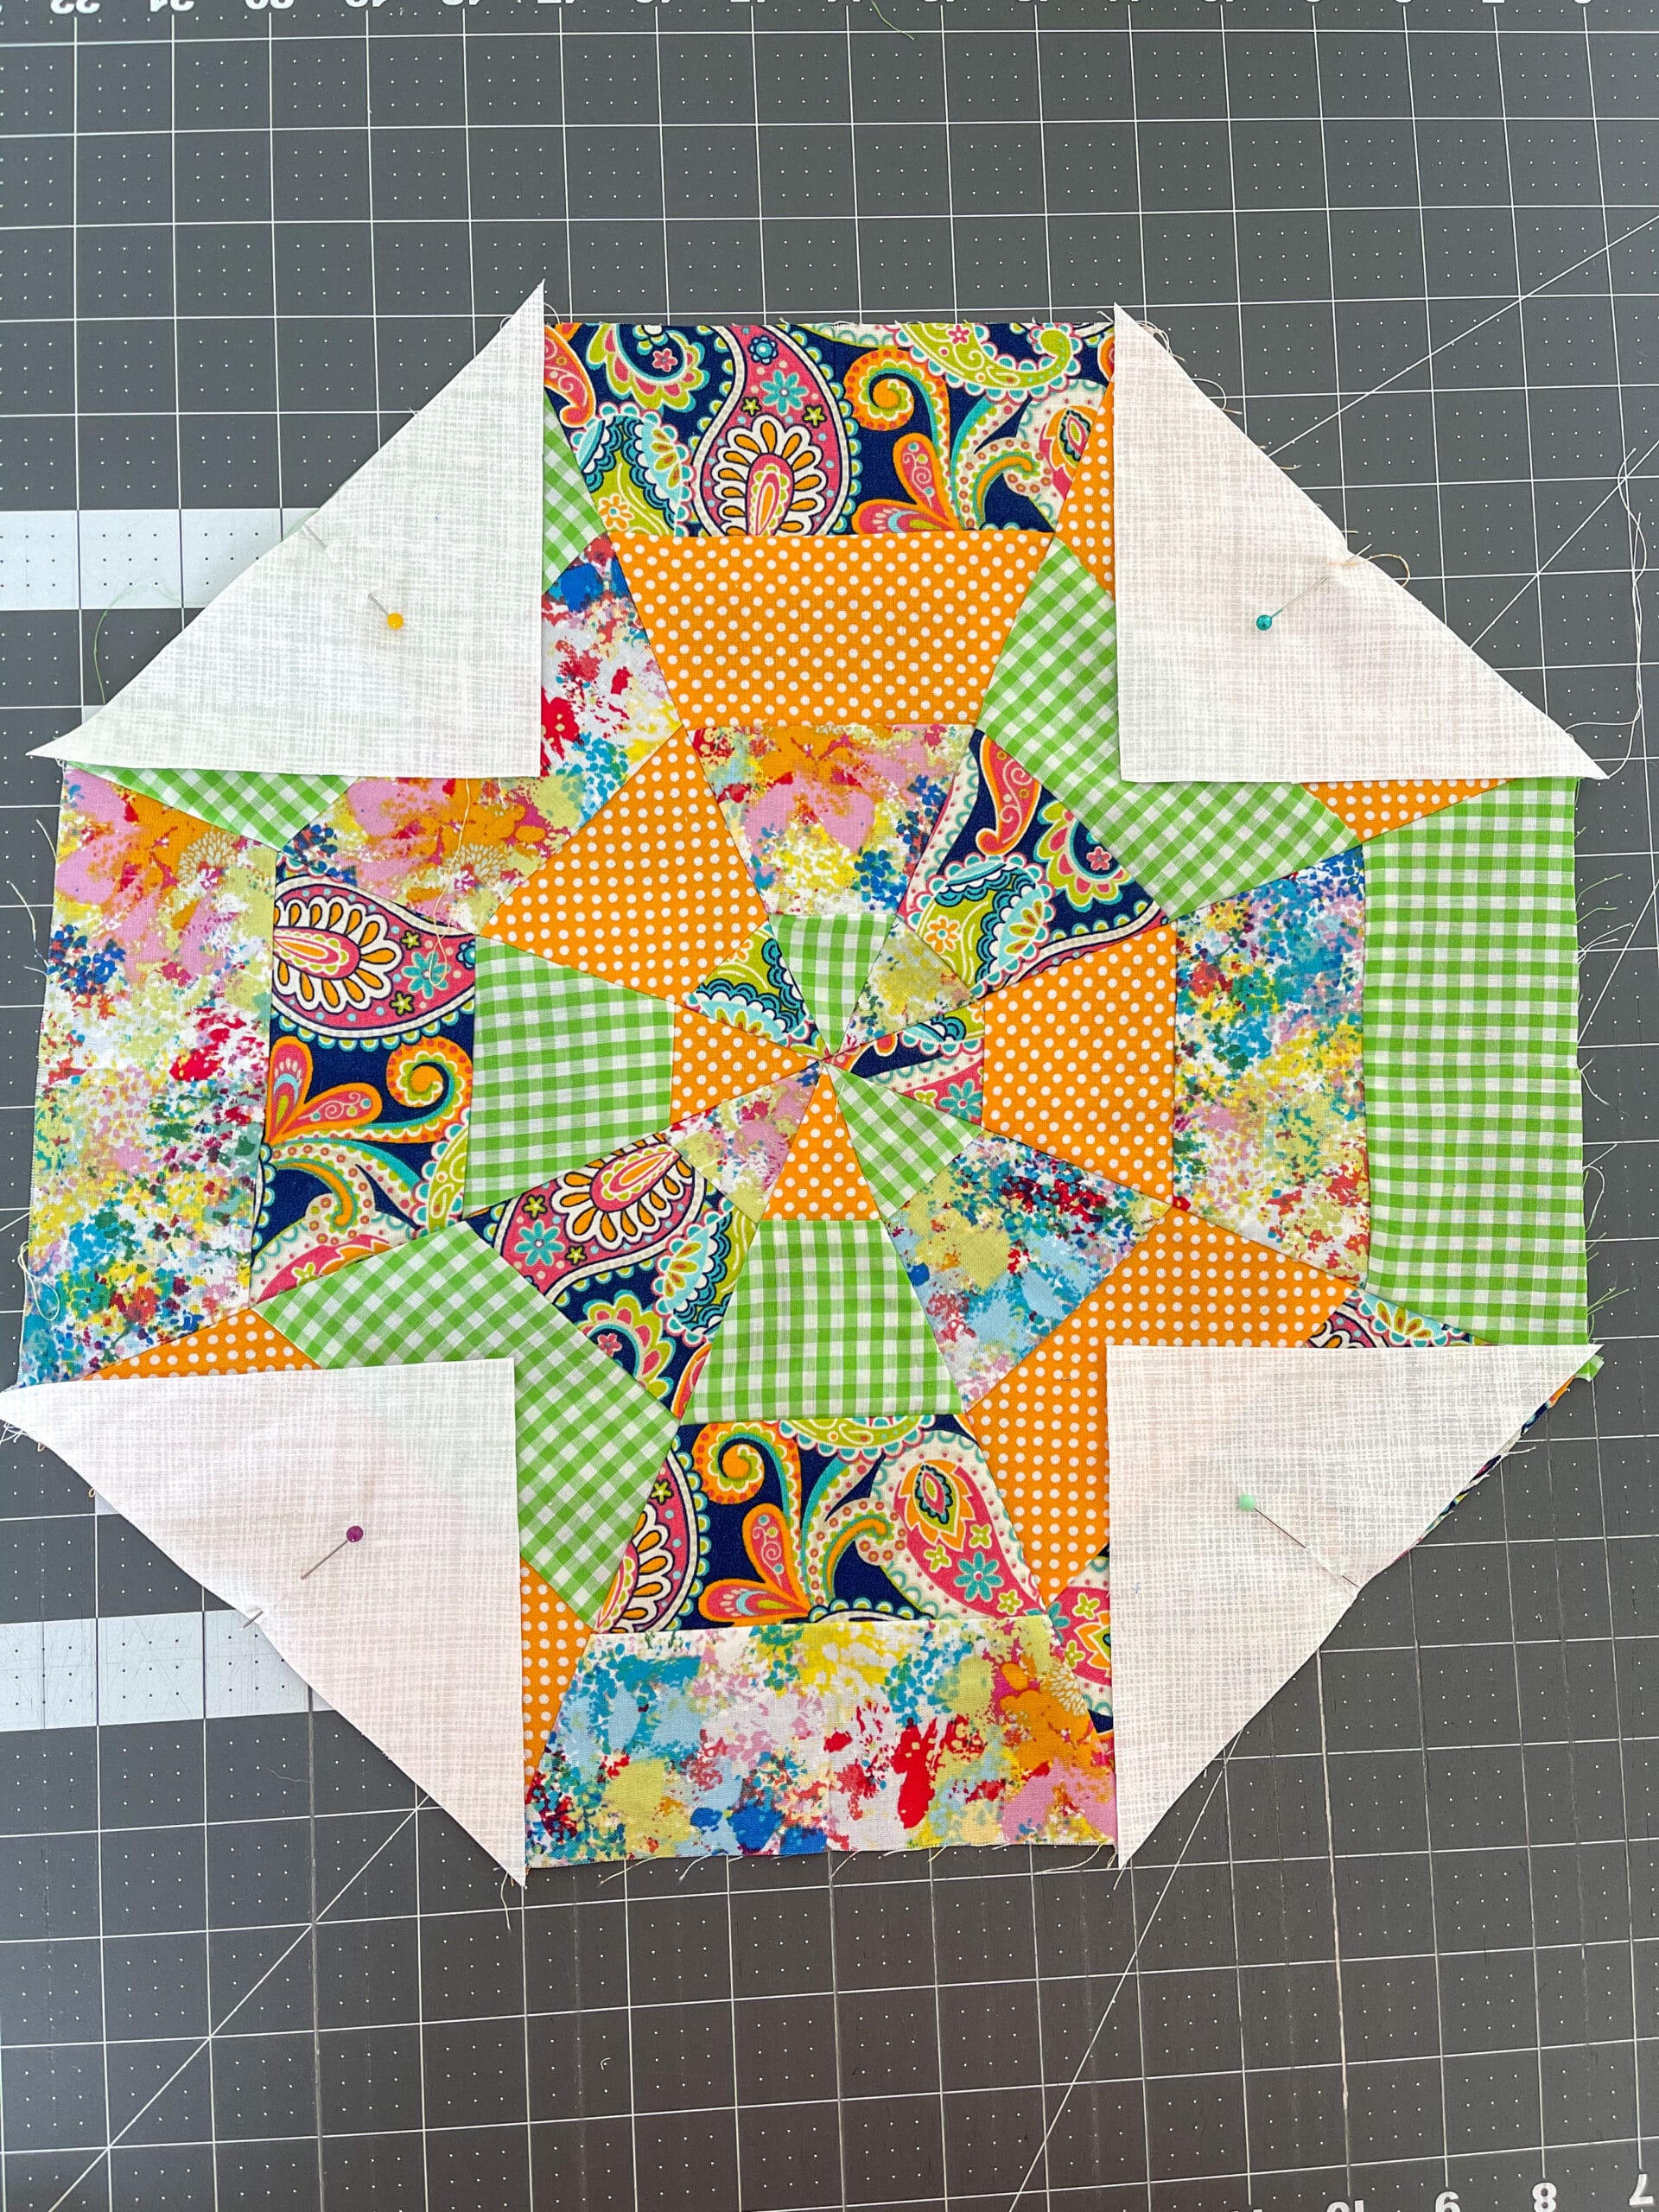
14. Open and press and press toward background fabric. Your finished block is 15″.
** Now let’s work on sewing the envelope back to complete your pillow cover.
15. Take the two 15″ x 10″ pieces.
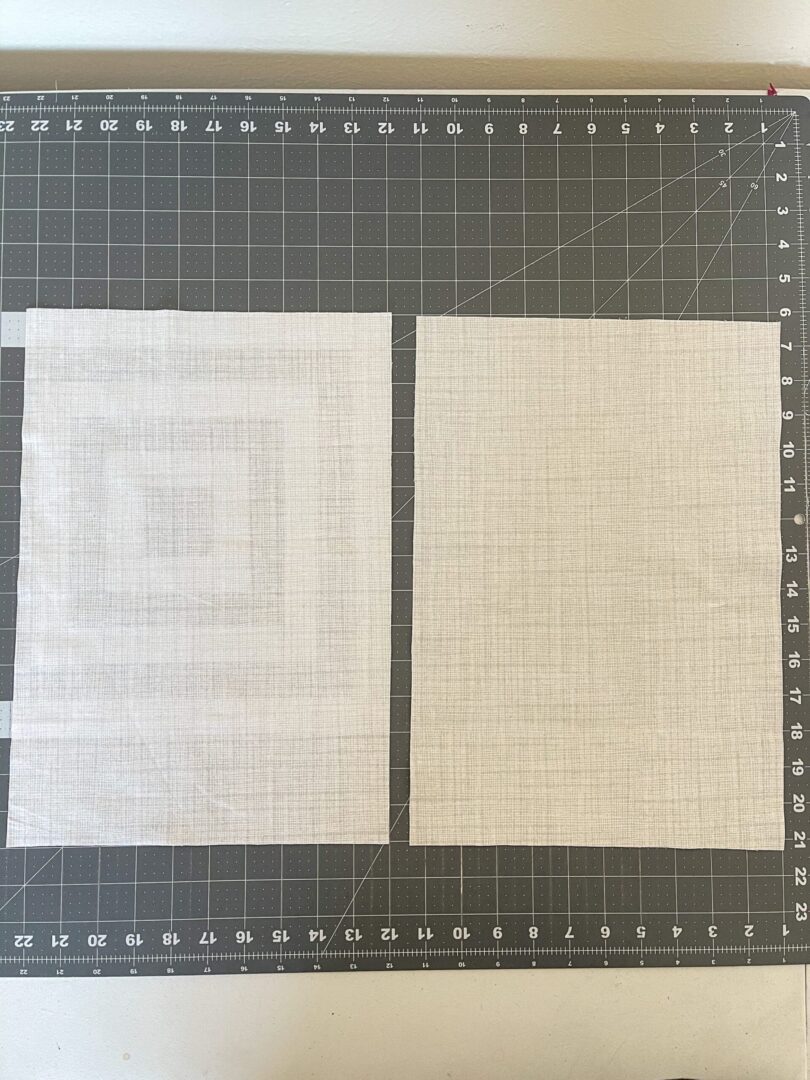
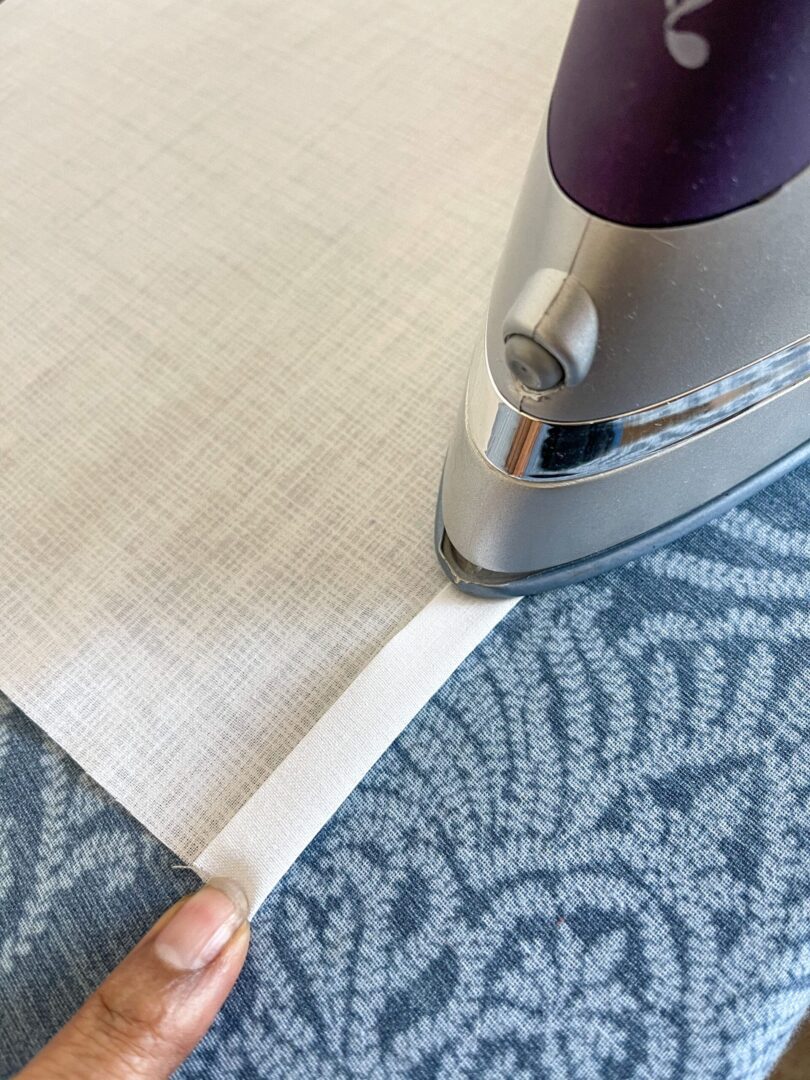
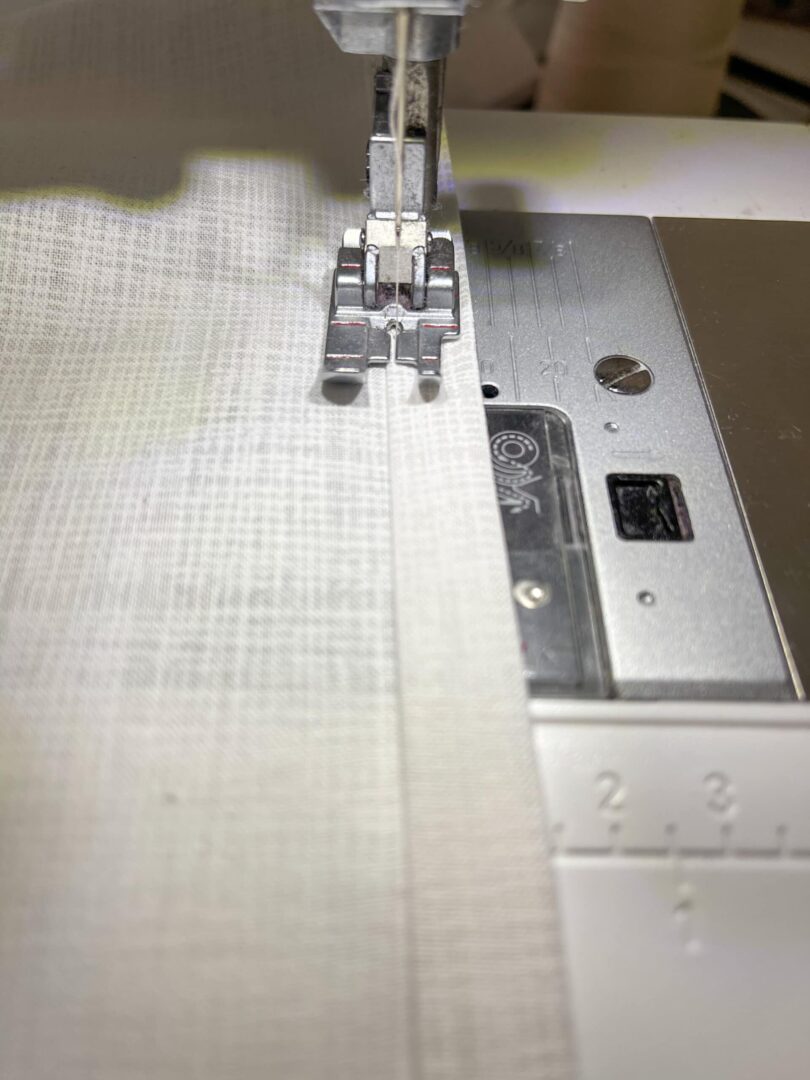
16. Make a 1/2″ hem on the long side (15″ side). To do this, fold over ¼ inch and press. Then, fold the hem on itself and press again. Stitch close to the folded edge.
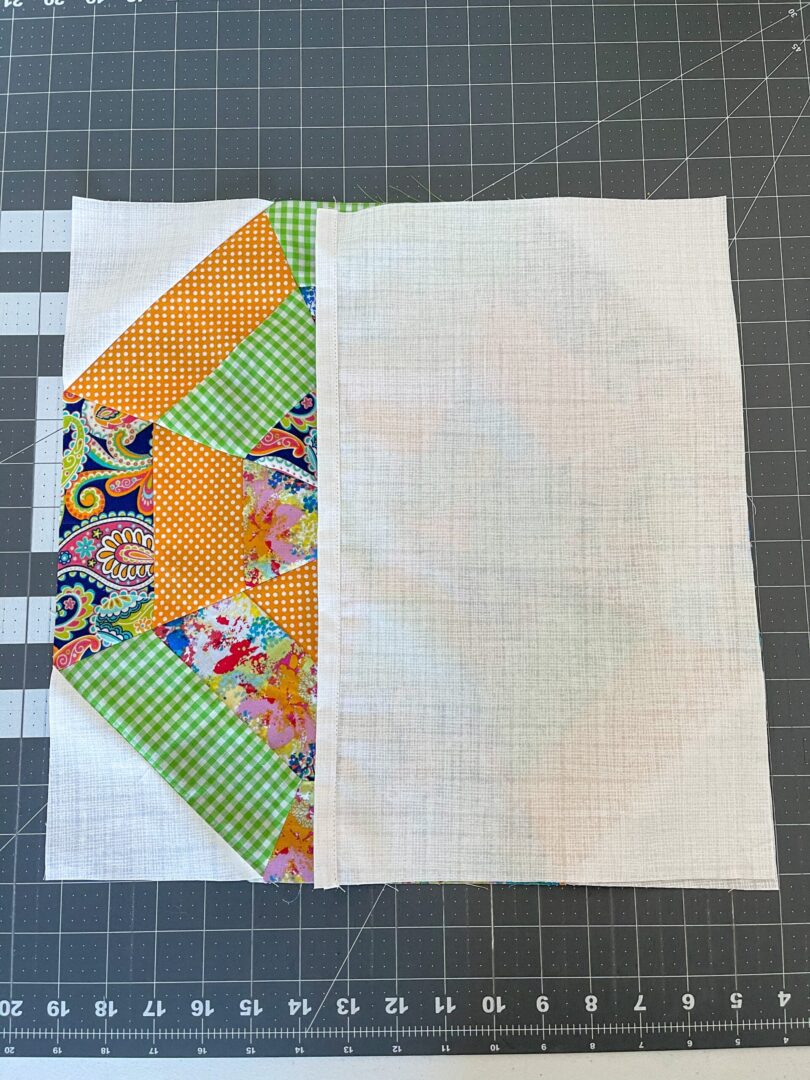
17. With right sides together, matching all sides, place one pillow back on the left and right side of your block. They will overlap each other. Pin in place and stitch around the outer edges.
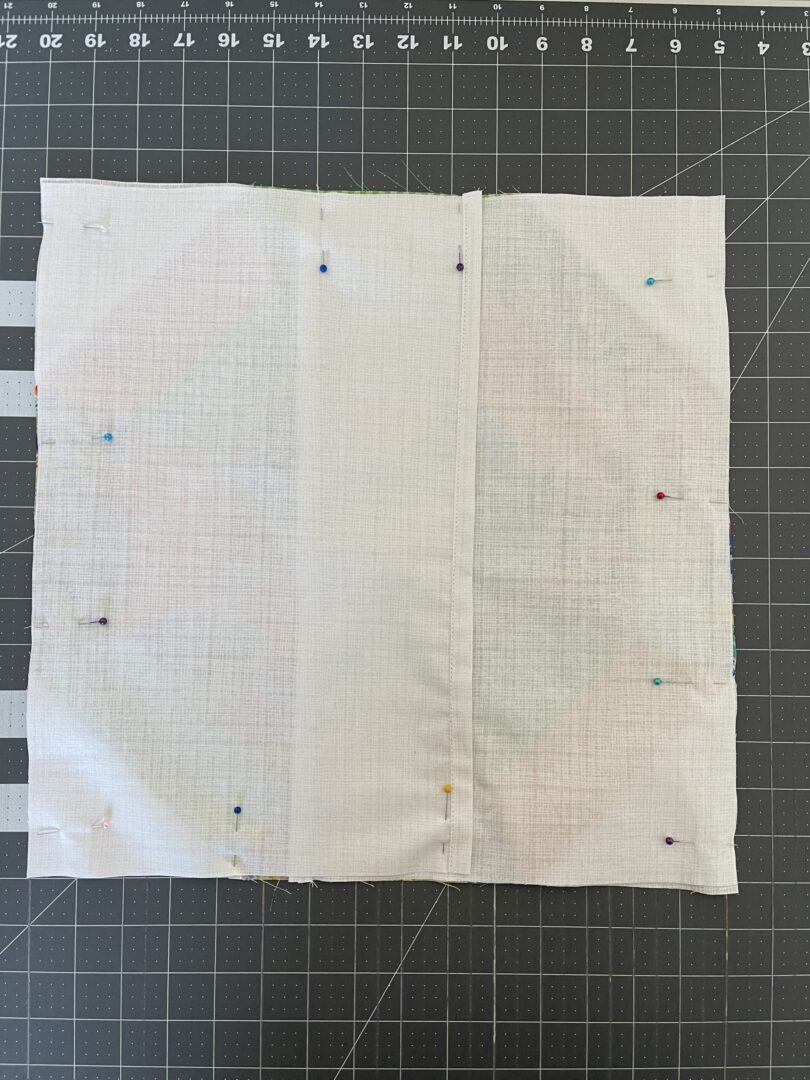
Turn inside out, insert your pillow form, and enjoy!
Mary Davis
Mary Go Round Quilts