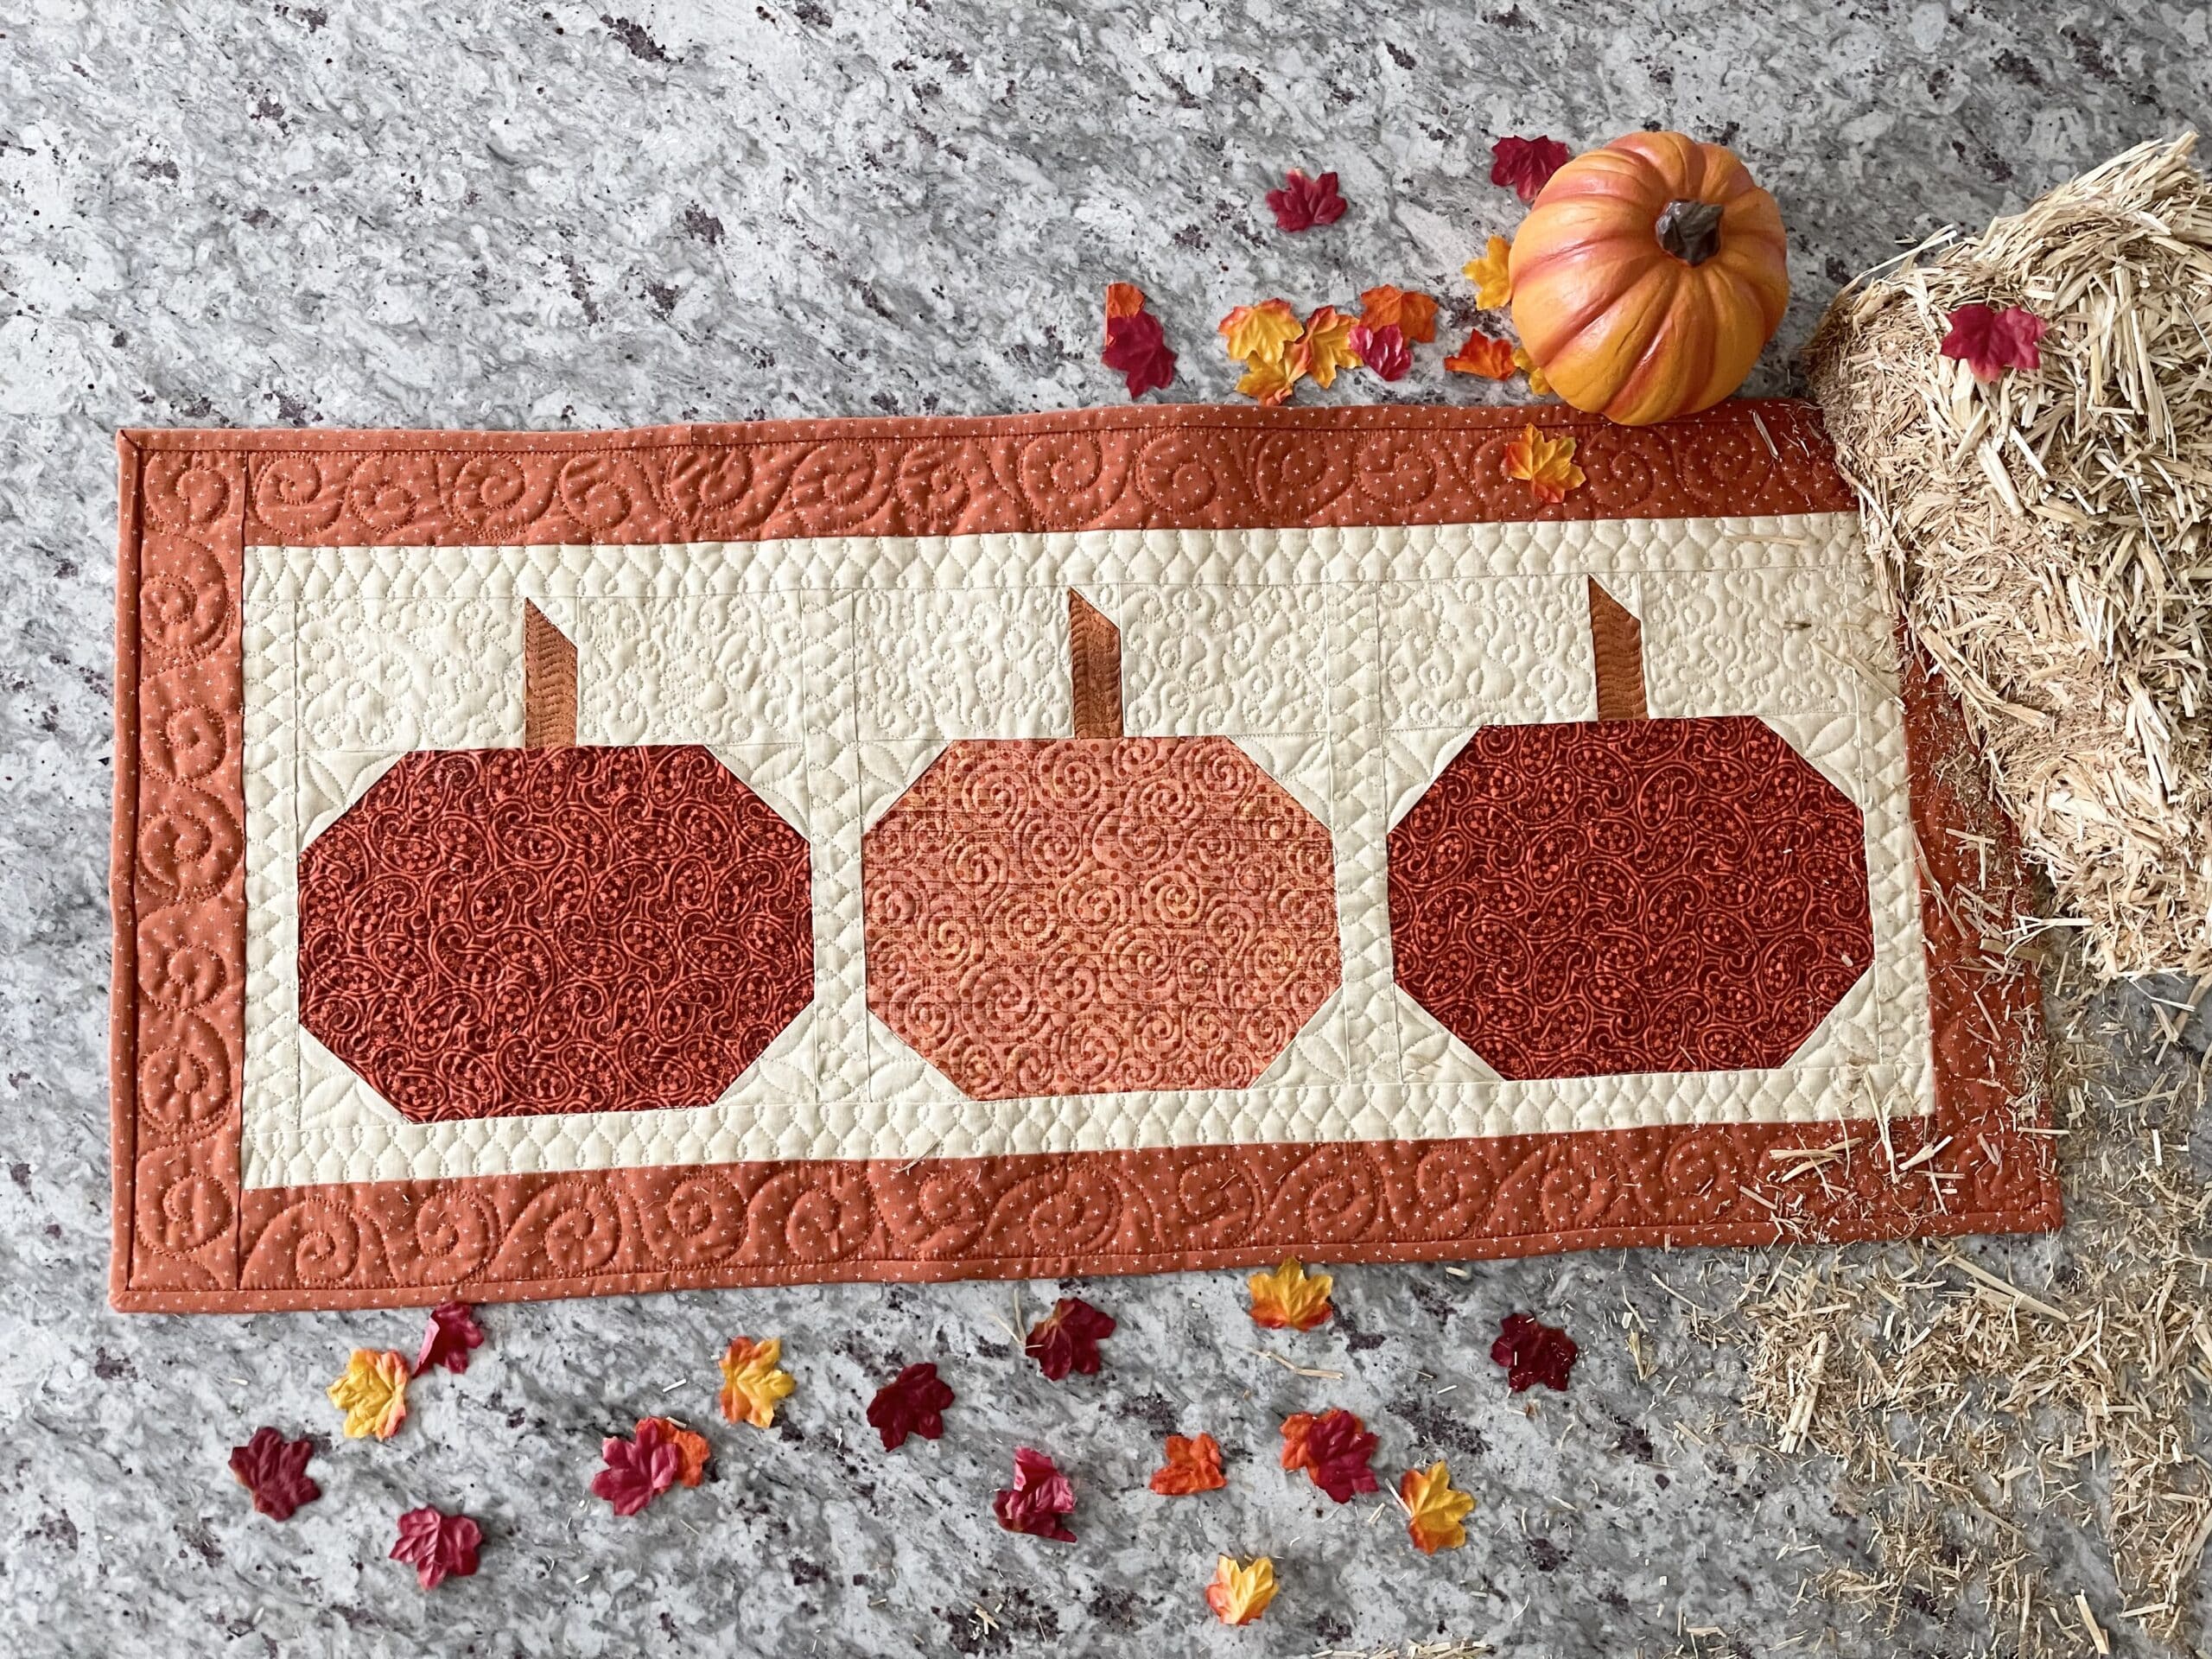
Summer is finally here! With Fourth of July just around the corner, I wanted to share this quick and easy quilted table runner tutorial. Nothing says Americana like summer barbeques with friends, family and fireworks on Independence Day. So why not spruce up your table with this sawtooth star table runner. This beginner friendly table runner can be made in a day. Another fun idea is to make some matching placemats. Simply add borders to the sides of one star block, and there you have it. Although I am calling it a table runner, it can be used as a cushion to sit on while watching fireworks, a wall hanging or place anywhere you want to jazz up your Independence Day decorations. Let’s get started!
What you’ll need:
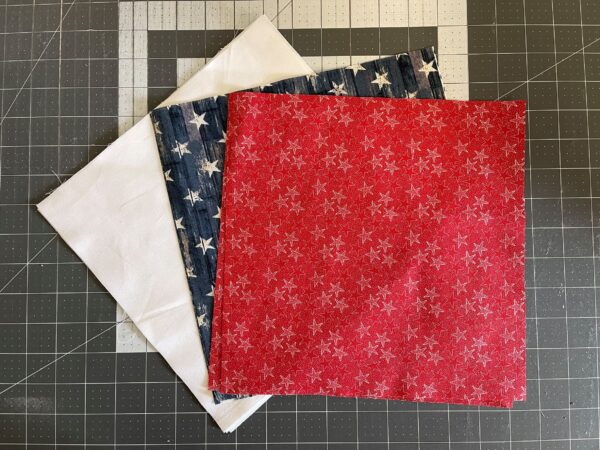
Red Fabric:
2 – 9″x9″ square (HST)
1 – 6 ½” x 6 1/2″ square (inner square)
2 ““ 1 ½” x 12 ½” strips (sashing)
2 – 2 ½” x 41 ½” (top and bottom border)
2 ““ 2 ½” x 21 ½” (side border)
4 ““ 2 ½” by WOF (binding)
Blue: Fabric
1 – 9″x9″ square (HST)
2 – 6 ½” squares (inner square)
2 ““ 1 ½” x 12 ½” strips (sashing)
2 – 2 ½” x 41 ½” (top and bottom border)
White/Background:
3 – 9″ x 9″ squares (HST)
2 ““ 1 ½” x 12 ½” strips (sashing)
12 ““ 3 ½” x 3 ½” squares (corners)
2 – 2″ x 41 ½” (top and bottom border)
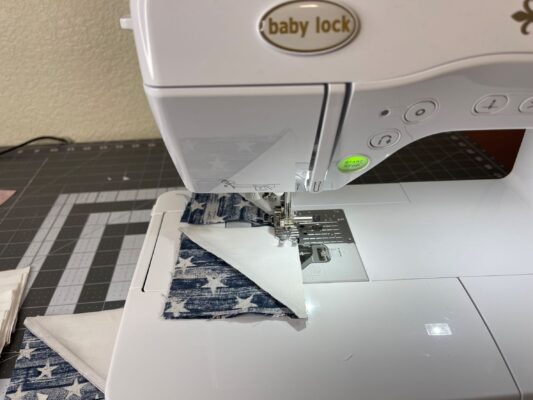
Let’s start by making 8-at-a-time half square triangles (HSTs). Pair one 9″ x 9″ red square with one 9″ x 9″ white square. Right sides together. Repeat with the two 9″ x 9″ blue and white squares.
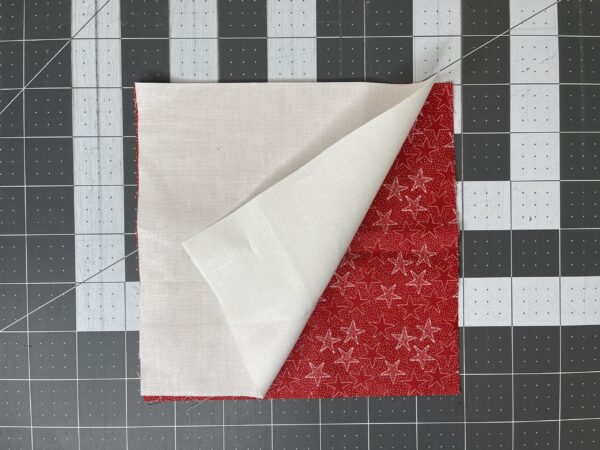
Using a ruler, draw an X on the back of each white square. I like to add a couple pins in place to make sure my pieces do not shift while sewing. Stitch 1/4″ from both sides of the drawn lines.
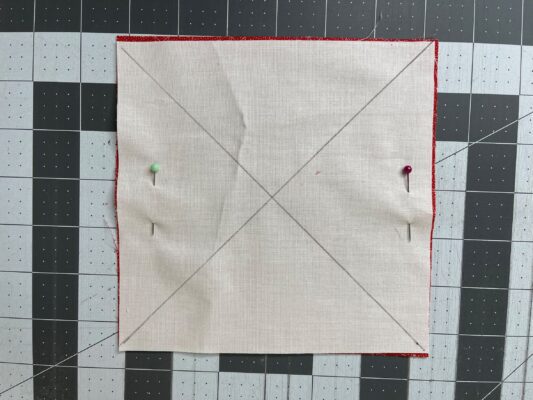

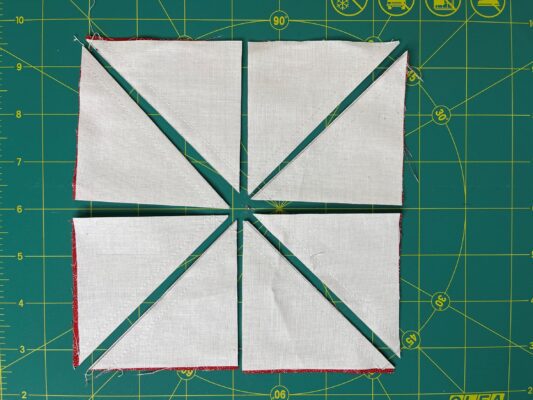
Your sewn squares will look like this.

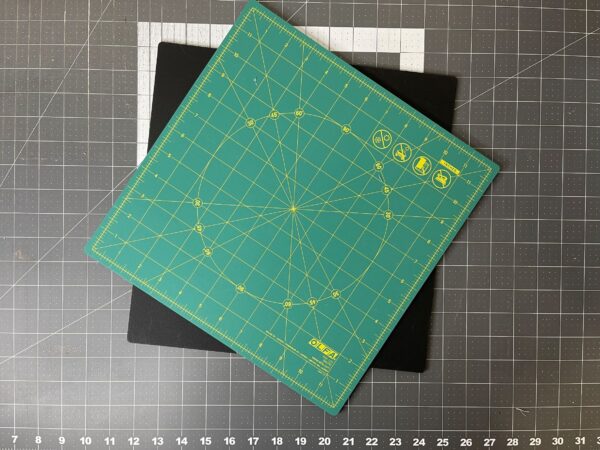
Next step is cutting. For this step I’m using my Olfa 12″x12″ rotating cutting mat. This allows me to make my cuts without lifting up my fabric pieces or physically turning my whole cutting mat. There is a base that stays put while you can spin the top portion.

Now it’s time to cut the blocks apart to make half square triangles (HST). First you want to cut your square down the middle. Since your square is 9″ x 9″, cut 4 1/2″ from the outside edge.
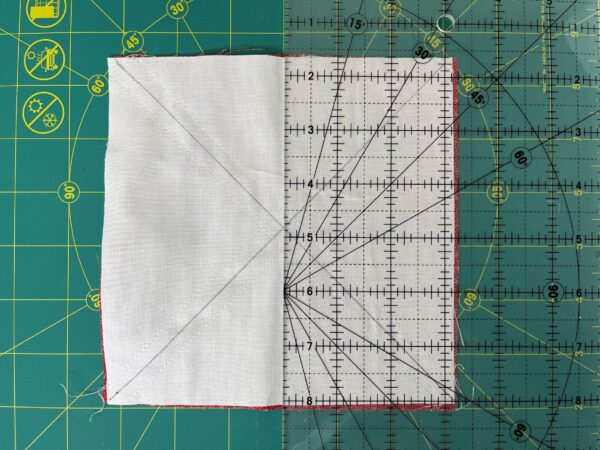
Do a quarter turn and make another cut in the middle of the square. You will have 4 equal squares.
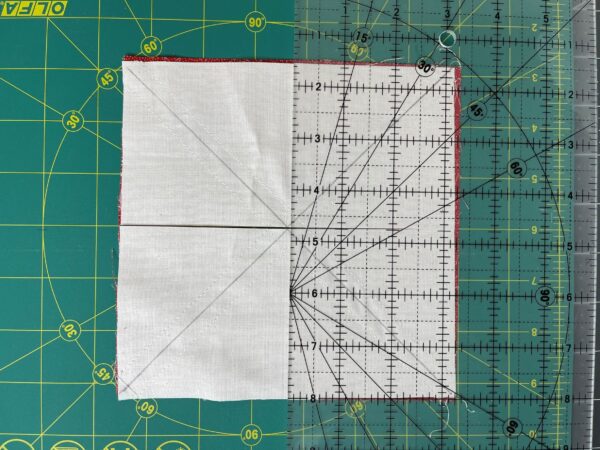
Now cut on the drawn diagonal lines. And like magic you have 8 triangle pieces. Open and press toward the dark fabric. You will have (8) blue HST and (16) red HST. Trim all HST to 3 1/2″ x 3 1/2″ squares.
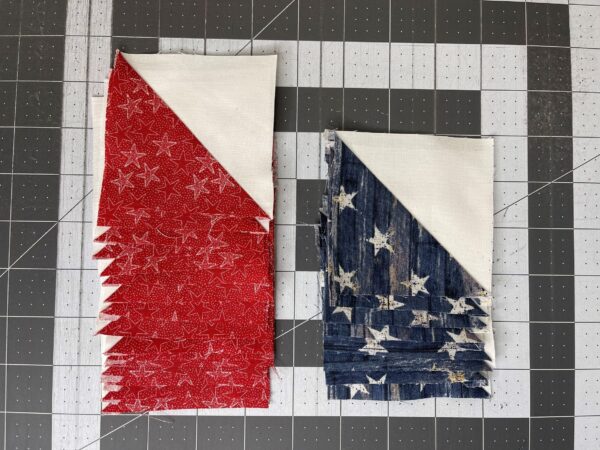
Next we will be making flying geese units by sewing pairs together. These will form the star points. Make sure your HSTs are in this position, with white on top, and color on the bottom.
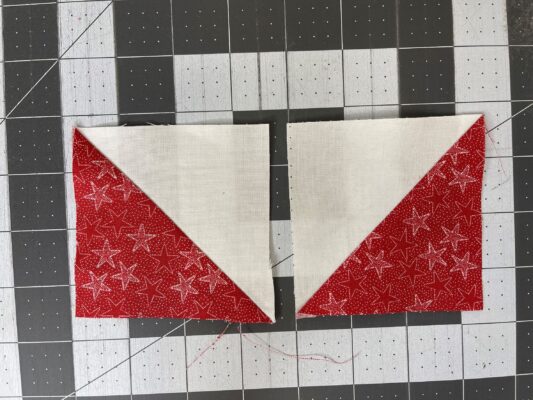
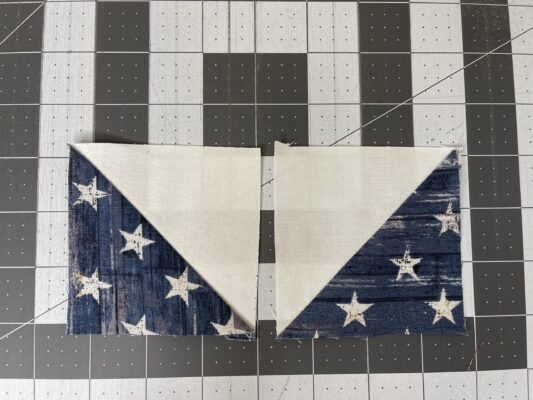
Pair HSTs together matching right sides, then begin chain piecing all of your pairs.

Make 8 red flying geese units, and 4 blue flying geese units.

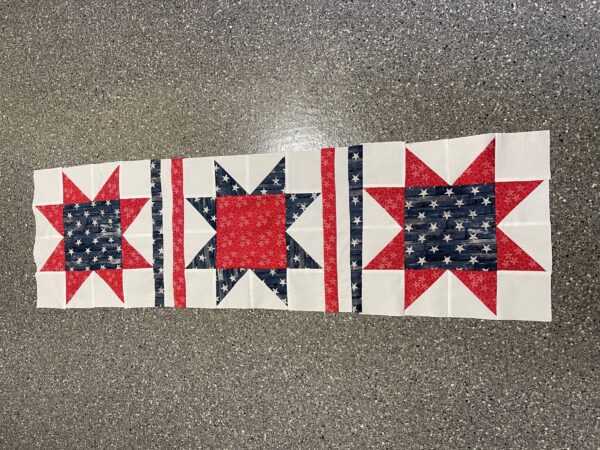
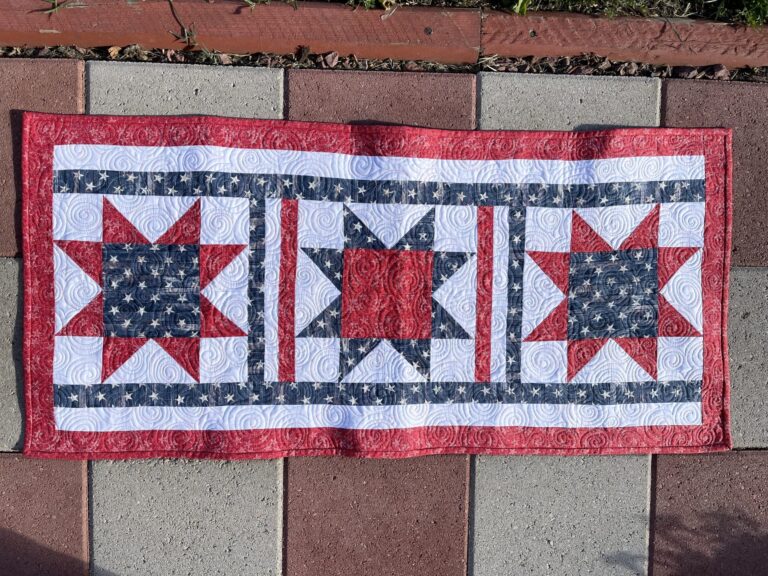
Now the fun part – assembling the block! Layout all of your pieces. Adding the 3 1/2″ squares to the corners, and the 6 1/2″ square to the center. Remember to put the red square in the center of the blue star, and the blue square inside the center of the red star. Stitch together in rows–top, middle and bottom.

Sew rows together to complete your blocks. You now have 1 star with a red center, and 2 stars with blue center squares.


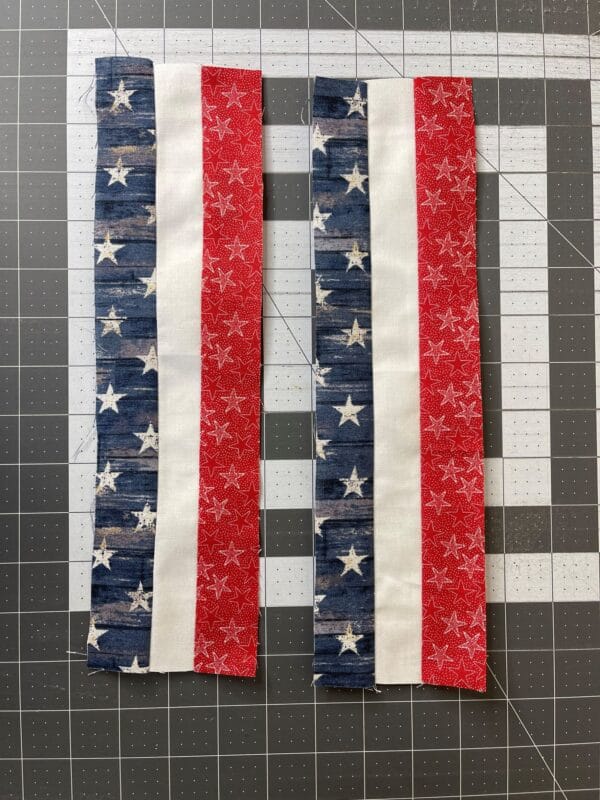
We will now work on the inner sashing. Sew the 1 ½” x 12 ½” red, white, and blue strips together in a group of three. Make two identical strip sets.
Sew the sashing strip between your stars. Make sure the red strip is facing the middle star. At this point my runner was too big for my small table and had to move it to the floor!
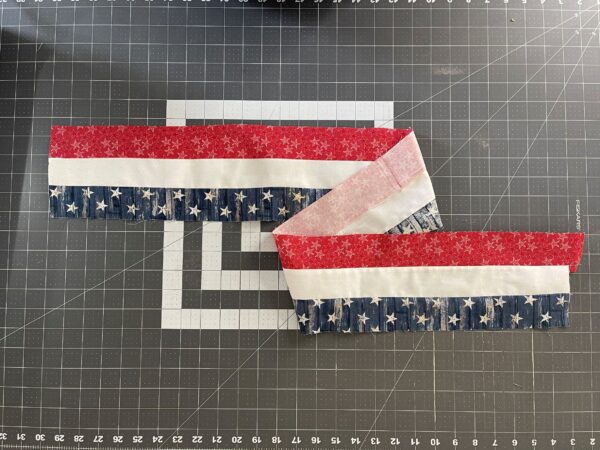
For the outer borders, sew the red, white and blue 2 ½” x. 41 1/2 strips together in a group of three. Make two identical sets.

Attach your strip pieced borders to the top and bottom of your table runner. Make sure like colors face the stars. In my version you can see I have the blue fabric facing the stars. I forgot to take a picture of the last step. Sew the remaining red 2 1/2 x 21 1/2″ strips to the right and left sides to complete your outer borders.

Quilt as desired. And you’re ready to amaze your guest at your Fourth of July festivities. For my free motion quilting, I used Aurifil #3852 in variegated red, white and blue. Perfect choice for this project. I also used Aurifil #2265 (red) for binding, and #2024 in white for piecing. You can shop for Aurifil threads by clicking this affiliate link: Shop Aurifil
All fabric was purchased from Joann’s.

You can find some of the products I used for this tutorial in these sponsored links. I will get a small percentage from sales made using the links.