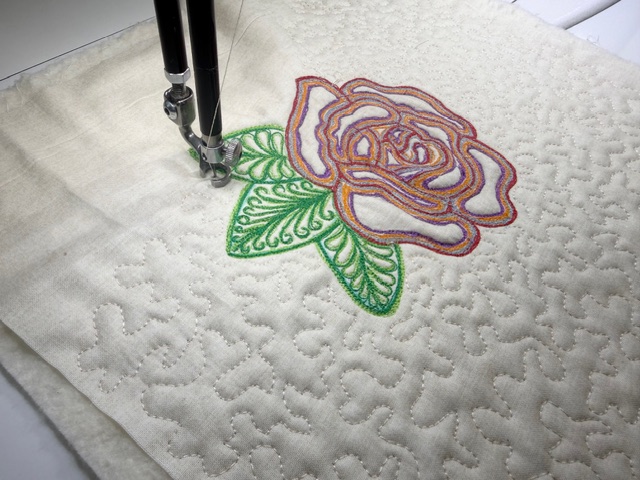
Roses are my favorite flower. So why not make a beginner friendly thread painted rose motif. I’m going to show you how I made this. No special skill required. You can use your sewing machine or quilting machine, This is a beautiful design you can use to embellish a quilted zipper pouch, tote, pillow and more.
I recorded a full demonstration on YouTube, which you can watch below. But, for now, I’ll walk through the steps so you can practice the design yourself. You can also download a copy of this rose motif HERE. You can then transfer it to fabric and start stitching.
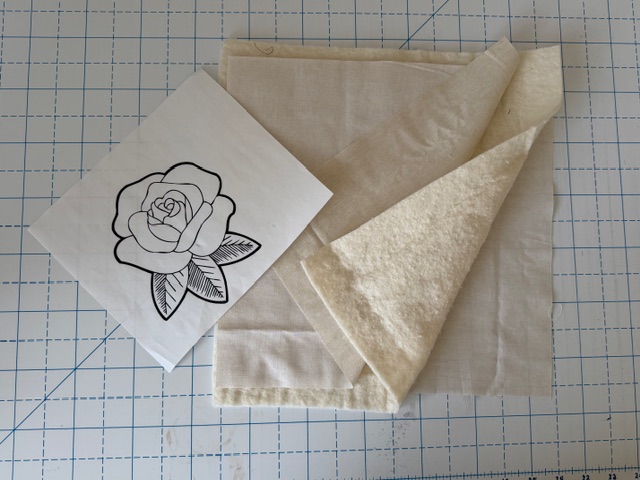
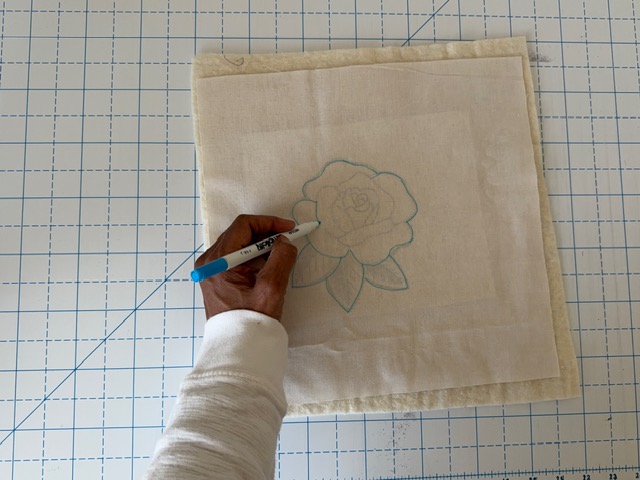
To begin, make a practice quilt sandwich. Mine measure approximately 12 inches. For this, you’ll want a light fabric so you can see through to trace the design,
Place the printed rose motif underneath your top fabric.
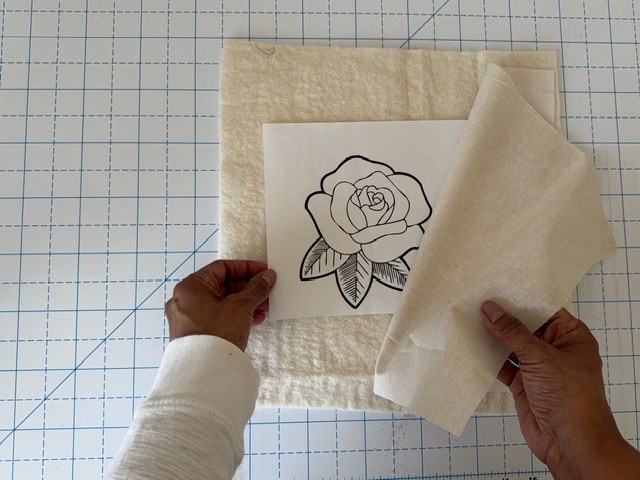
Using a water or air soluble pen, trace the entire design onto the right side of the fabric. You can also use a light box for this step if you have one, to help you see through the fabric. No need to trace all the lines on the inside of the leaves. We want to leave the leaves open for free motion quilting,
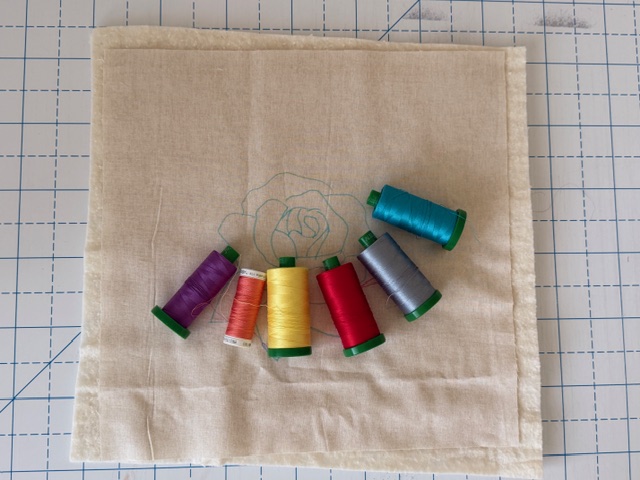
Now it is time to pick some thread colors. Pick three to four colors to outline your rose. Choose one dark, and the rest medium to light in value. The darkest color will be used first to outline the rose. I couldn’t make up my mind, but eventually landed on red, gray, orange and purple.
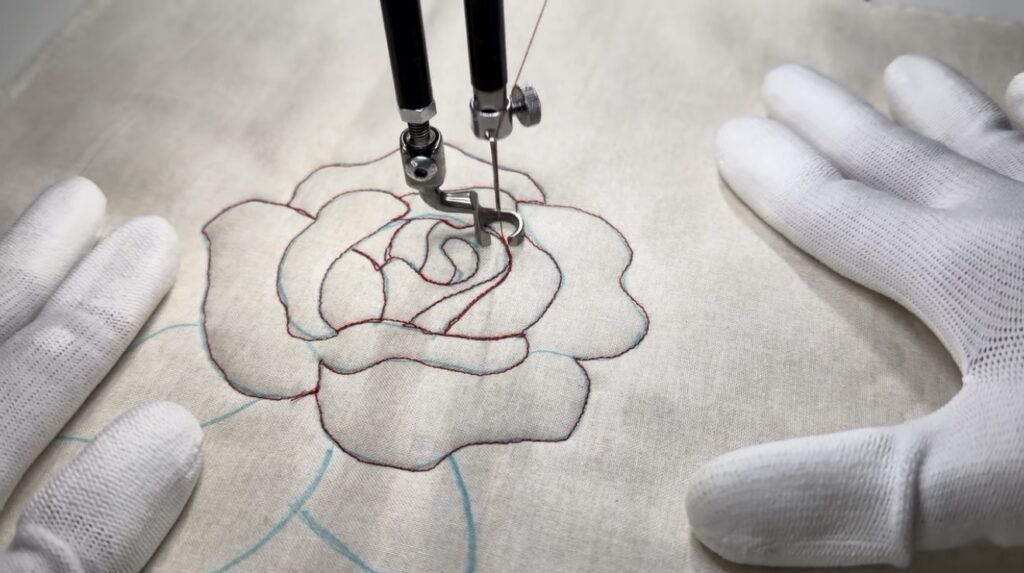
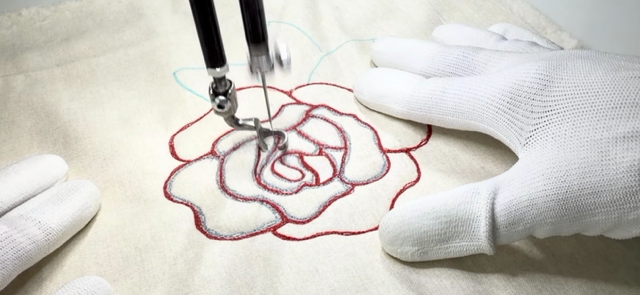
I’ll be using my Baby Lock Regent sit down quilting machine to stitch this out. You can also use your domestic machine. To begin, using thread color 1, stitch over all of the rose petals lines that you drew. Do not stitch over the leaves – petals only. It’s okay if you do not stitch directly on the line.
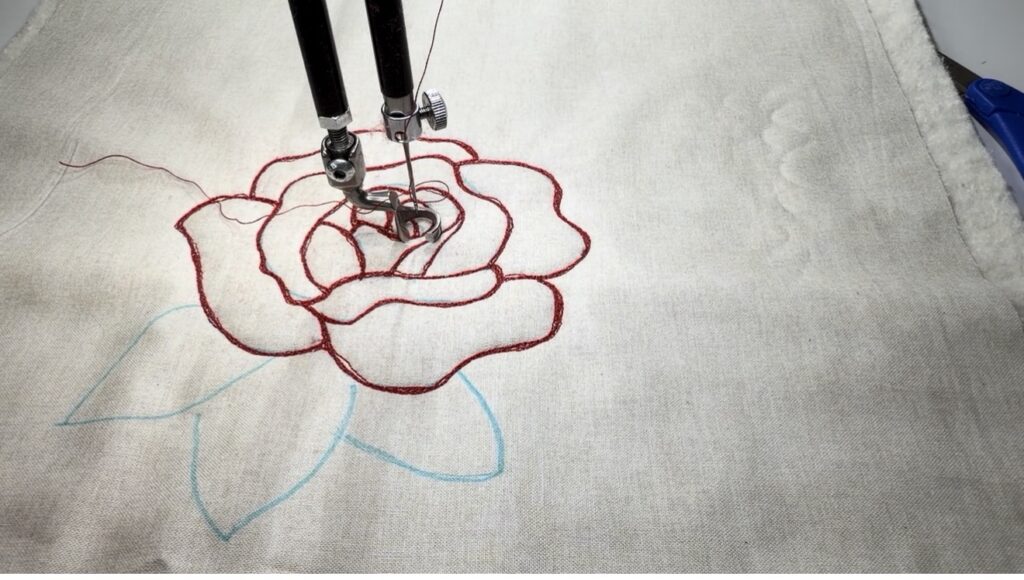
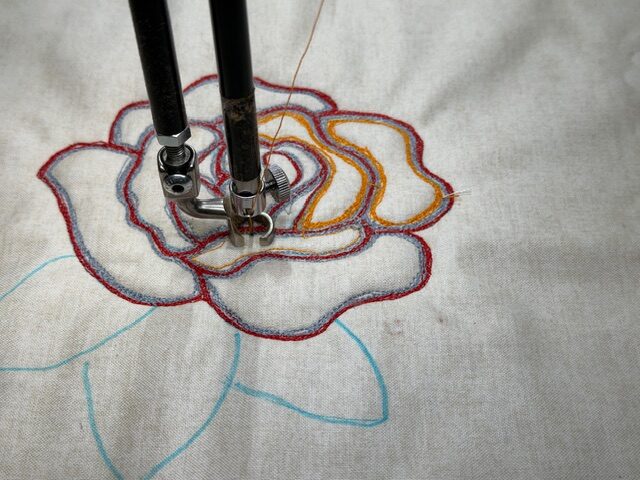
Now we continue with thread color 3 — same as the previous, stitching inside each petal, close to the previous stitching row. If you’re happy with how it looks with 3 colors, go ahead and stop there.
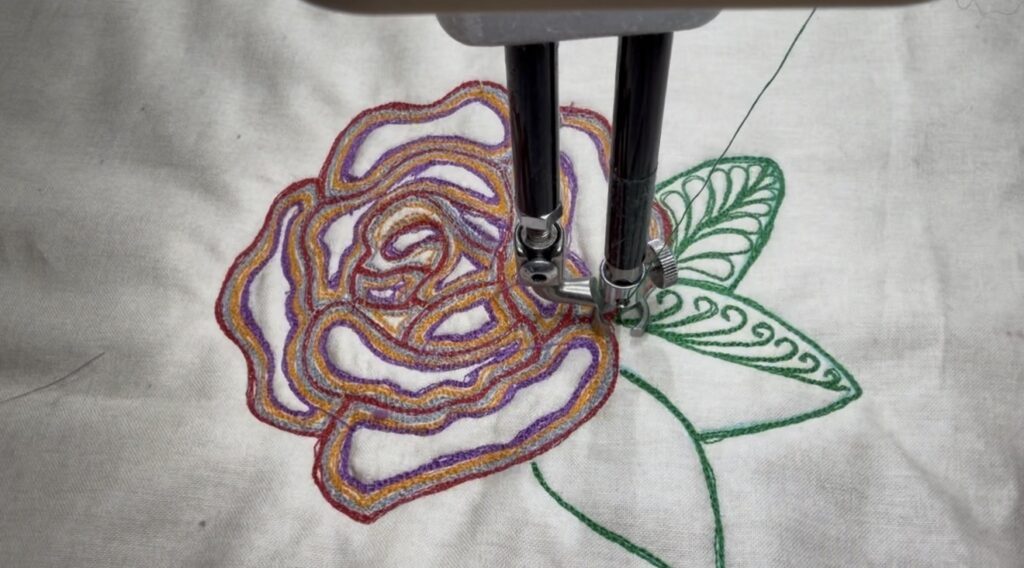
I chose to go with a 4th color — purple. I wasn’t too happy with my color combo and adding the gray so I needed a fun color to give it a pick me up. Once done, grab your green thread and proceed to outline each leaf. From there, decide what you want to add on the inside. Feathers are something I enjoy stitching, so that’s what I decided to add. You can do straight lines, stippling, loops or echo the inside of your leaves. It’s up to you.
Watch my video tutorial for more tips and tricks as I quilt this design.
Hope you try out this design. There are many ways to do thread painting, and this is just one of them. I wanted to show you this method, because to me, it’s the easiest to achieve. You can do this technique with any motif you like. Search for other outline drawings online, in coloring books, or draw you own.
If you make this design, I’d love to see and share it. You can tag me on Facebook or Instagram @marygoroundquilts. Or email it to me at hello@marygoroundquilts.com.
Until next time…happy quilting!
Mary