What you’ll need:
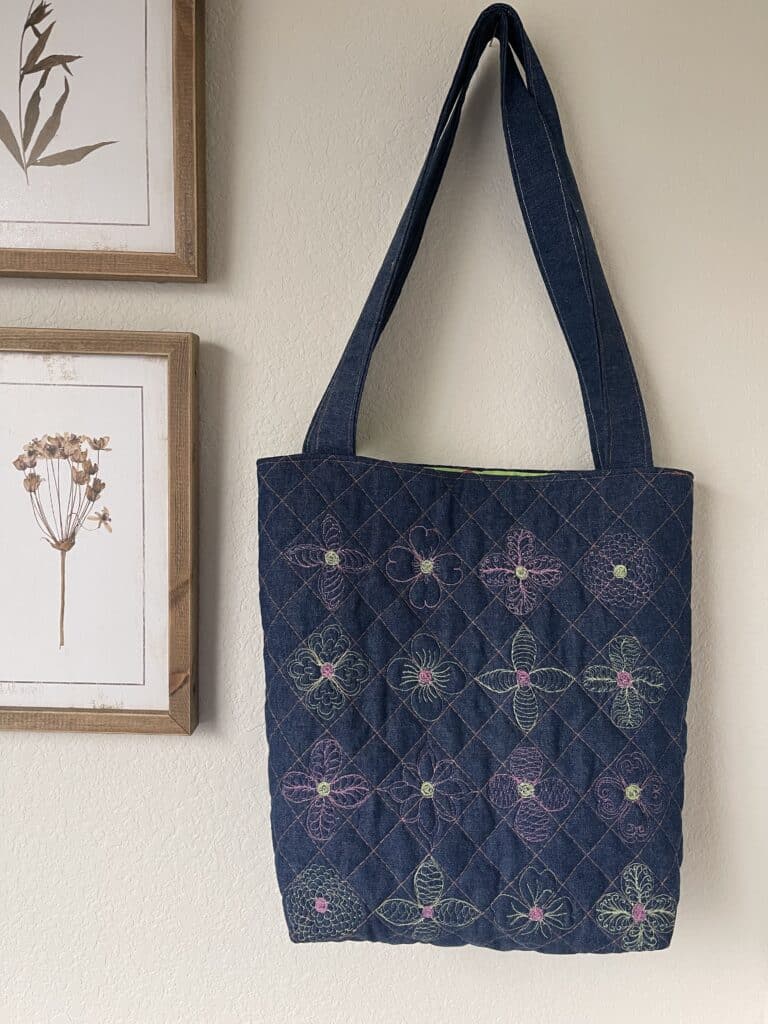
You know how it is when you have this idea to make something in your head. You’ve thought about it for a long time and envisioned how it would look. For a couple months, I knew I wanted to make a denim tote. Originally, I thought I would repurpose the fabric from an old pair of jeans. But, I never made it to the thrift store. So, during one of my trips to the fabric store, I decided to check out their denim selection. Lucky for me, on this particular day, denim fabric was 50% off! It was a sign, and I needed to buy some.
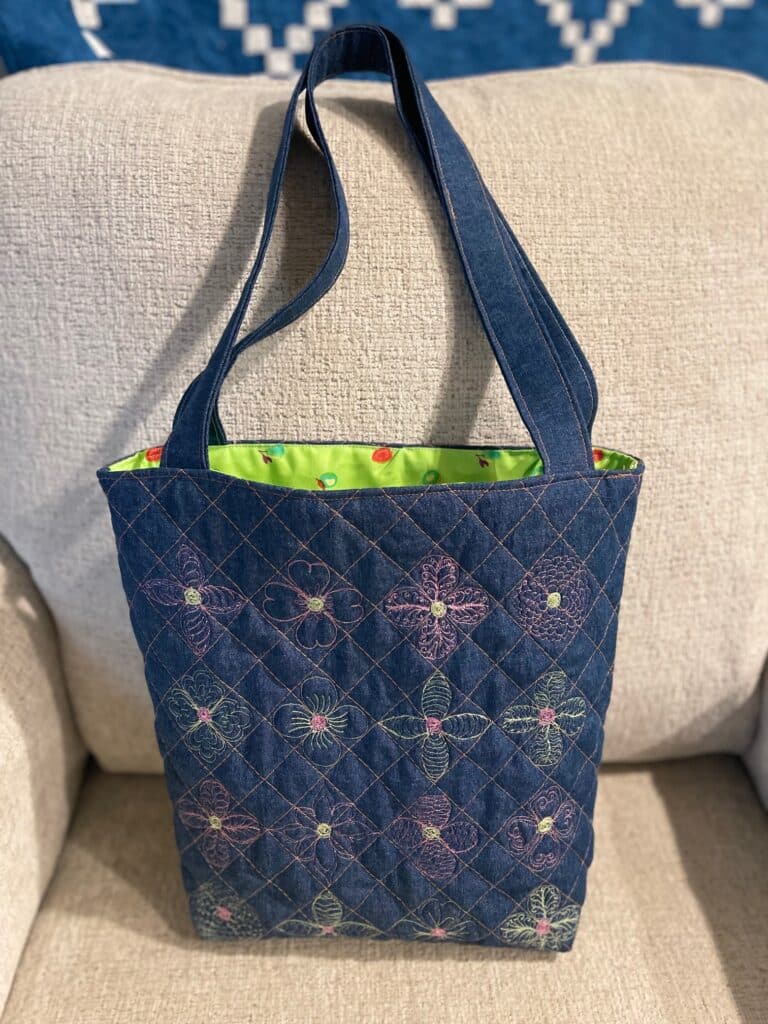
I knew I wanted to make a quilted denim tote with crosshatching and flowers. My initial thought was to free motion quilt tiny flowers at every intersection in the cross hatch. But, best laid plans, right? Once I made the crosshatch and saw how many flowers I’d have to make, I decided to go for a bigger flower.
Let me tell you how I started out. I used the following materials:
(2) 15″ x 16″ pieces of denim fabric
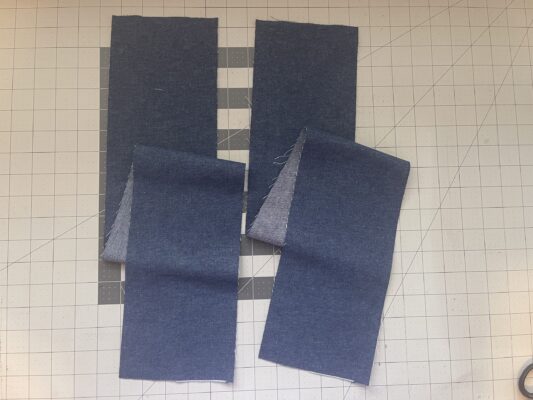
(2) 5″ x 29″ denim for straps
(2) 15″ x 16″ muslin (backing for denim)
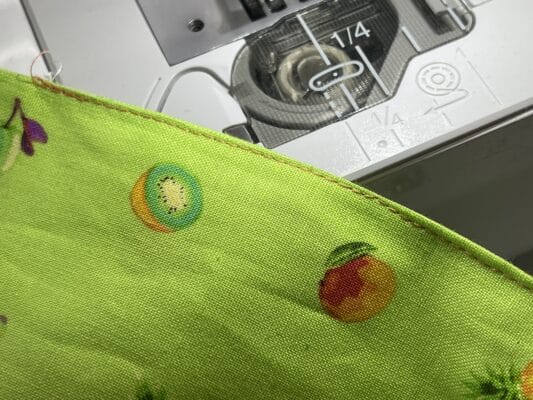
(2) 15 x 16″ lining fabric
(2) 15″ x 16″ batting
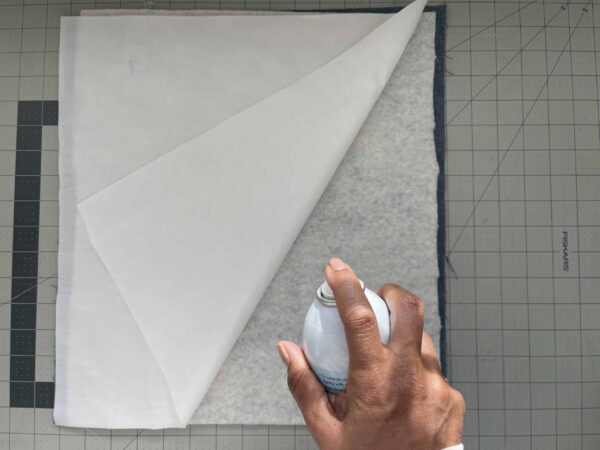
I started by making a quilt sandwich with the denim, batting and (muslin) backing fabric.. I made 2 quilt sandwiches. One for the bag front and one for the back.
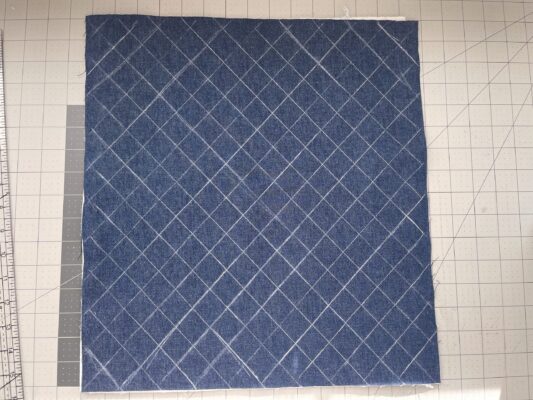
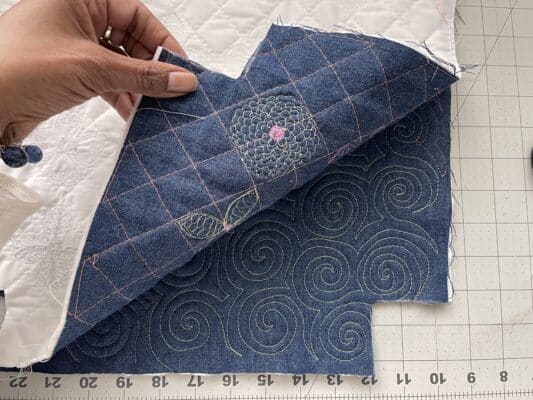
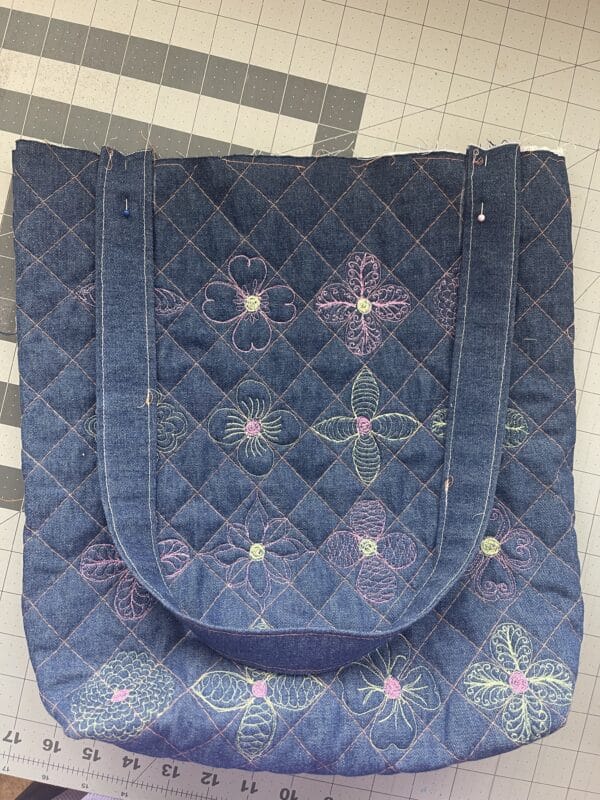
Next I got out my ruler and chalk marker. First, I marked an X from corner to corner to make sure my grid would be centered. Then I measured 1″ from the center X and continued to mark 1″ lines throughout the top. this is called crosshatch. I only made the grid on one side. This is the front. You’ll see what I did to the back later on.
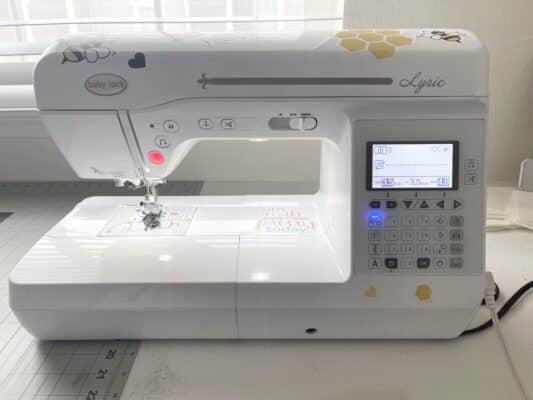
For the straight line quilting, I used my domestic machine, the Baby Lock Lyric. To get more information on this Lyric, click here.
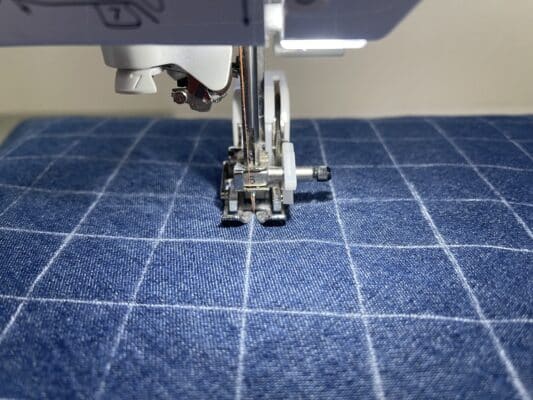
I removed my 1/4″ quilting foot from my machine, and attached the walking foot. It may look bulky and funny, but it’s a must when stitching over thick fabrics and quilts. The walking foot helps to feed multiple layers of fabric through the machine evenly and smoothly. The walking foot has its own set of feed dogs that work in conjunction with the feed dogs on the sewing machine. This creates a “walking” motion of the fabric, where the layers are simultaneously lifted and lowered, preventing the fabric from shifting or bunching up as it is being sewn.

Next, you want to increase your stitch length. I moved mine from 2.5 which is the default sewing stitch length, to 5.0, which is a basting stitch. If you use the small 2.5 setting though this thickness, you’re likely to get some puckering. A nice long stitch works best when stitching through multiple layers such as a quilt and gives you the illusion of hand quilting.

Stitch over all of your drawn lines.
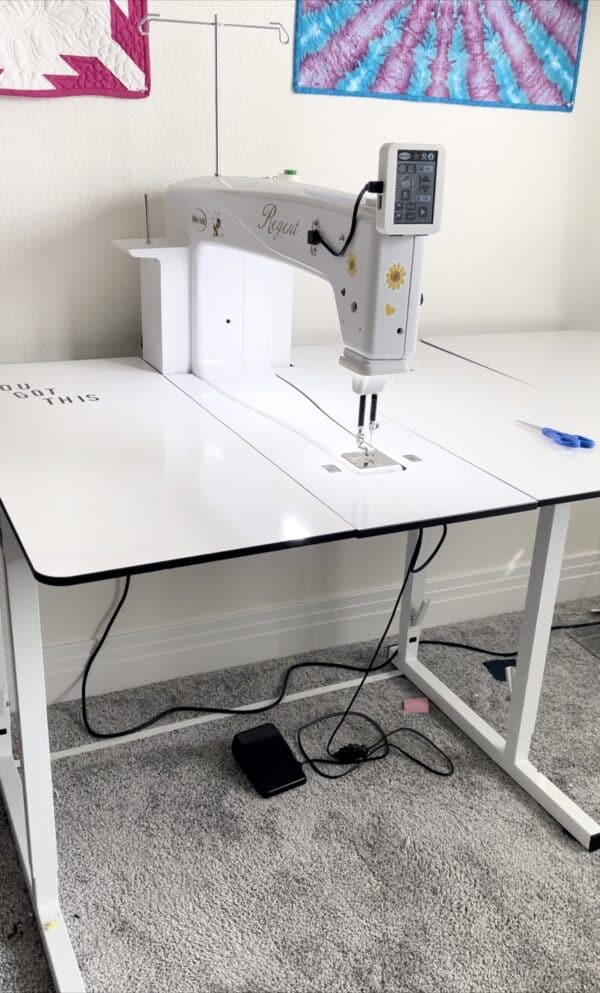
Now I’m ready to move on to the free motion quilting. For this, I am using my Baby Lock Regent. The Baby Lock Regent is a sit down quilting machine. Basically a longarm quilting machine that sits in a table and is stationary. It is a powerhouse and able to stitch through these thick layers with ease.
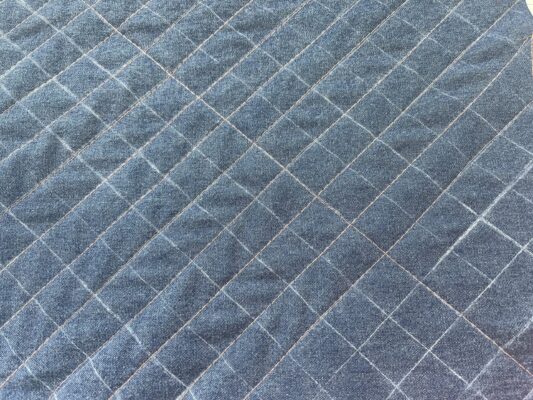
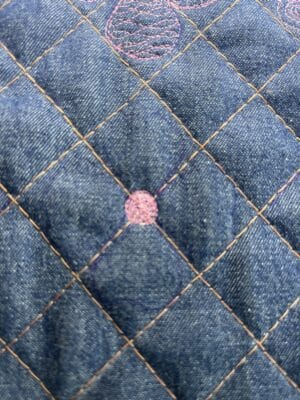
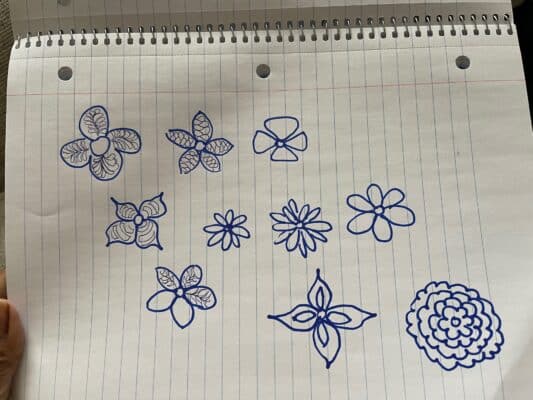
Moving on to the flowers, I picked a spot and started to make my first flower. I made a bunch of swirls in to be my flower centers. I stitched over these swirls several times until all the space was filled in. Then, I drew the flower with my water/air soluble pen. I stitched the flower outline, then I filled in each flower petal with free motion quilting designs like feathers, swirls, ribbon candy and more. I really didn’t have a real plan on what flower went where. I kind of winged it as I went along. I just knew I wanted all the flowers to have different stitches.

I used an open toe quilting foot on my Regent. The open toe allows me to see what I’m doing. When I’m micro quilting, you need to be able to see what you’re doing. The opening is plenty big for me to see exactly where the needle is going.
If you decide to make this tote bag, just let your imagination be your guide. Draw out whatever flower design you like first. Worry about filler designs for the petals later. Just get the outlines of the flowers drawn and stitched. The ideas will come.
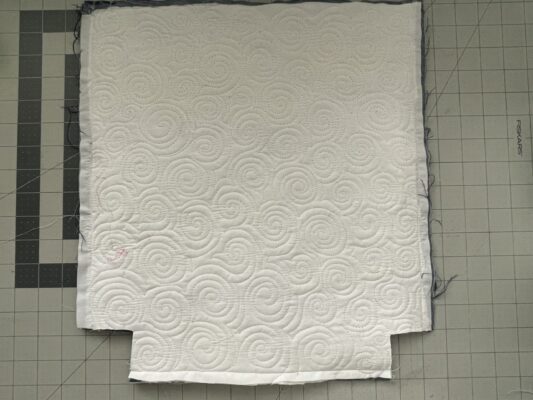
For the back of your tote bag, you can add any free motion quilting design you like. I like swirls, so that is what I used. You can do crosshatch on your tote back, straight lines — anything you like.

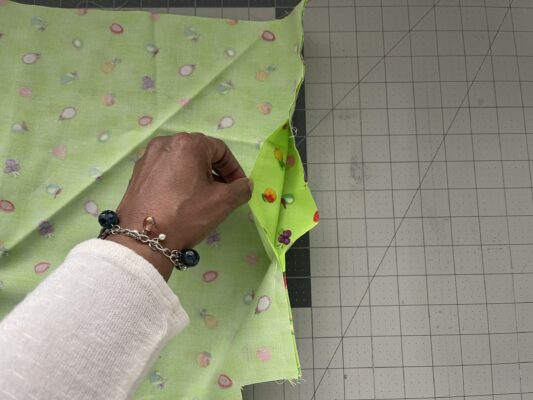
Let’s start assembling. To make the bottom of your tote, start by cutting a 2″ square from the bottom corner of each piece: denim and lining fabrics.


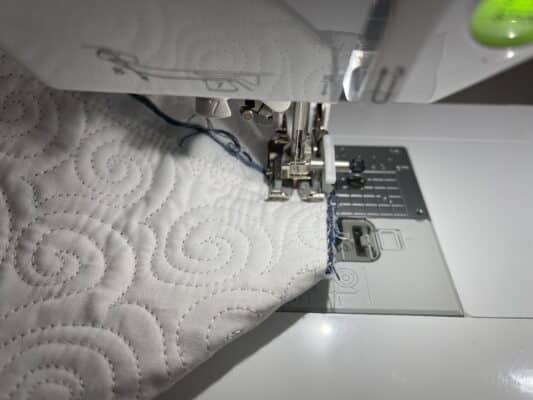
Keep your walking foot on for the entire project. The walking foot will give you a 5/8″ seam allowance. A bigger seam will make the entire bag more secure. Place denim pieces right sides together. Pin in place and stitch down the left and right sides and bottom edge.
Let’s sew the bottom corners to give the box shape to the tote. Keeping the bag inside out, open out the bottom square and press seams together. Match up the seam allowance. I nested the seams so they went in opposite directions. Pin and stitch in place.
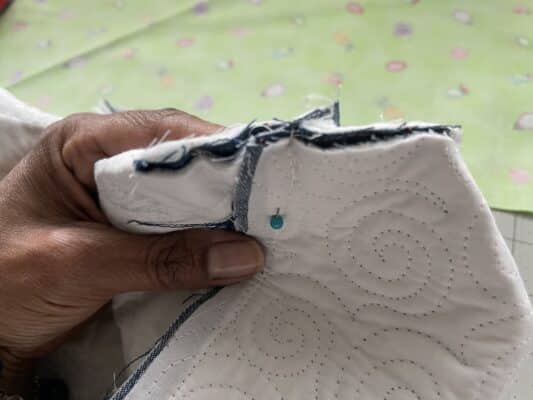
Your finished edge will look like this.

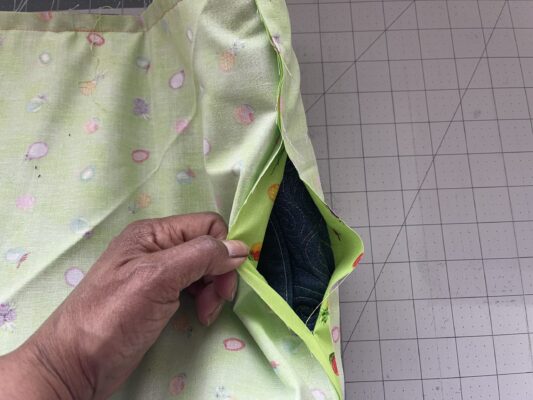
Repeat these steps for the lining fabric. Measure 2″ squares from lining bottom corners and cut. With right sides together, stitch sides and bottom of lining. EXCEPT – one one of the sides (left or right), leave a 5-6″ opening unstitched. Reinforce stitching at the opening. This is the hole you will use to pull your tote right side out.

Make the box corner by again bringing seams together and stitching in place.
j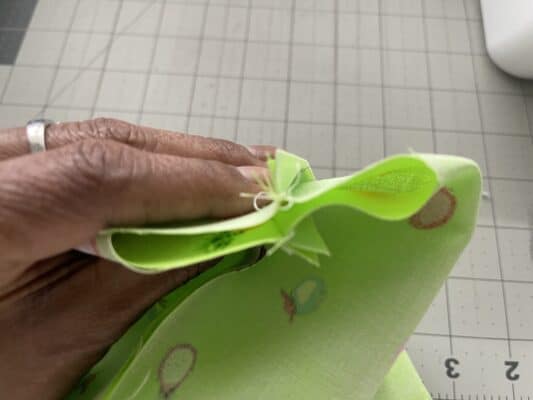
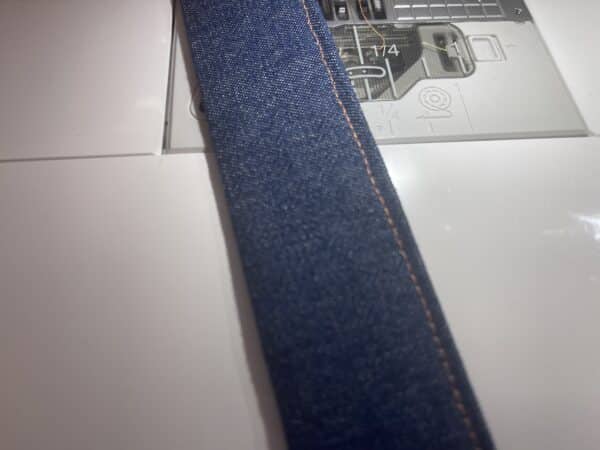
Next, let’s make the straps. Using the 5″ x 29″ denim pieces, fold them in half lengthwise, WRONG sides together and press all the way down.
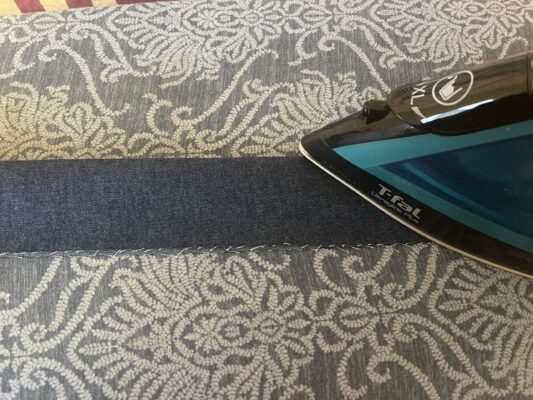
Open up the strap. Bring each raw edge to the center crease, and press. Do not press over the center crease.

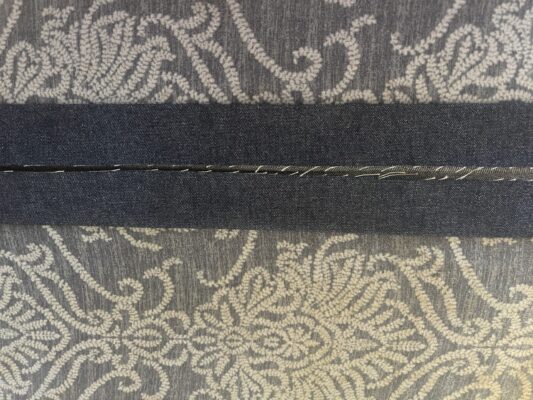
Next, fold right sides together, on the crease, and top stitch the length of the strap. I stitched very close to the edges.


To attach straps, measure 3 inches from upper right and left sides. Pin strap in place — careful not to twist strap, and stitch down. Go over it a couple times to secure. Repeat this step for both sides of denim tote.
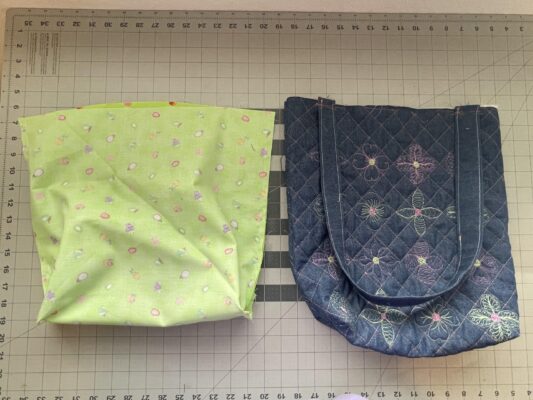
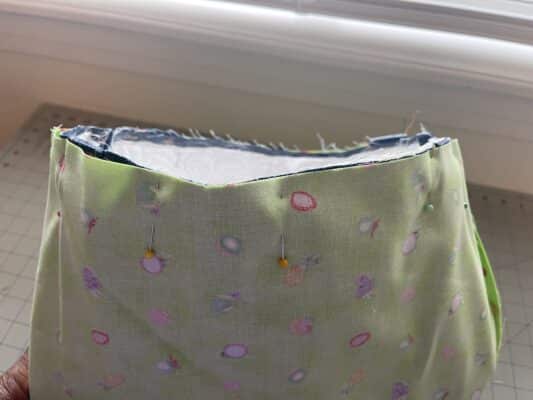
Now we have our completed lining and completed outer. Place the denim tote inside the lining. Right sides together.
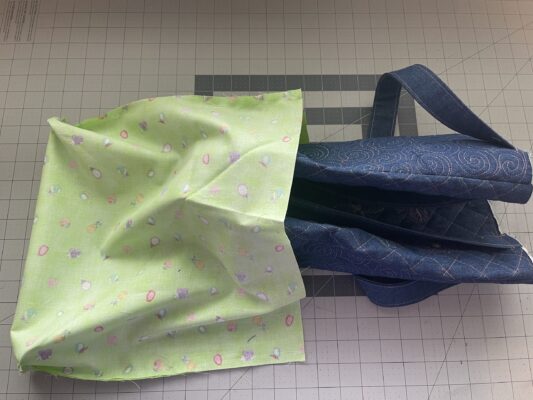
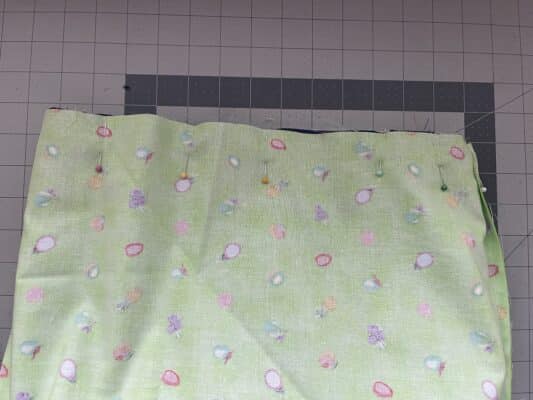
Make sure tote straps are inside and match side seams. Pin the top edges together through all thicknesses.
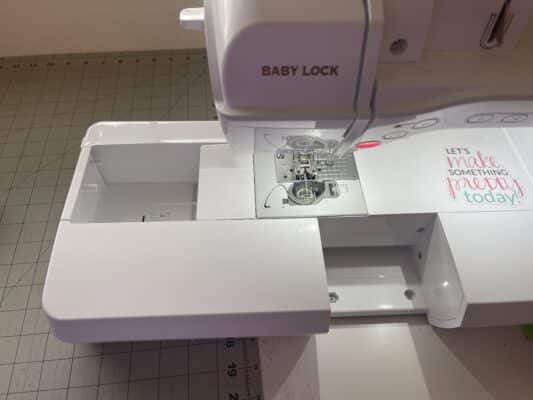
The top of the tote is kind of a small circle to sew into. To make it easier, I removed the accessory compartment from my Baby Lock Lyric. This allows me to slide the tote into the arm and stitch. This is a thick bulk to stitch through, so make sure you leave your walking foot on your machine.
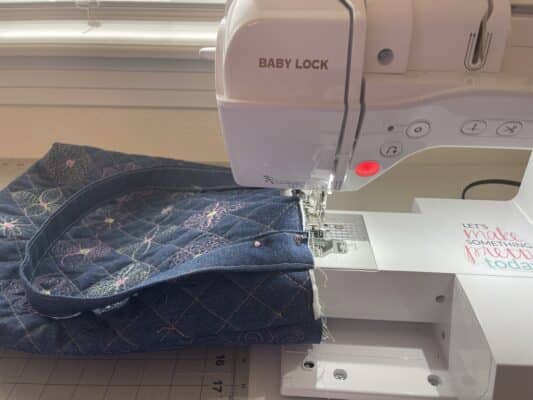
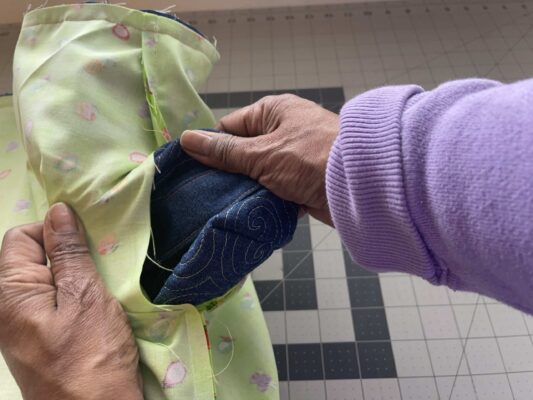
Remember that hole we left in the lining fabric? You can see the denim tote inside. Now it’s time to pull it through to the outside. Reach in and grab the denim and pull it through the hole until it is all right side out.
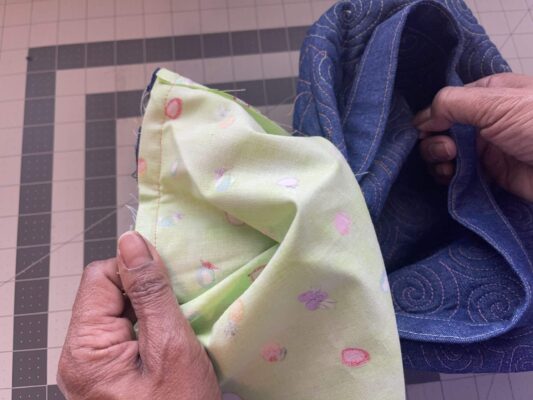
Sew the hole in the lining closed. You can whip stitch by hand, or stitch using your machine. I used my machine
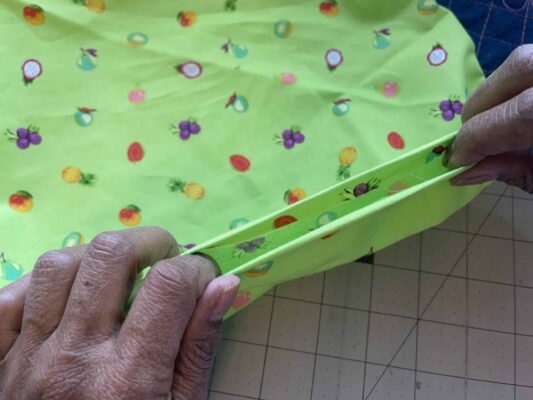
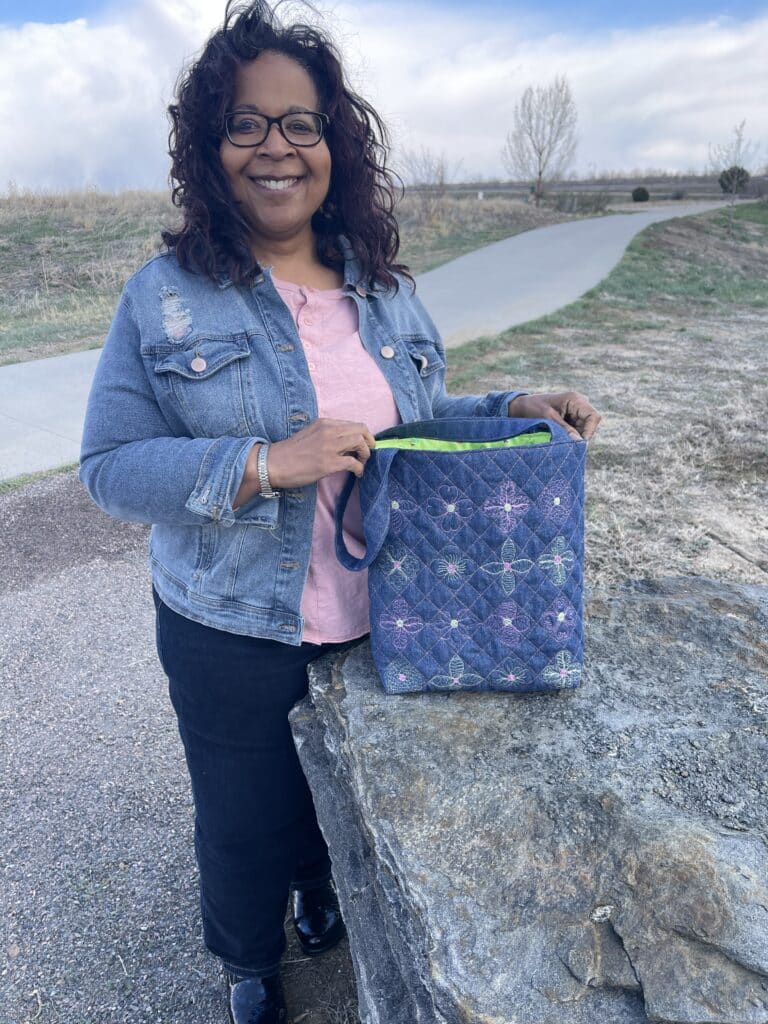
Push the lining inside. Iron the top edge so the lining is flat on the inside edge and topstitch all the way around the top of the bag. Enjoy your new tote!
If you’d like more information about any of Baby Lock products, click here.
I hope you enjoyed this article. Happy quilting!
Mary Davis
Owner, Mary Go Round Quilts