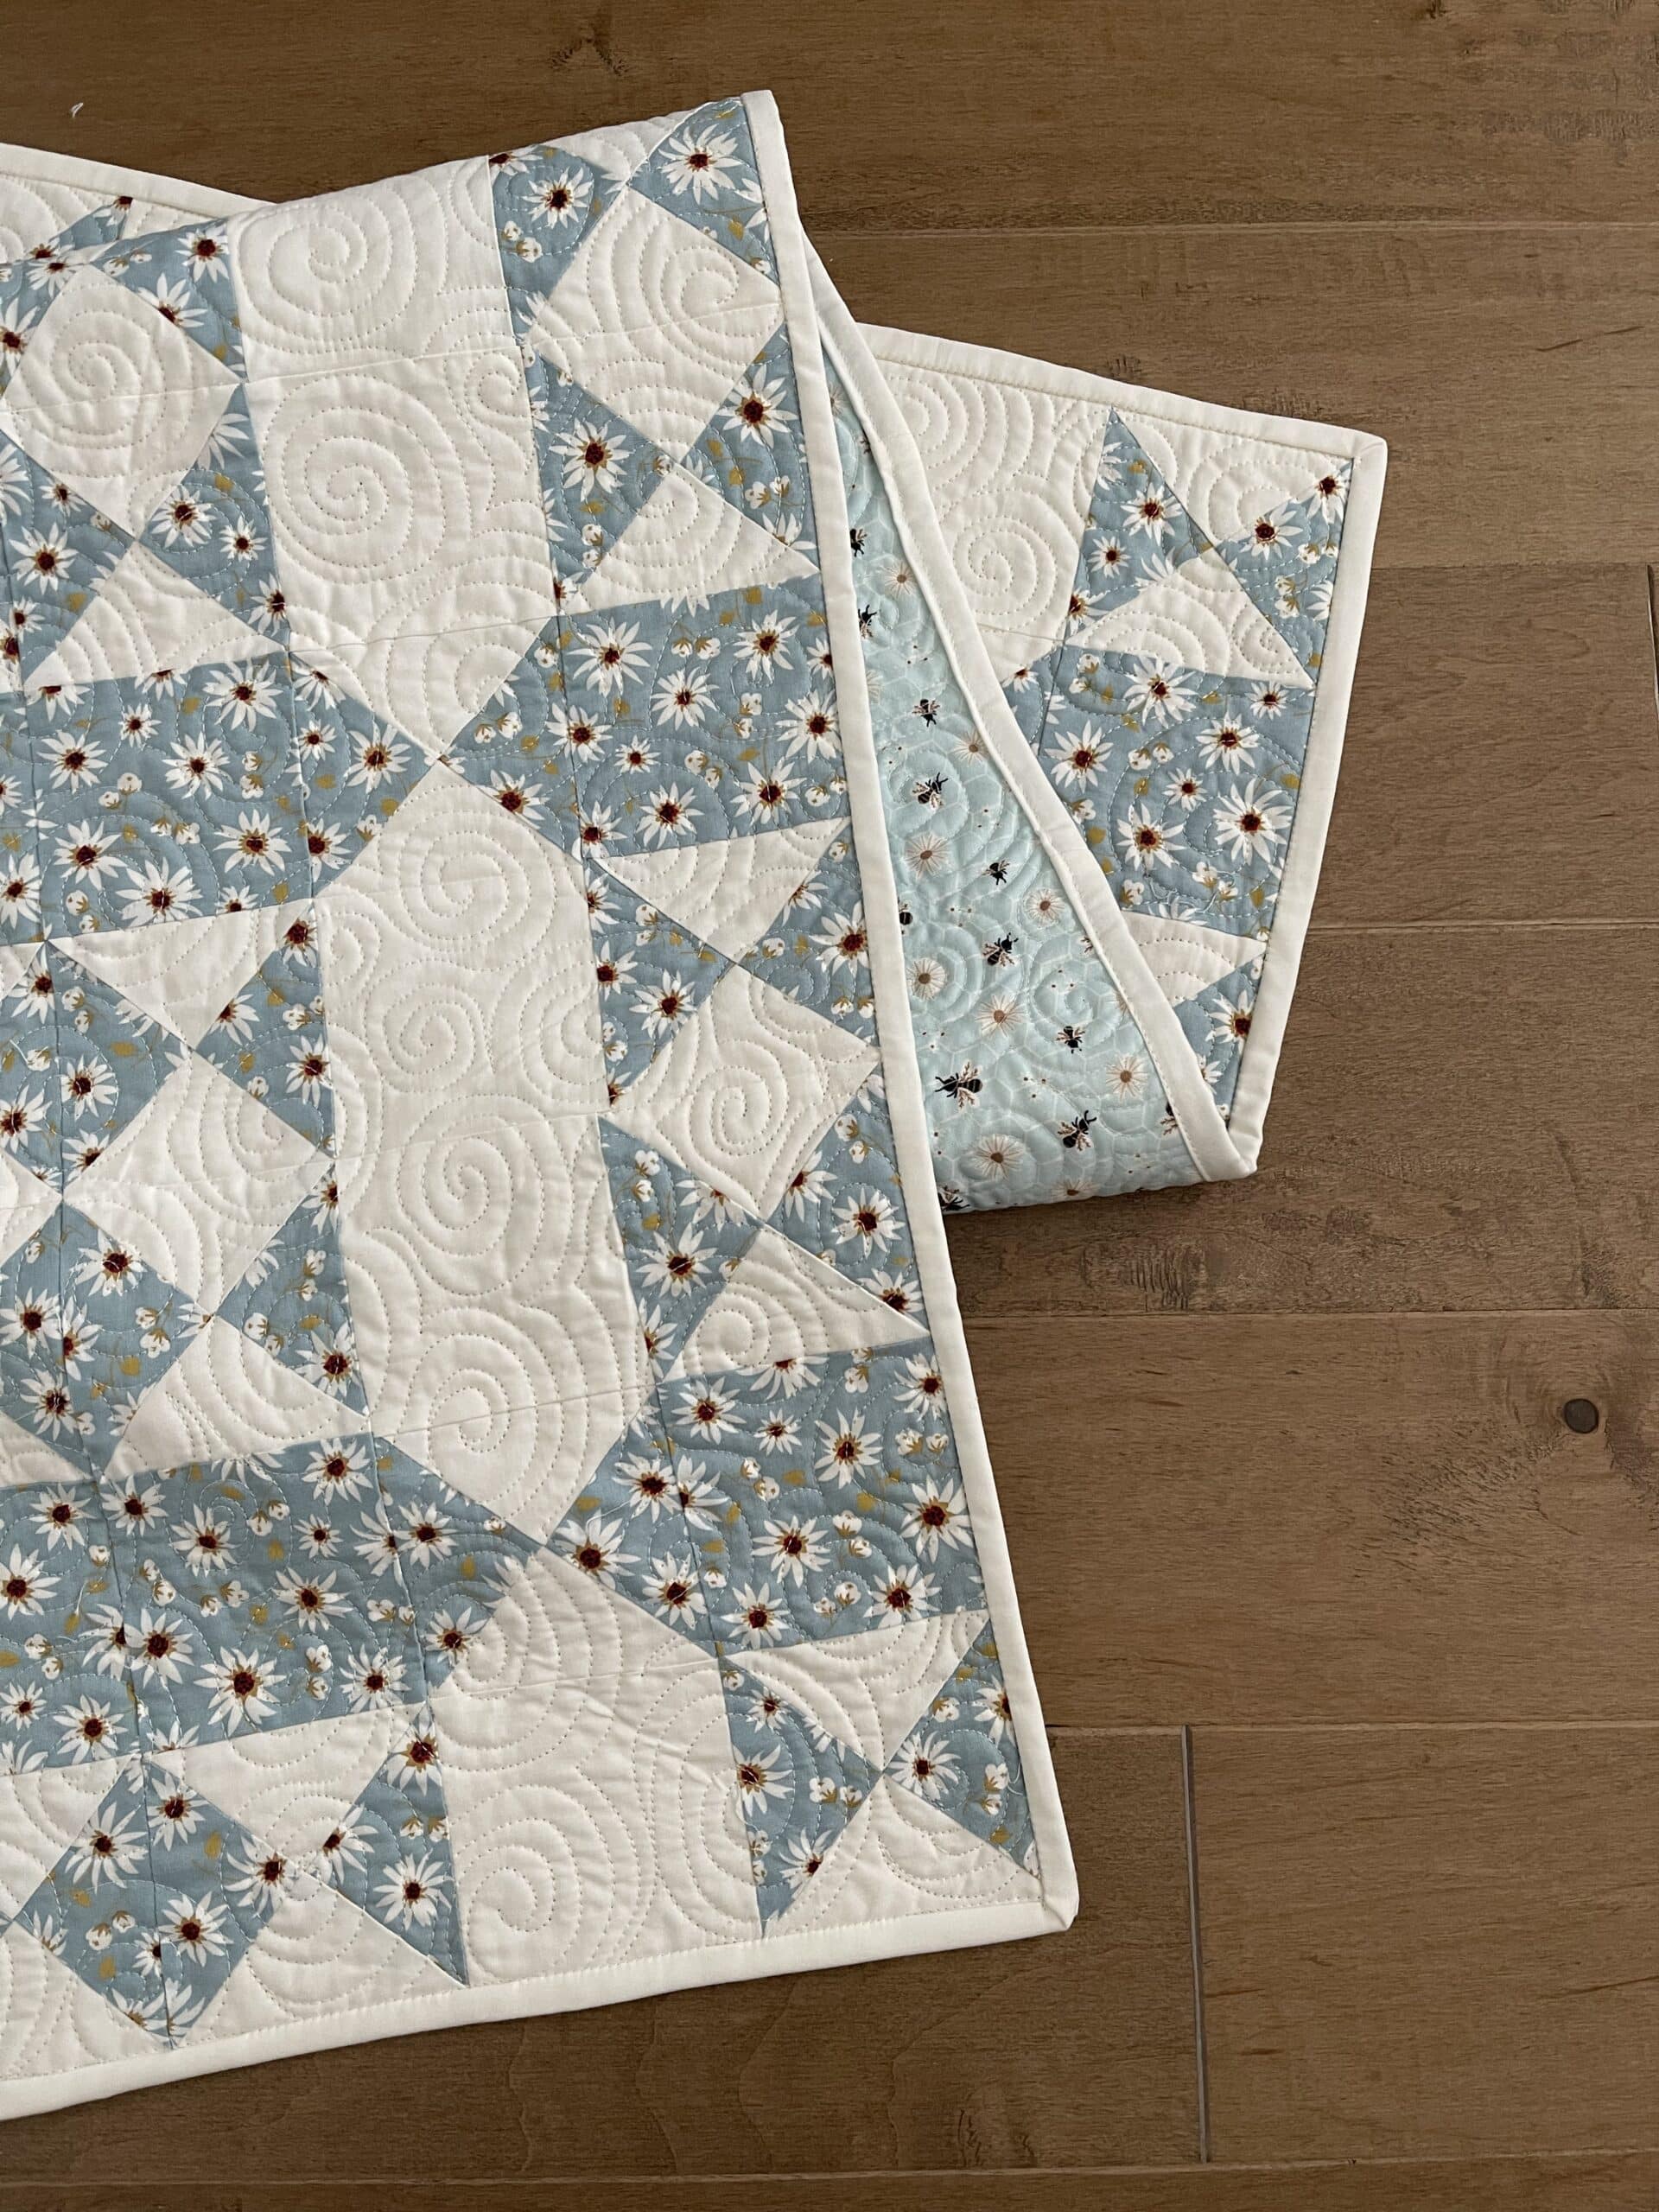
Star blocks are my favorite quilt blocks. I’ve been playing around with making some mini blocks, and I thought I would share this one. I didn’t bind my block, but this can be quilted, add binding and used as a coaster. Or make several and add sashing and a border for a little wall hanging or table topper. The possibilities are endless. Have fun with them.
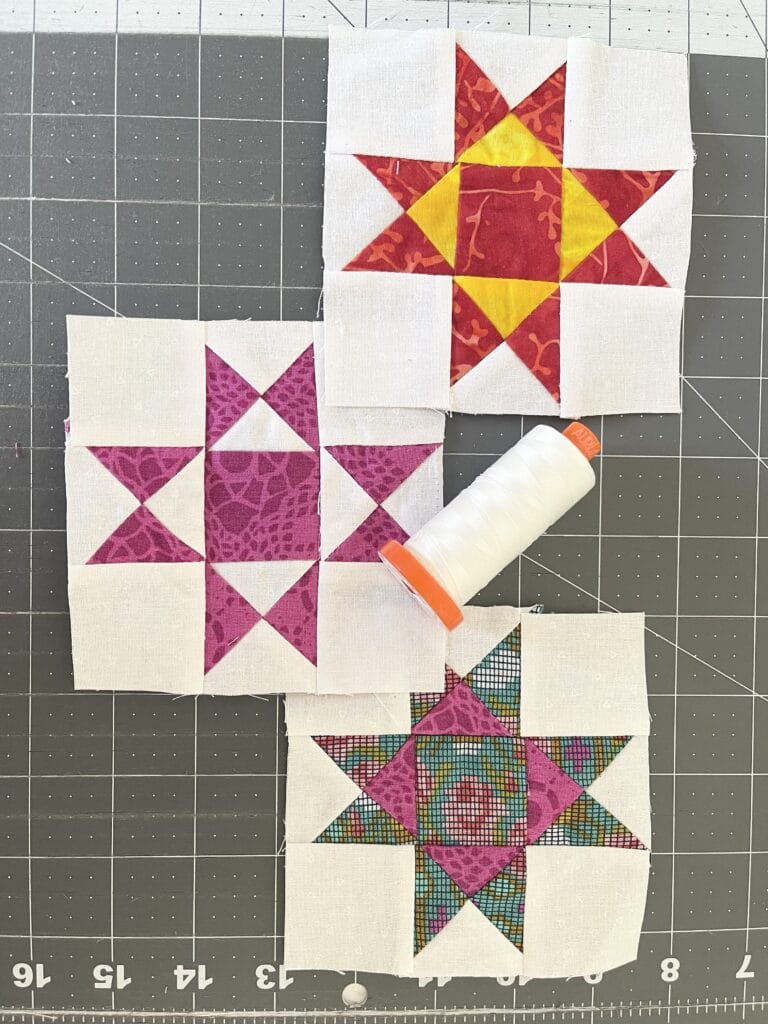
The star shown uses two color fabrics and one background fabric. To make a two color star, cut all of you pieces from one color and leave the background as is. Looks great in prints or solids. No rules here.
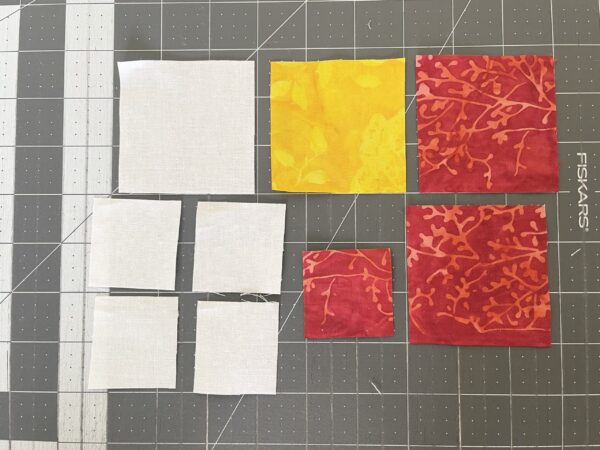
You will need the following pieces to make 1 star:
Red fabric: (2) 3″ x 3″ squares
(1) 1 3/4″ x 1 3/4″ square
Yellow fabric: (1) 3″ x 3″ square
Background fabric: (1) 3″ x 3″ square
(4) 1 3/4″ x 1 3/4″ squares
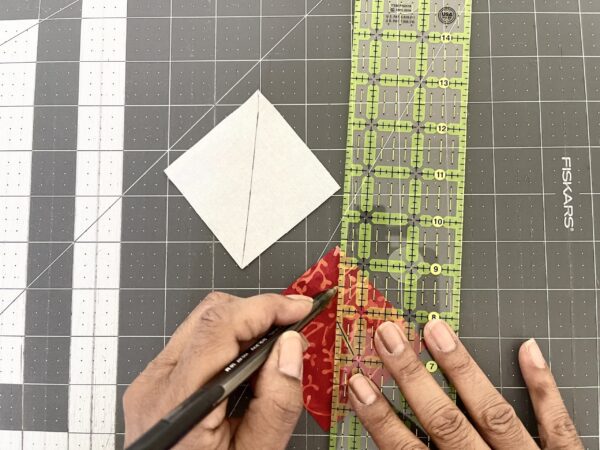
- Draw a diagonal line, corner to corner, on the back one 3″ background square and one 3″ red square.
2. Pair one 3″ background/red squares together. Pair the other 3″ red/yellow squares together. Match all sides.
3. Stitch 1/4″ from both sides of the drawn line.
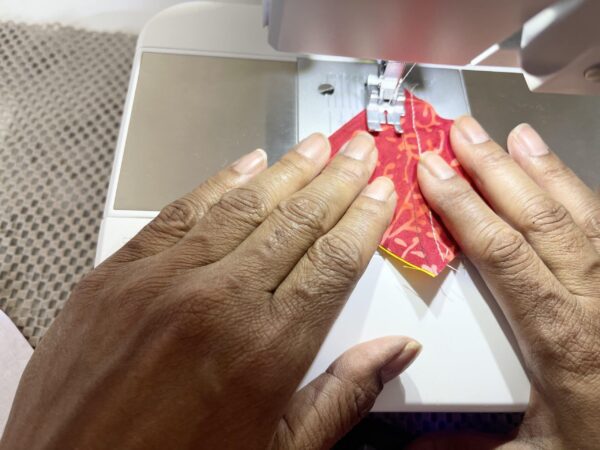

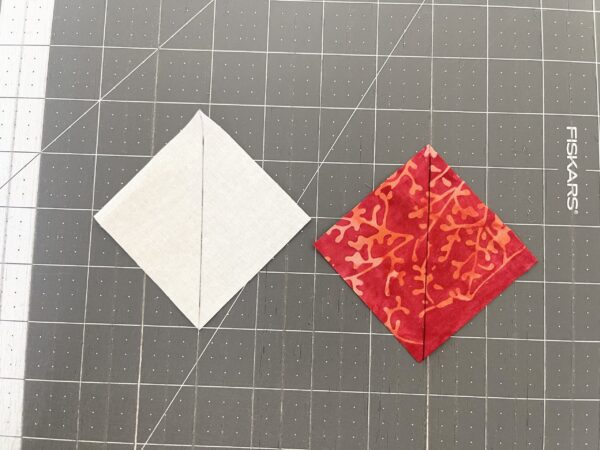
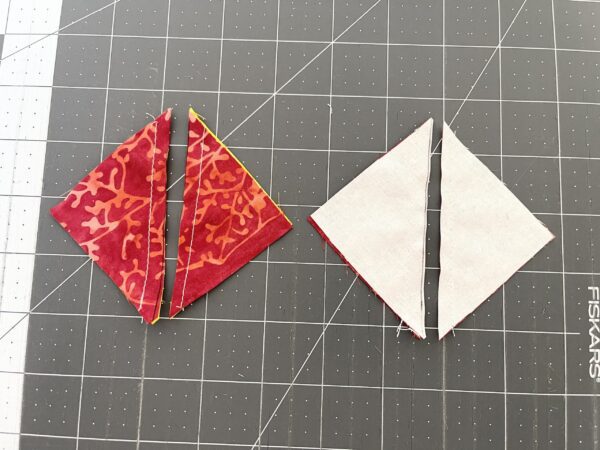
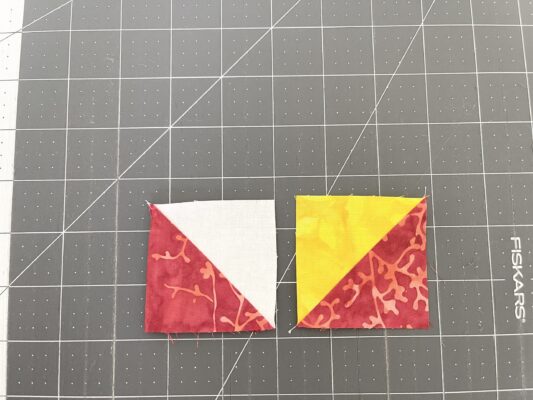
4. Cut on the drawn diagonal line. Open and Press toward the dark fabric.

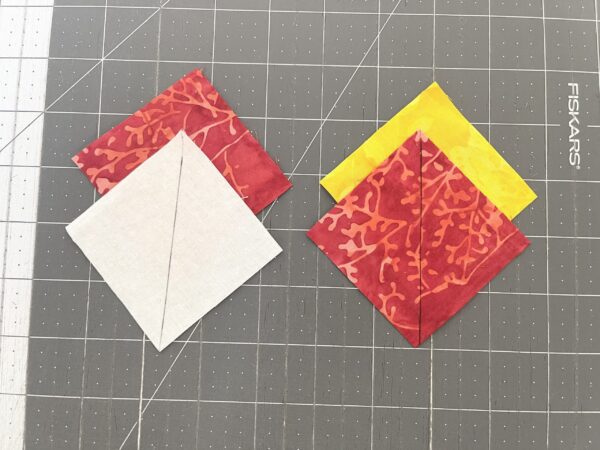
5. Match the white/red half square triangle with the Yellow/Red half square triangle. Make sure the reds are on opposite sides and seams are nested.

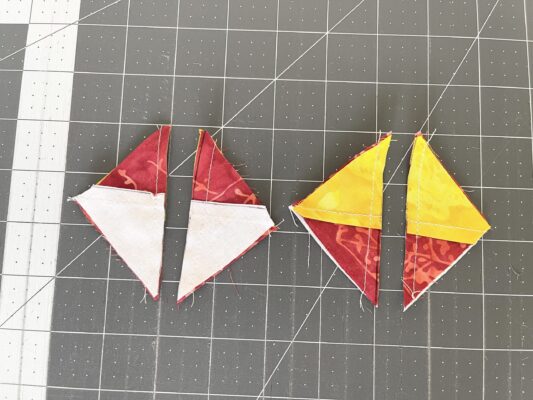
6. Draw a diagonal line from corner to corner on the backs of each HST set. Sew 1/4″ from both sides of the drawn line. Cut on the drawn line, open and press.Trim all HSTs to 1 3/4″.

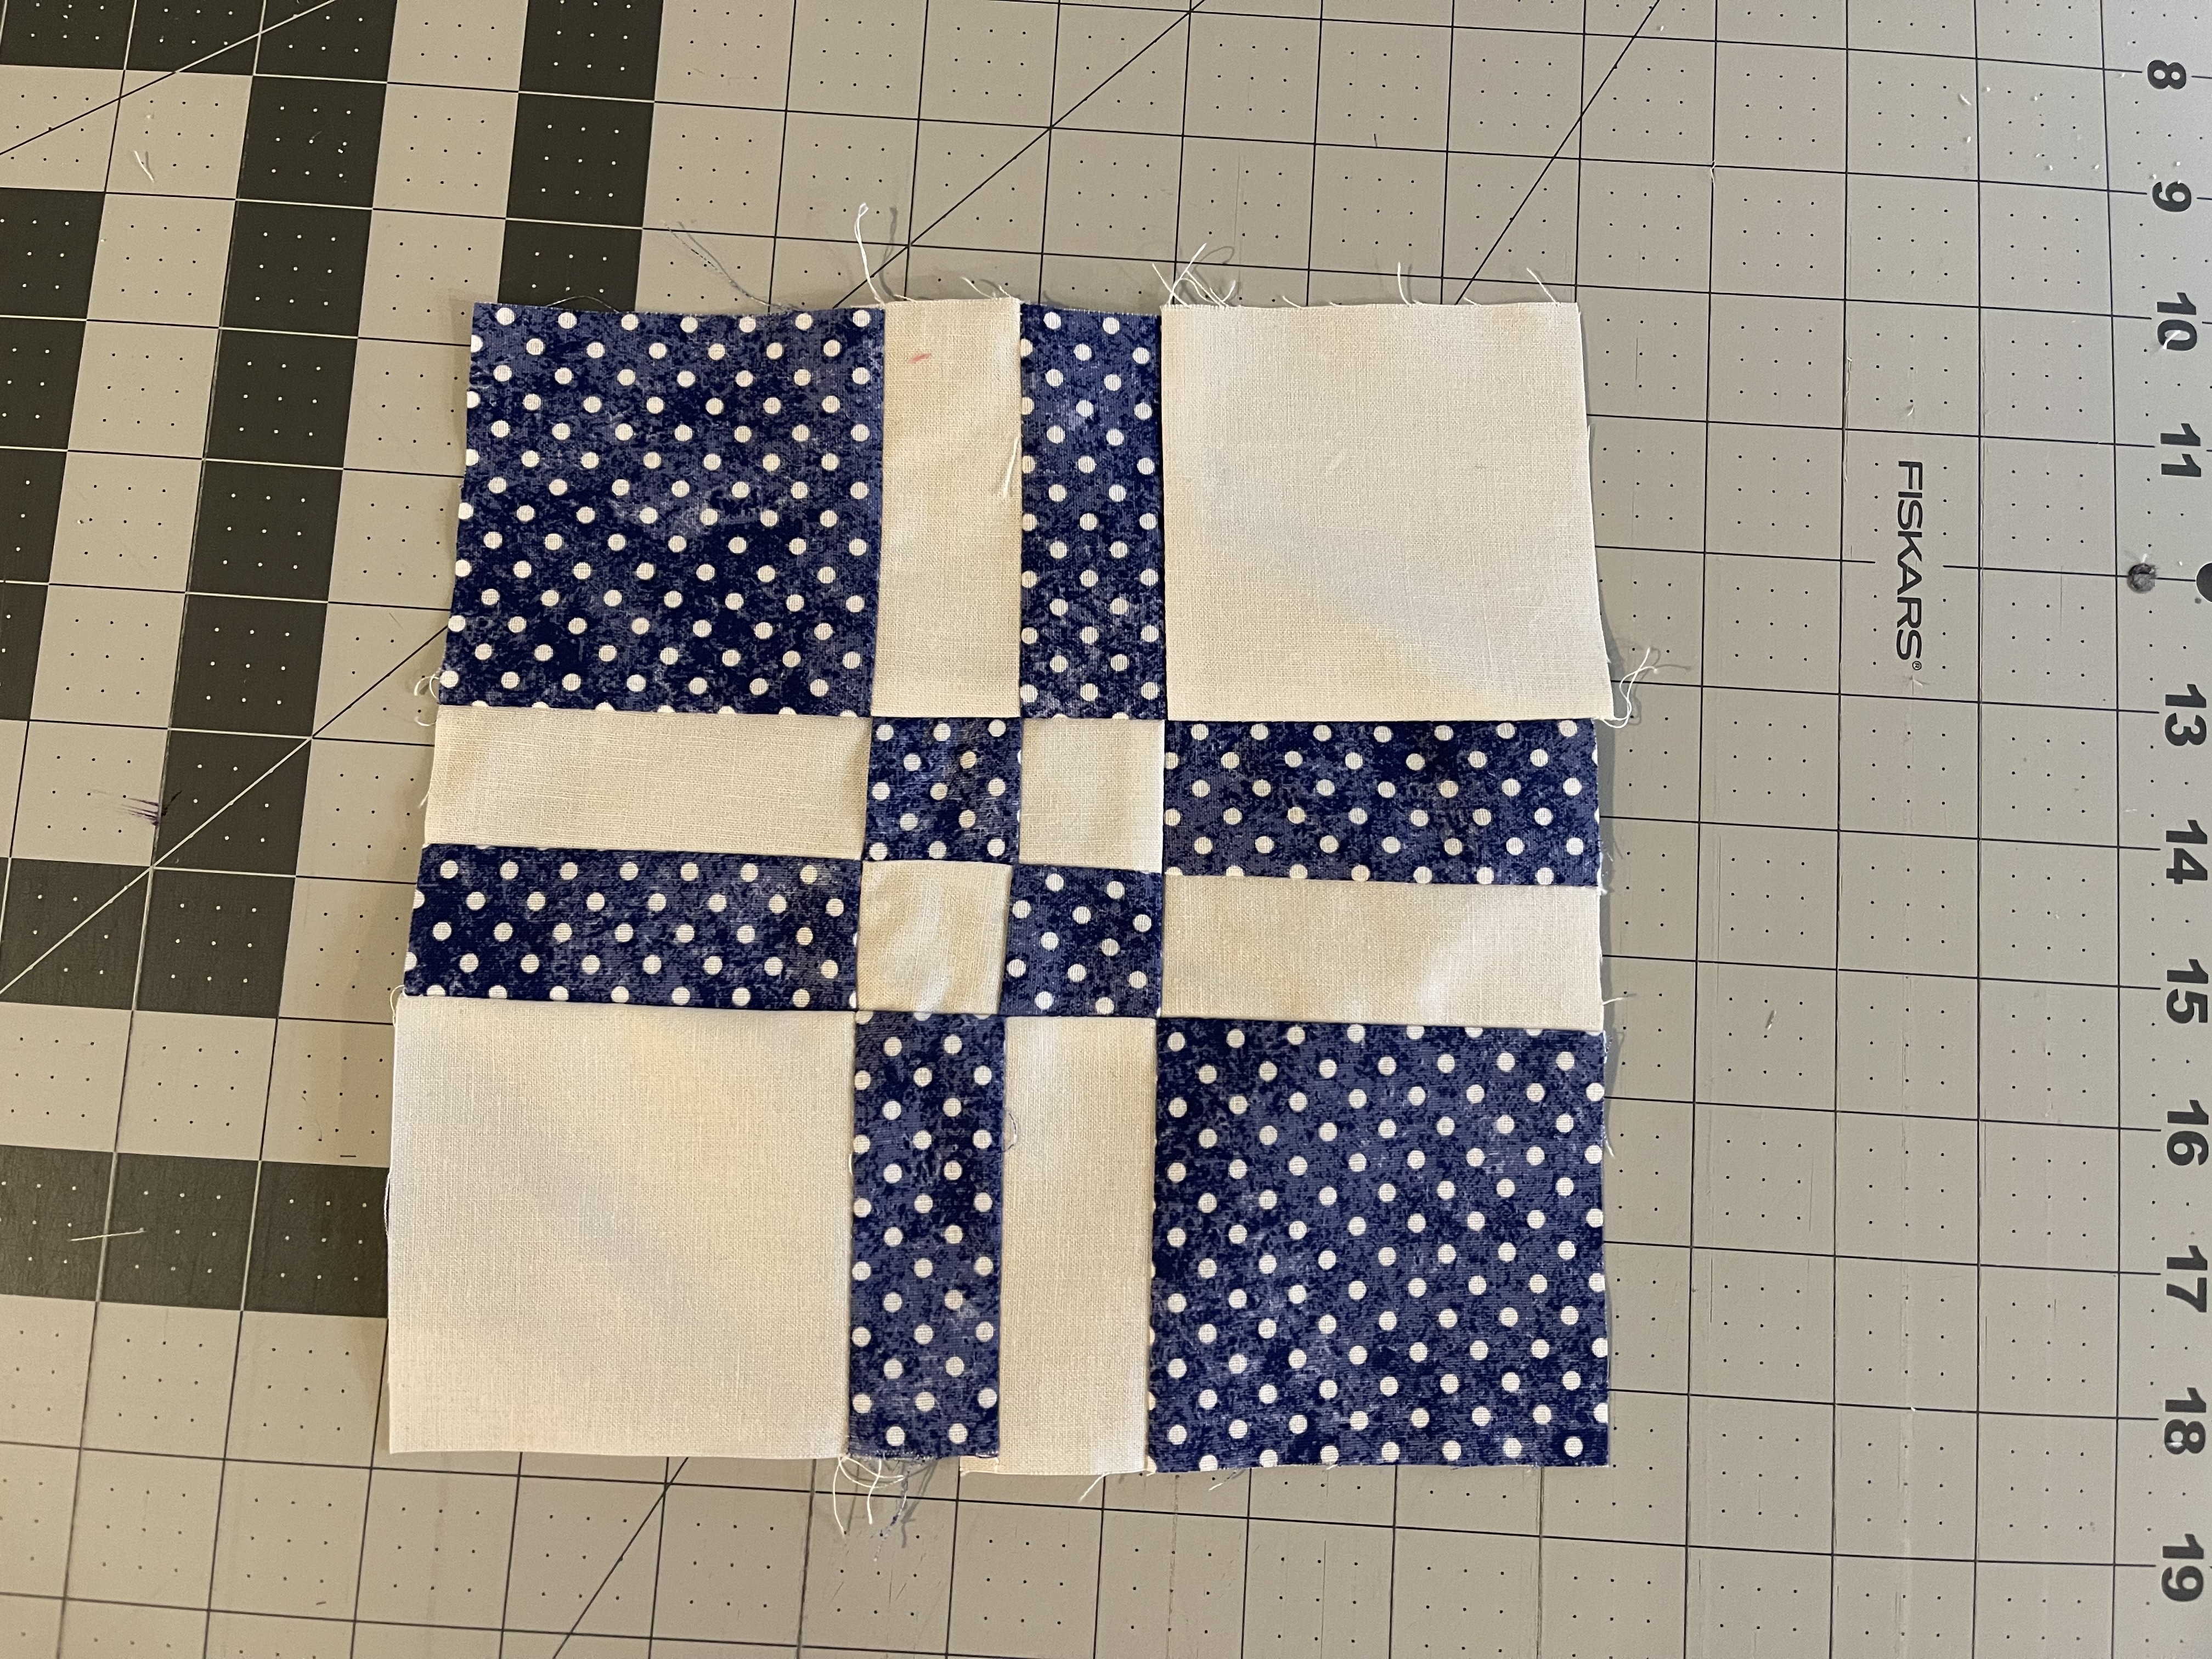
7. Begin laying out your squares to form your block.

8. Sew together in rows.

9. Sew rows together to complete your block.
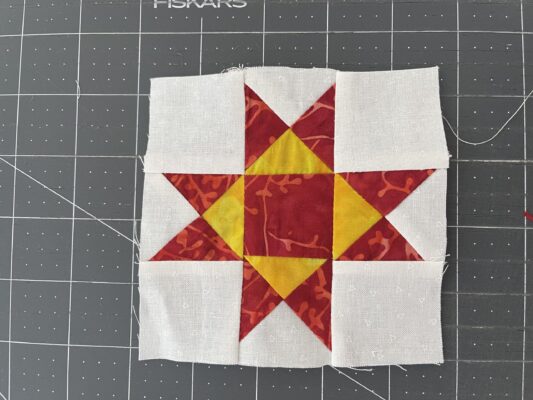
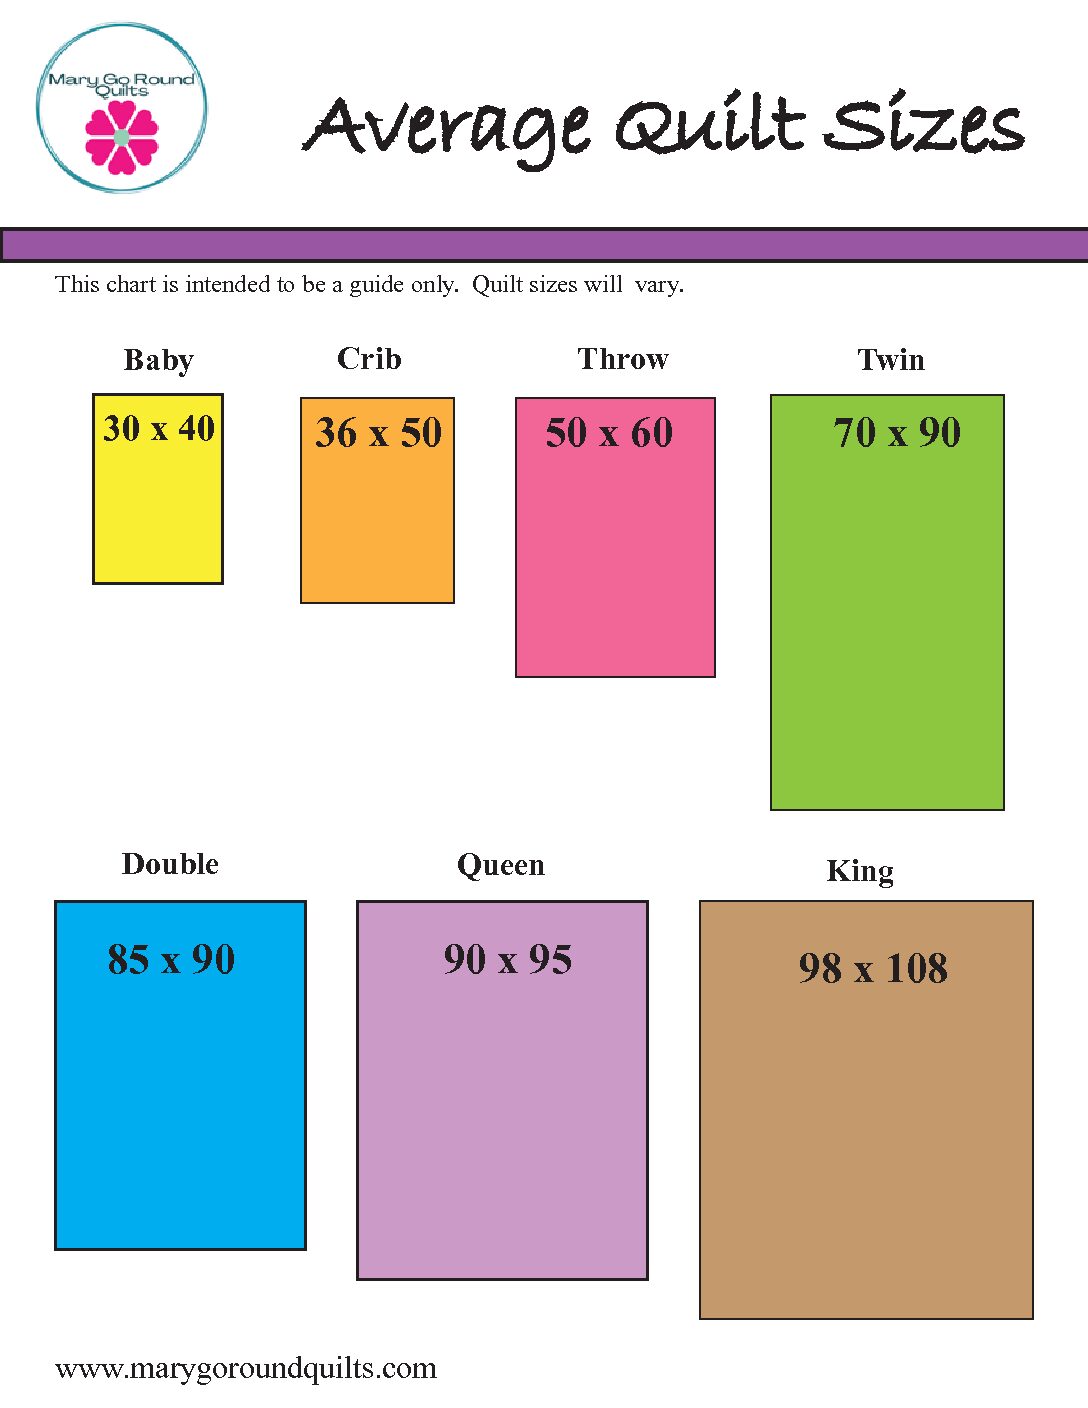
You’re done! You now have a 4 1/2″ mini Ohio star block. These blocks are so fun. Think about going through your scrap bin and making several to form a baby quilt with sashing and borders. If you do a lot of coaster or post card swaps, this would be the perfect size.
Happy quilting!
Mary Davis
Mary Go Round Quilts