Have you tried making a disappearing four patch. It is basically a deconstructed four patch. I know it’s uncomfortable for some quilters to cut up a perfectly fine quilt block. Why not leave it the way it is? Well…because it’s fun to cut things up and put them back together once in a while! This is a simple trick that makes a very cool design. A re-do of the four patch if you will,
If you do a google search you’ll find lots of “disappearing” blocks. And all of them get turned into something amazing! So let’s start with the basic four patch.
NOTE: All seams are 1/4″. Press my seams to one side. If you prefer to press your seams open, you may do so.
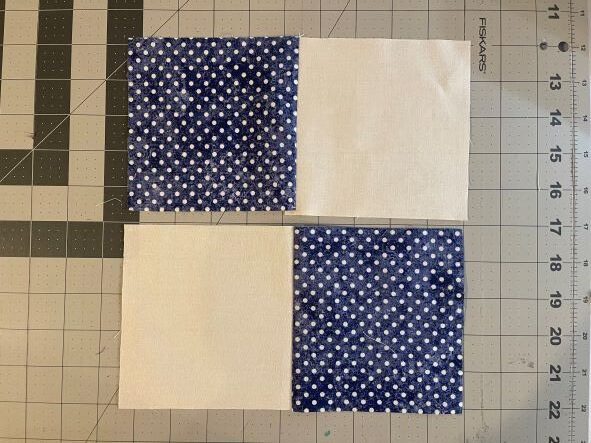
Start with a total of four 5″ x 5″ blocks. Two background and two print. Place the squares like this:

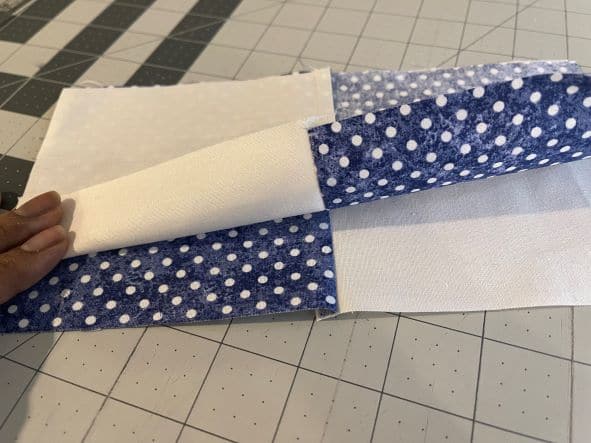
Sew the blocks together to form a 4 patch. First, sew top two squares together, matching right sides. Repeat with the bottom two squares. Open and press to the dark side.
Place your top and bottom rows together, matching right sides, so like colors are diagonal from each other. Make sure seams to nest your seams and sew together. Open and press to one side.
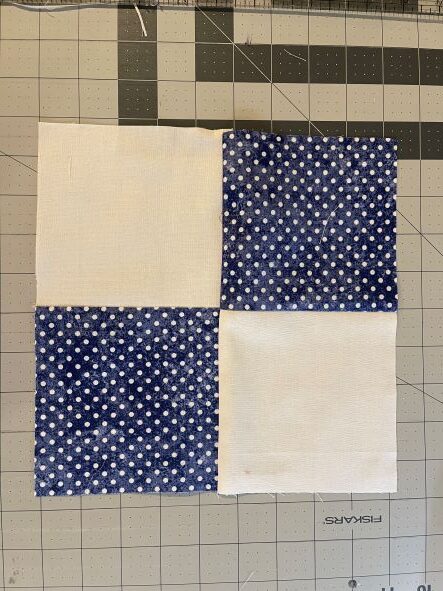
Now you’ve got yourself a 4 patch! But we are not stopping here.
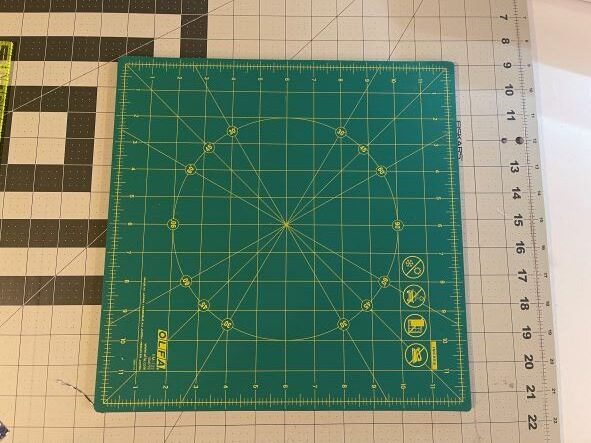
Now we’re going to cut this block apart. If you’ve got a rotating cutting mat, this will make things easier, but not required. I’m using my 12″ Olfa rotating matt. I love this thing. There is a separate base that allows you to rotate the green mat independently.
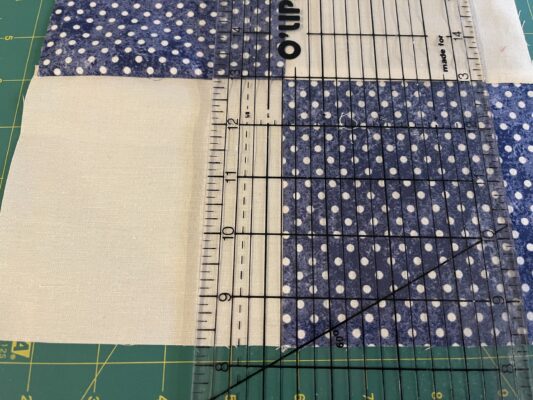
Now grab that ruler. Place your ruler on your block. Match up the the 1 1/4″ line on your ruler with the center seam. (I’m left handed, but if you’re right handed, your ruler will be facing the opposite direction.) Once everything is lined up, cut along the ruler’s edge. We will do this on all 4 sides.
It will look like this. Do not move your fabric pieces.
Rotate your cutting mat 45 degrees to the left, keeping your block pieces in the same position. Place the 1 1/4″ line of your ruler on the center seam again, and cut. Repeat for remaining sides. Turn 45 degrees to left and cut.
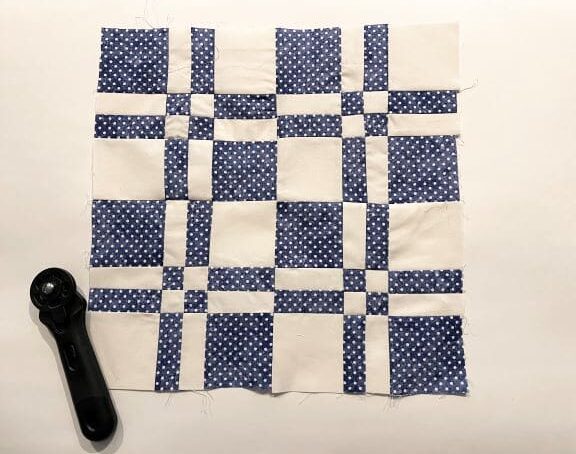
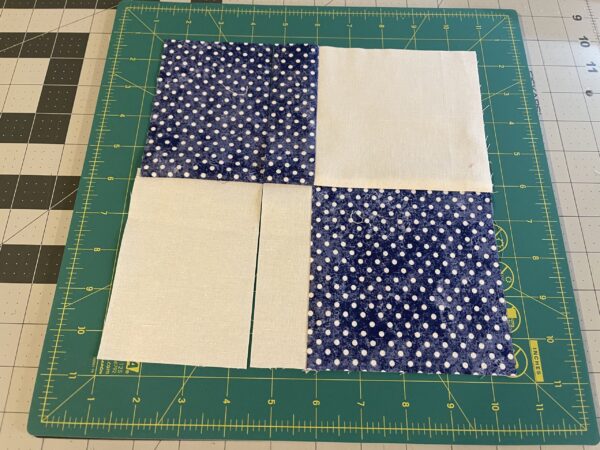
Your final cut block will look like this.
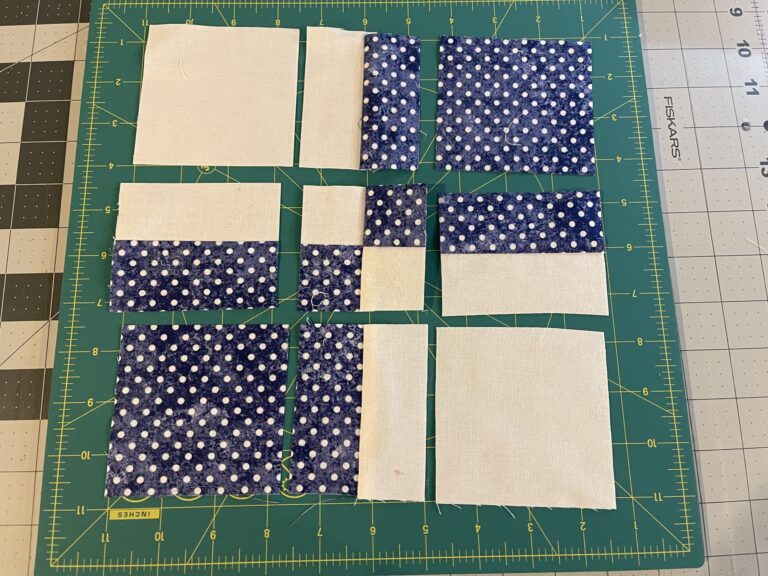
Now we’re going to mix it up a little. Don’t worry, it’s easy. Take the upper left background square and swap places with the upper right print square.. Repeat for bottom. Have the background and print squares swap places.
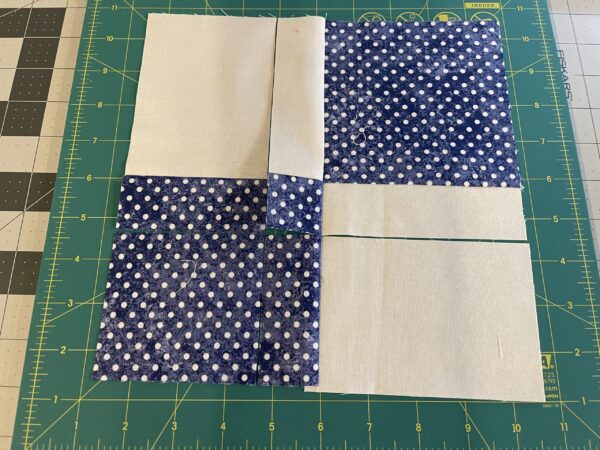
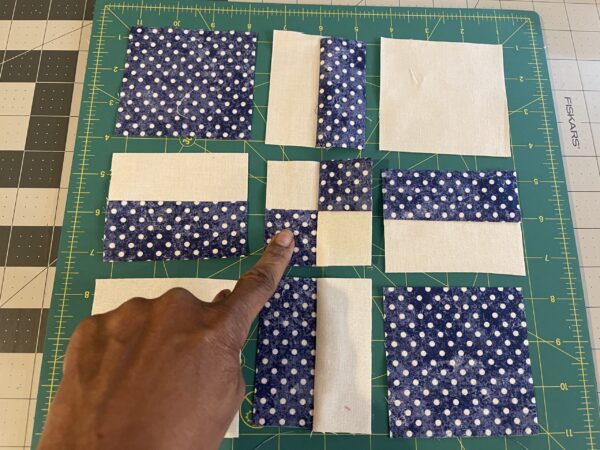
Next we take the little 4 patch in the center, and rotate it a quarter turn.
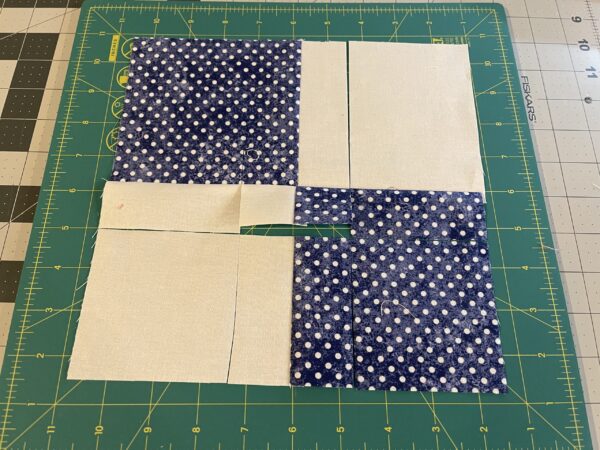
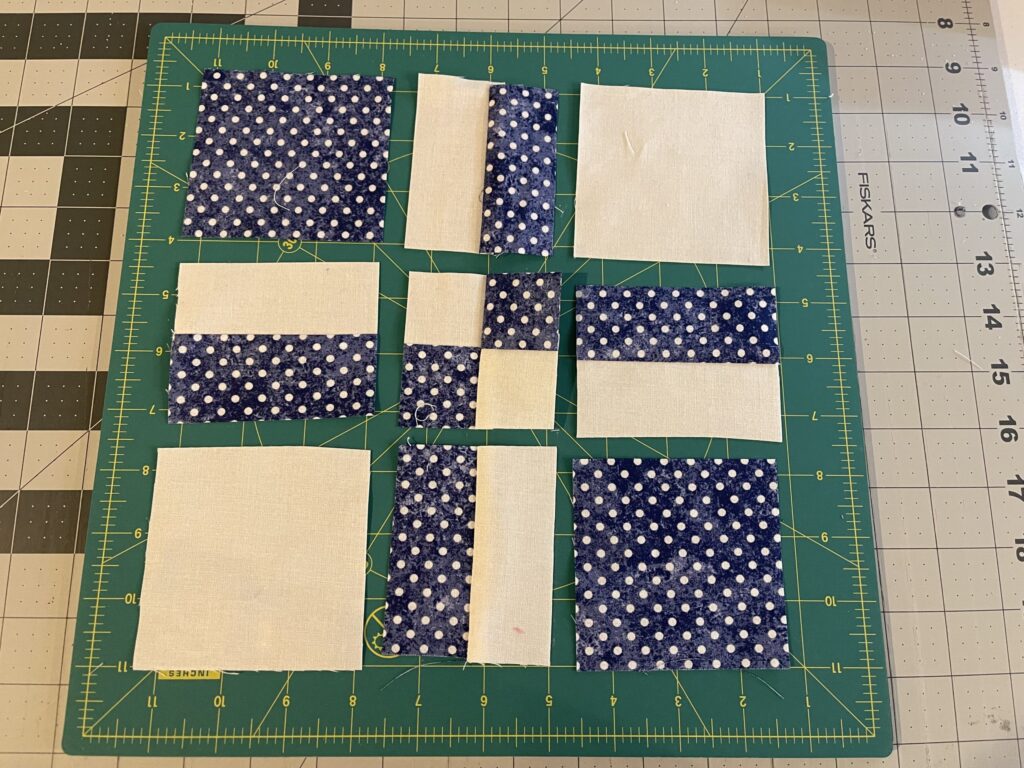
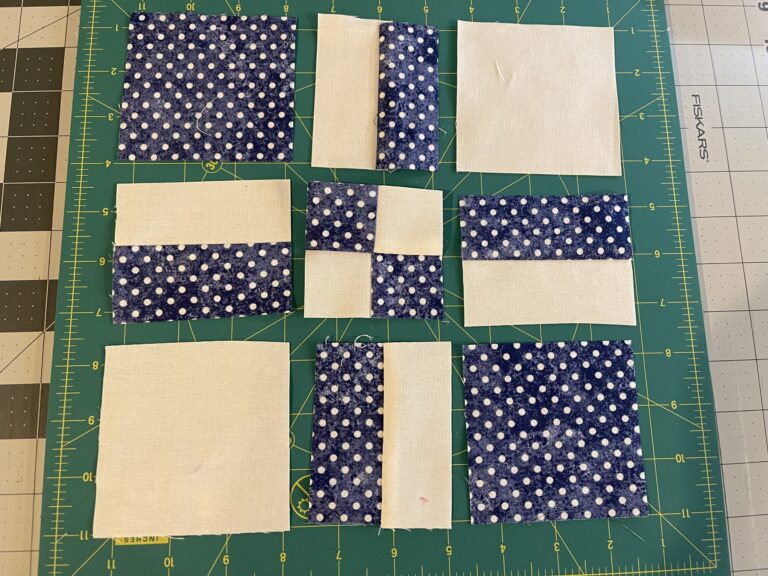
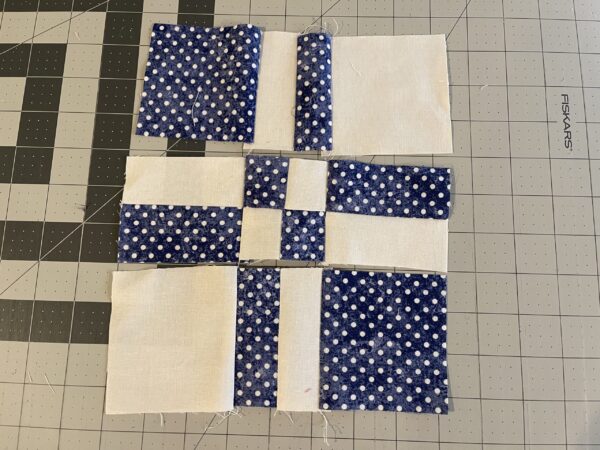
Now your block looks like this. You will notice that the prints are all in a diagonal line, same with the background. Do not move any of the remaining pieces.
From here, we just have to sew it back together. Start by sewing your pieces together in rows. — top, middle and bottom. Press rows in opposite directions.
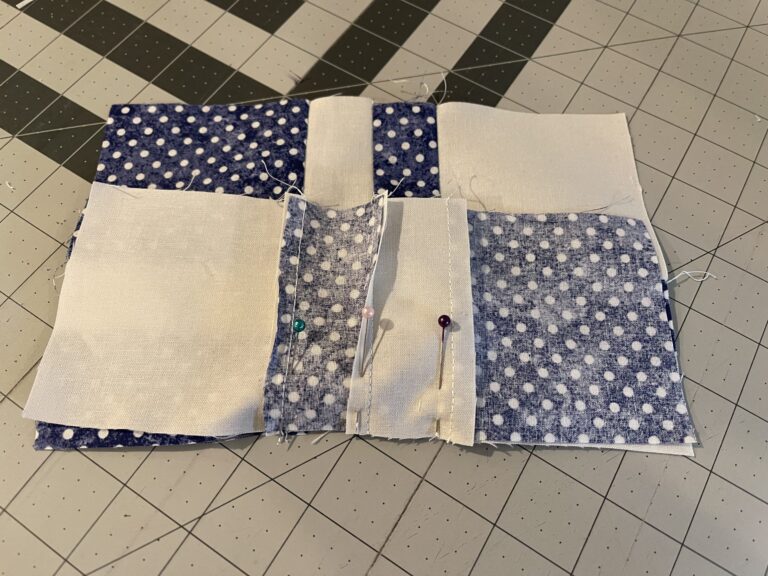
Sew rows together one at a time. I like to pin the point where my seams nest to make sure they match.
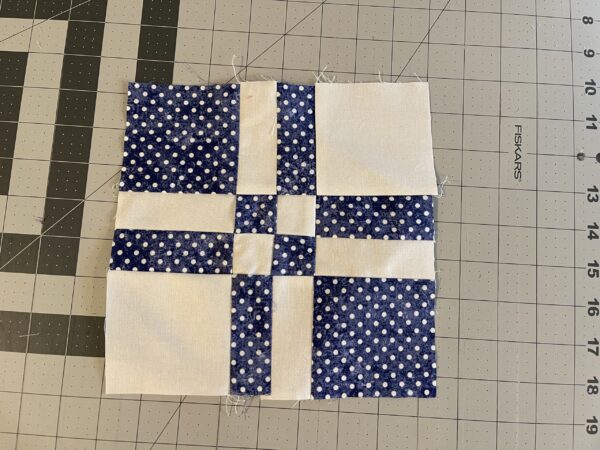
Open your block and press. You are all done!
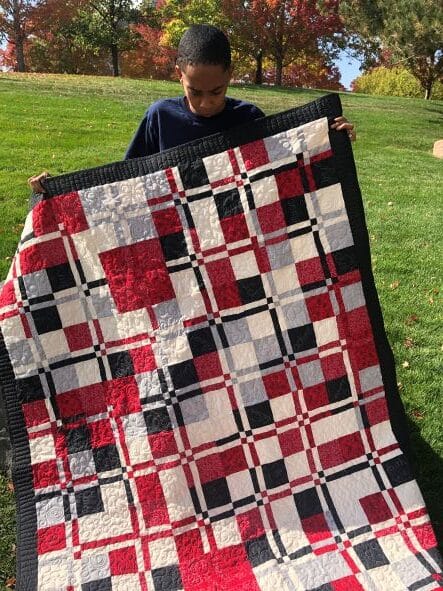
Here’s a photo of what it look like if you sew four disappearing 4-patch blocks together. To the right is a scrappy version I made for my daughter. So many variations can be achieved depending on the colors your choose.