Do you have a quilt pattern that calls for a lot of flying geese? Using this 4 at a time method, you can make lots of flying geese in a short amount of time.
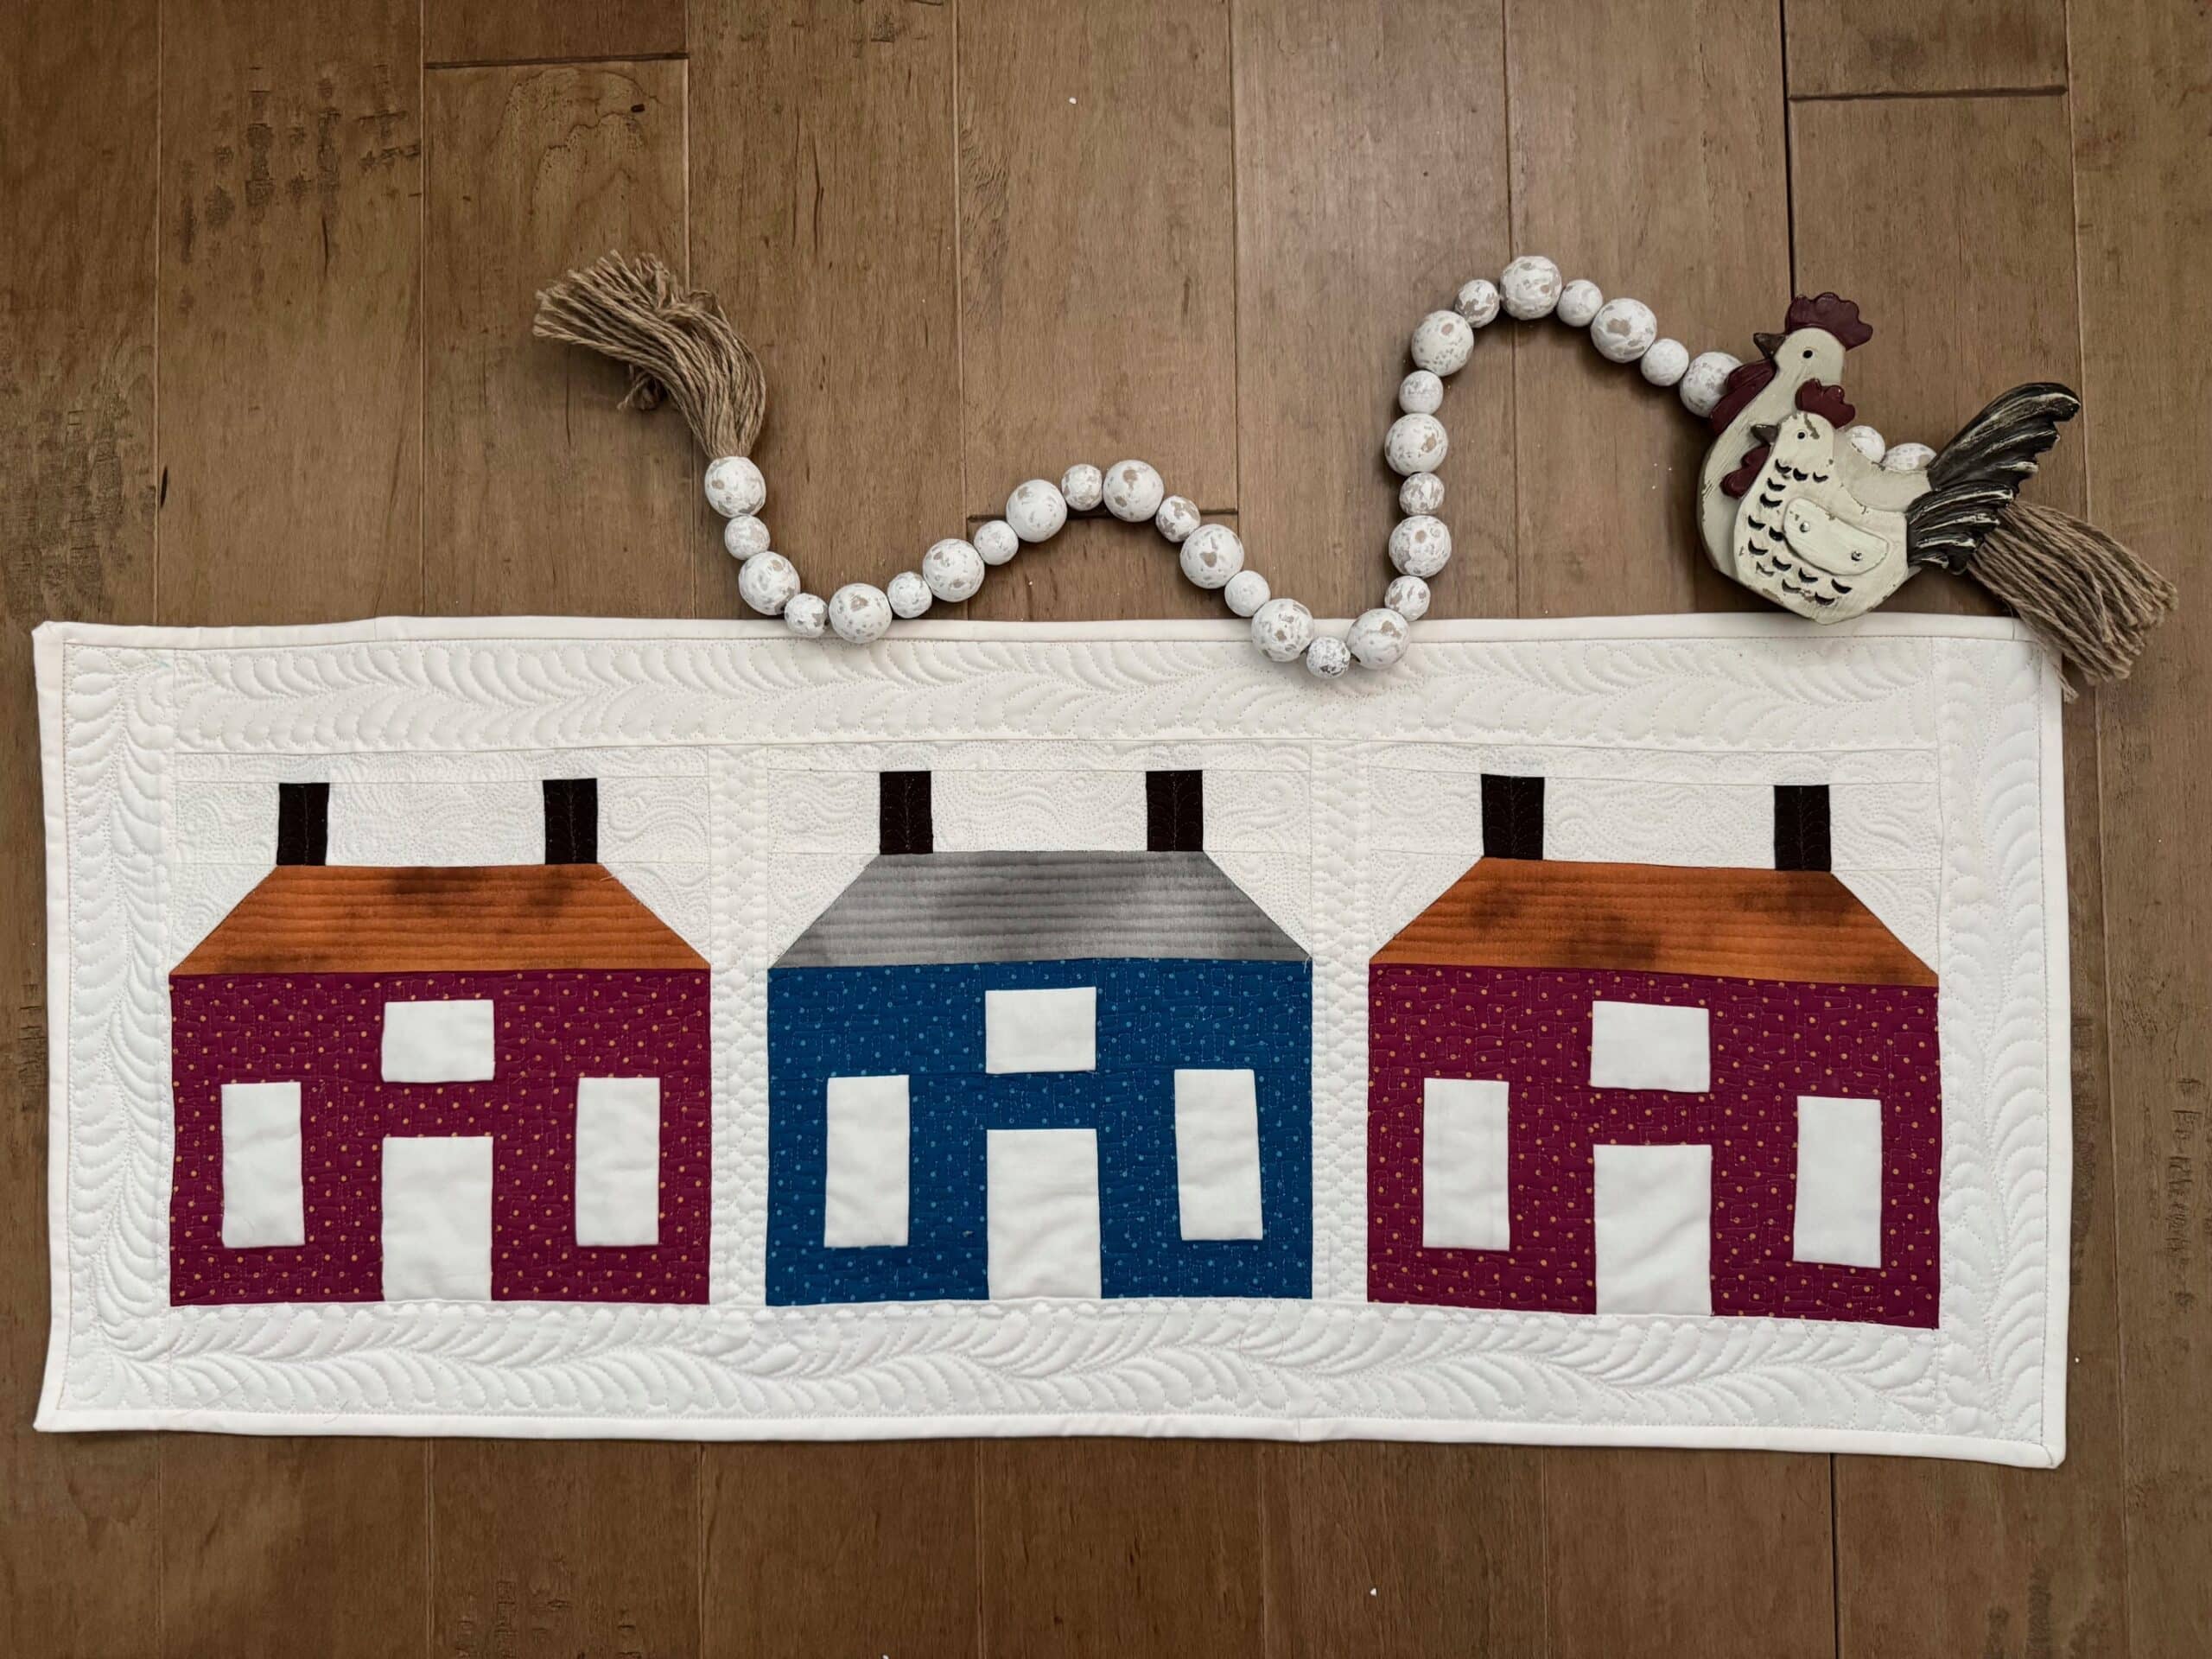
Long ago, quilters often named blocks after things seen around them and in nature. Flying gees were named after the formation of geese flying in the sky. In a flying geese block, the large inside triangle represents the geese, and the two outer triangles, usually the background color, represents the sky.
There are many, many quilts that utilize flying geese. You can make flying geese by sewing two half square triangles together, or you can make 4 at a time by following the instructions in this tutorial. Use this chart to help determine that size blocks you’d like to make.
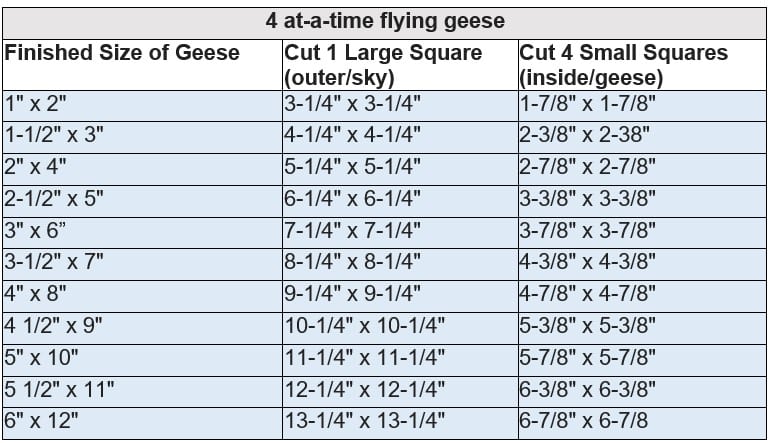
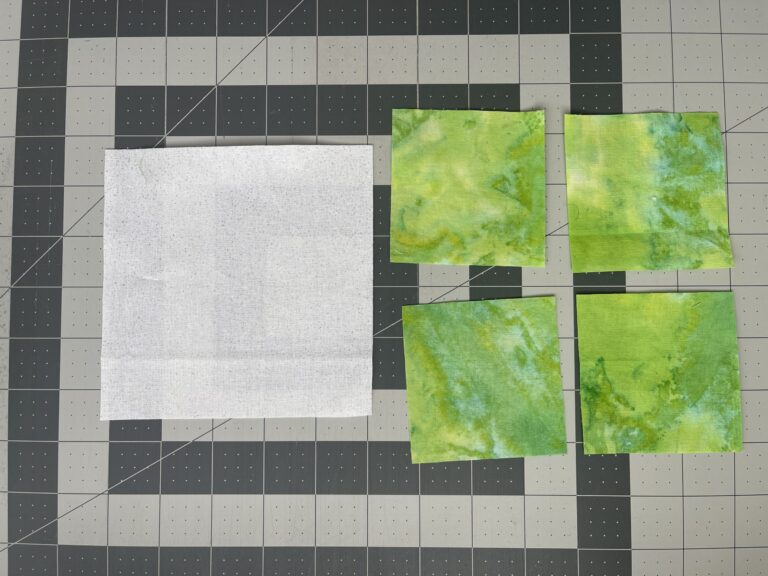
For this example, I cut my blocks the size needed for a 2″ x 4″ finished geese. To start, i have one large square (5 1/4″ x 5 1/4″) and four small squares (2 7/8″ x 2 7/8″).
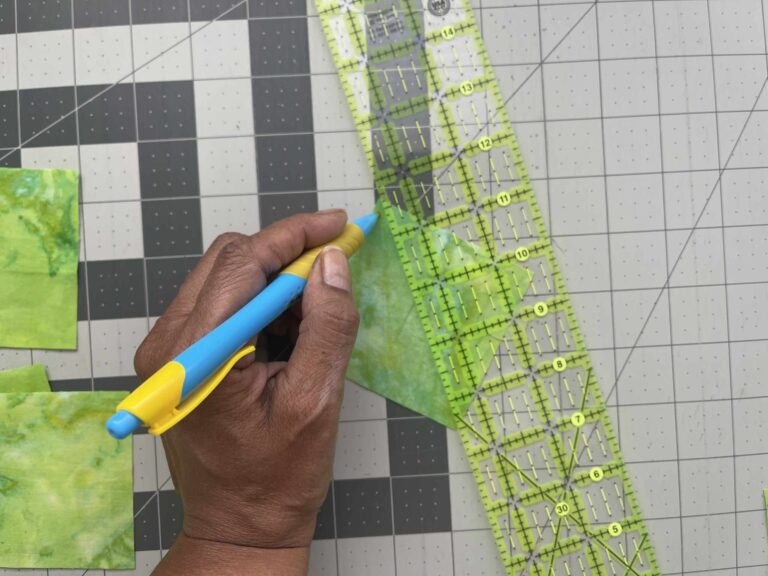
Draw a diagonal line on the back of the four small squares.
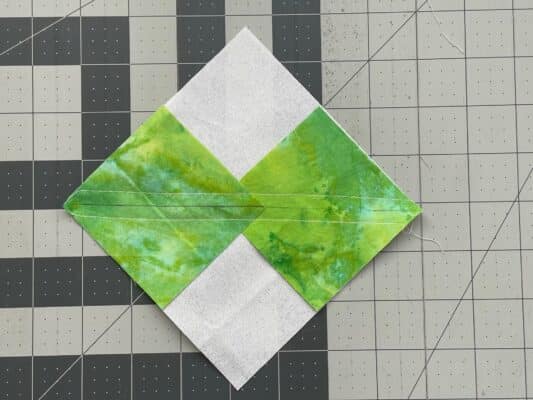
Place the two small squares on opposite corners of the large square, right sides together. Your small squares will overlap, and your drawn lines will match up. Pin blocks in place.

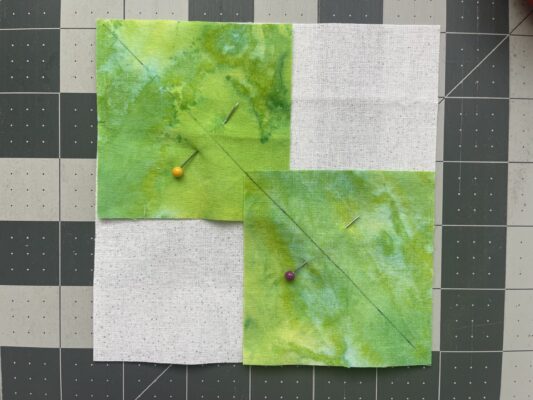
Stitch 1/4″ from both sides of the drawn line.
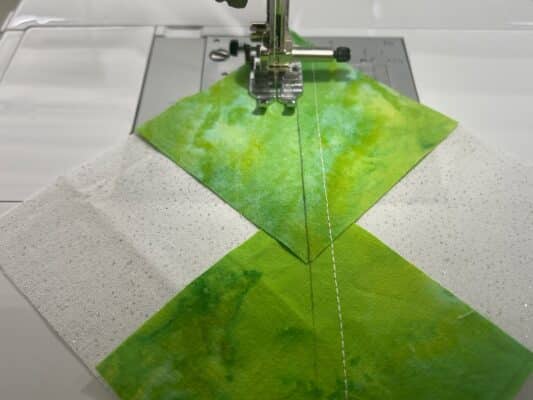
Cut on the drawn line, and you will have two units that look like this.

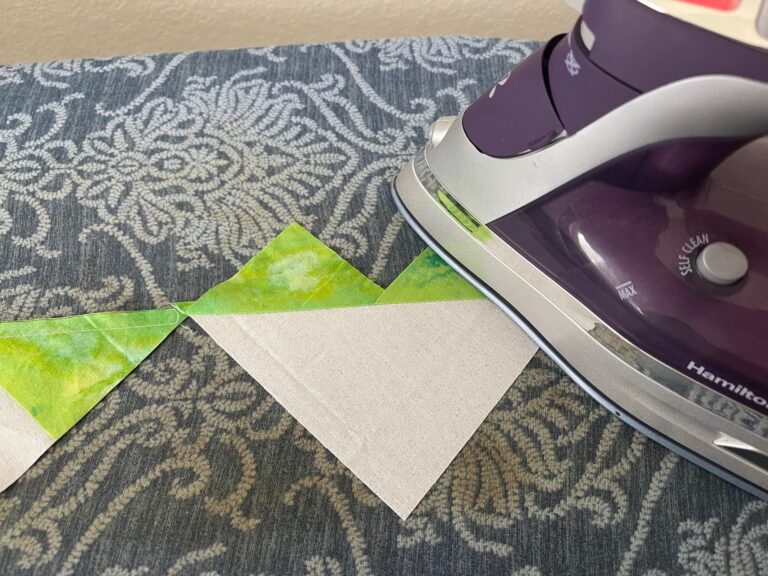
Open and press the seams toward the “geese” fabric. In this case the press toward green.
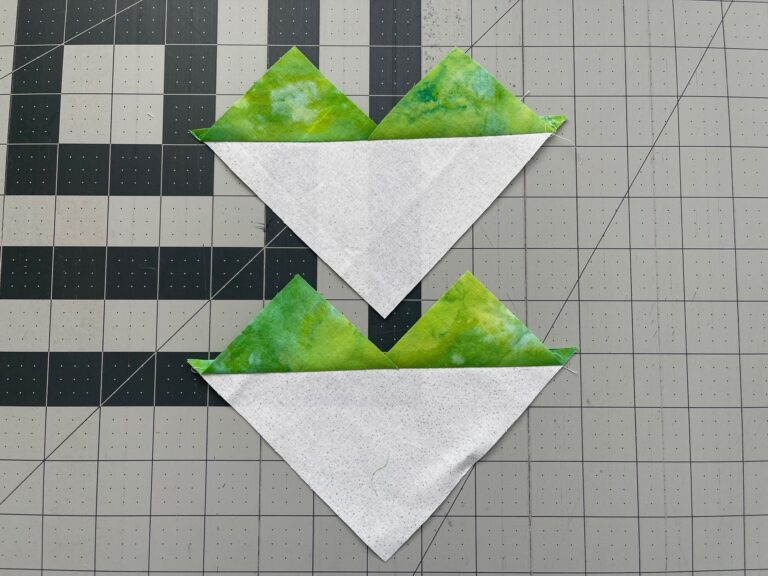
Now you have this two weird looking heart shaped blocks. But don’t fret, this is exactly how they are supposed to look.
Take the remaining two small squares and place one on each (sky) background. Matching right sides, so the drawn line meets the corner,

Sew 1/4″ from both sides of the drawn line. Cut on the drawn line.
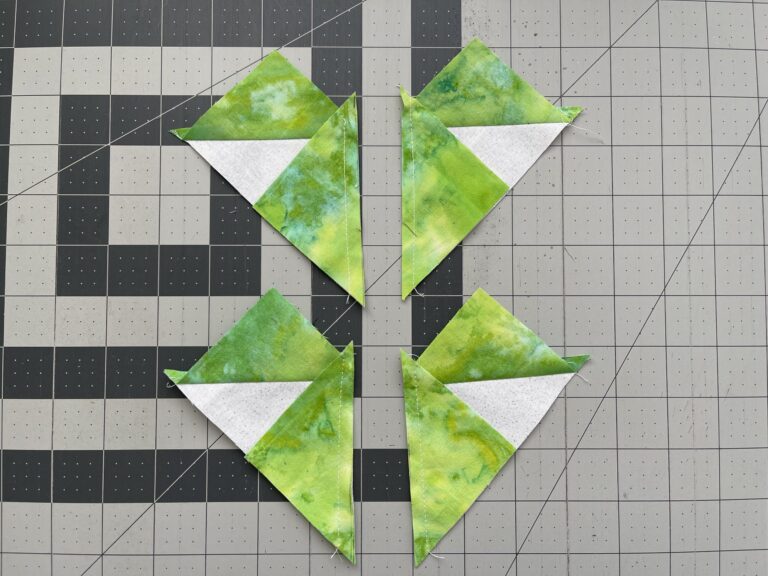
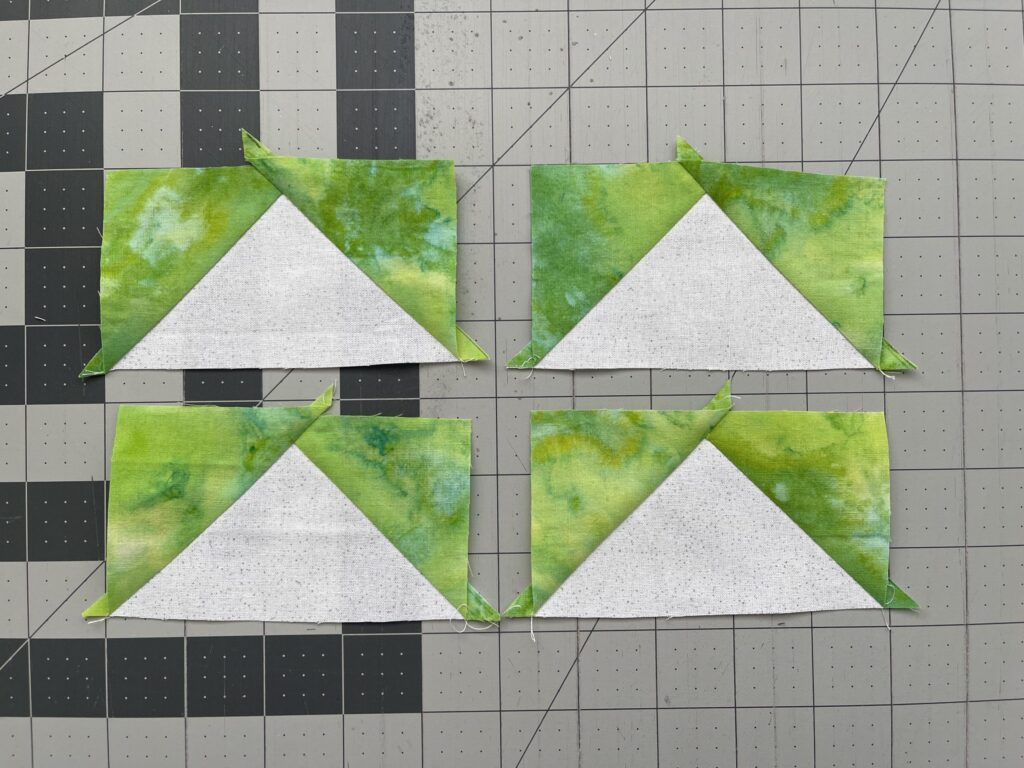
You can now see the flying gees begin to form at this stage. Open and press seam toward geese (green).

And there you have it – 4 at a time flying geese.

Follow the chart at the top of this post to make your desired size flying geese.