There’s nothing I love more than turning a of colorful fabric into something functional and beautiful—and this quilted pillowcase project is the perfect example. Sometimes you don’t want to make a full quilt, rather you want something quick and satisfying. This quilted pillowcase is just that, and the pattern is totally FREE as part of my collaboration with Baby Lock Sewing!
For this pillow, I used a rainbow of prints from a charm pack called Pop Sugar. This was actually part of the giveaway bags QuiltCon gave out earlier this year, so now is the time to use them. I also opted for a light background fabric to make the prints stand out.


You can also use yardage, and those requirements can be found in the downloadable pattern here.
Let’s start stitching on the Baby Lock Lyric.

There are several ways to make flying geese blocks. For this project, I decided to make my flying geese blocks from half square triangles. I used the 4-at-a-time half square triangle (HST) method. Follow these simple instructions:
Pair together one 5” color square and one 5” background square. Stitch ¼” around all four sides. I’m using my 1/4″ foot because it helps keep my seams consistent size.

Using a ruler and rotary cutter, cut diagonally from corner to corner making an X. There are now 4 HSTs.


Open and press toward the dark side. Trim according to pattern instructions.

NOTE: The HSTs are cut on the bias edge. Be careful when stitching that you do not stretch the fabric as you sew.
From this point, sew two HSTs together to form a flying geese block. I opted to sew my HSTs in matching color pairs. However, if you want a more scrappy pillowcase, mix and match your HSTs as desired to form your flying geese blocks.


This is a great opportunity for some chain piecing. Take all your blocks to the machine and have them ready next to you. Chain piecing is a method of stitching your blocks together without breaking the thread. Stitch one block and before it is completely through the needle, put in the another one up against it so your feed dogs grab the next one. I do this with every quilt I make. It helps make your stitching go faster.


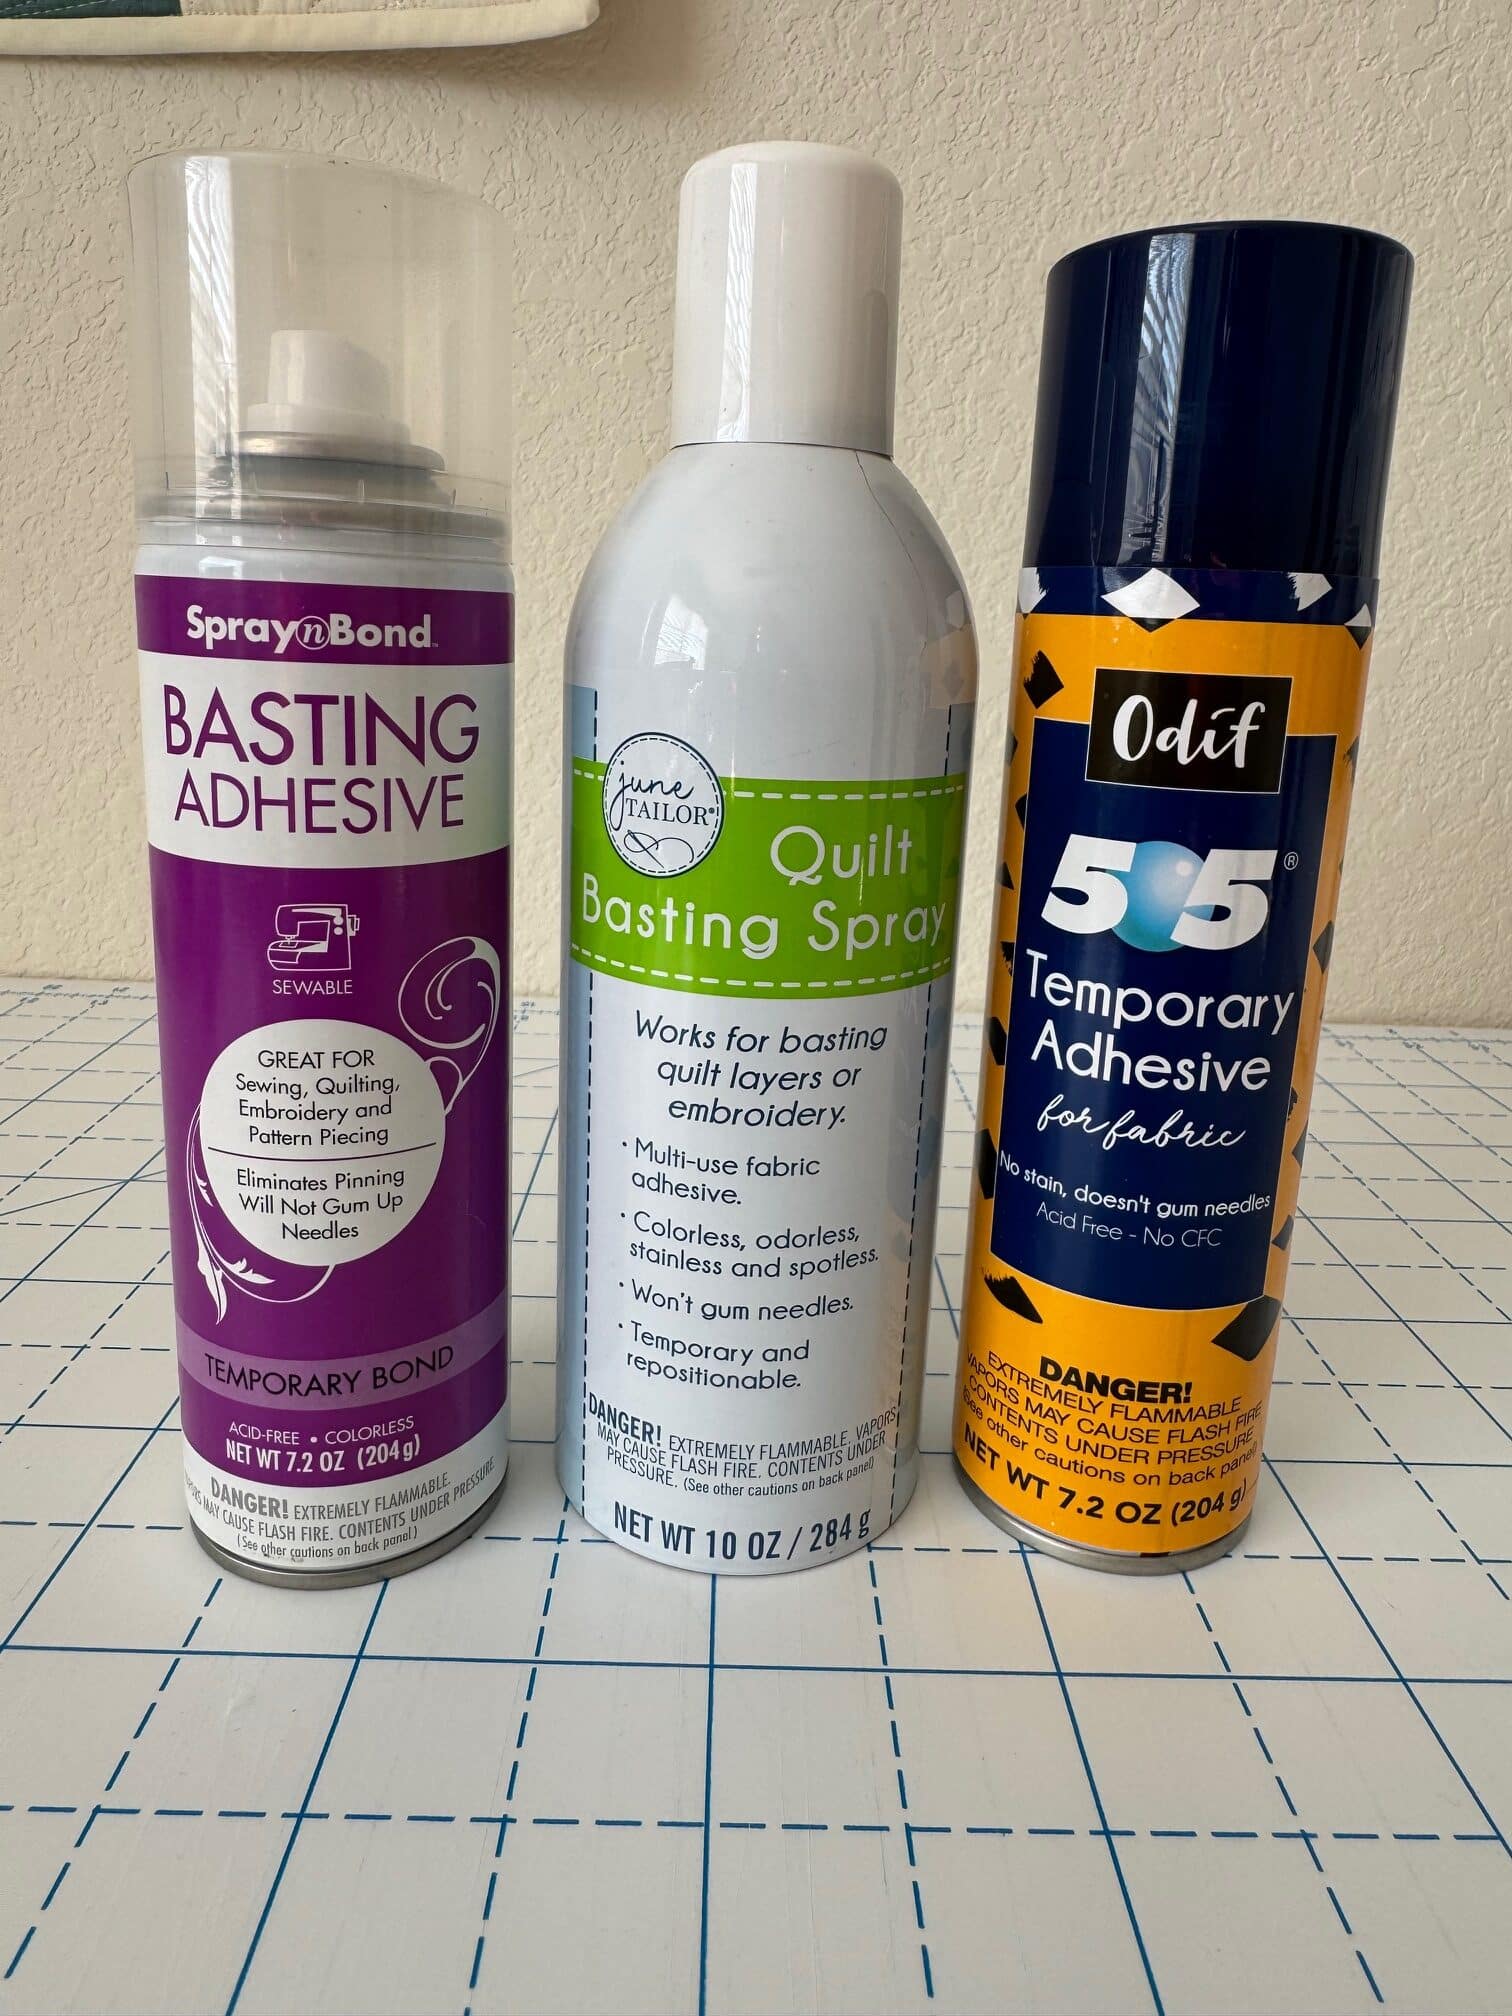
Once you’ve made your flying geese blocks, all that’s left is to sew them into rows, then sew the rows together. To prepare your finished top for quilting, layer your backing, batting, and pillow top together. I used a little spray baste to hold my layers together. You can certainly pin baste if you prefer.

Deciding on a quilting pattern can be paralyzing. Practice drawing some designs on a sheet of paper before moving onto your quilt. Quilting a small project is a great time to practice some custom quilting, or experiment with bold thread choices.
Since this is a small piece, I used my Baby Lock Regent for the free motion quilting. The Regent has an 18″ throat space and there’s plenty of room to maneuver this project under the needle. Check out Baby Lock longarm machines HERE.

I chose to quilt gentle curved arcs and feathers inside each Flying Goose. It’s just the right amount of free motion quilting and not overwhelming.

Looking at the back of the quilt can be just as satisfying as looking at the front. Here’s some quilty eye candy.

Assembling the Pillowcase
Once the top is done, all you need to do is sew the pillow back fabric onto the top on three sides. Leaving one edge open to insert your pillow.
Here’s the final project.

Grab your free pillowcase pattern HERE. If you make one of your own, I’d love to see it! Tag me on Instagram @marygoroundquilts so I can show off your work!
Looking for more inspiration? You can find loads of free projects using Baby Lock sewing, quilting and embroidery machines by clicking HERE.
Happy quilting!
Mary Davis