Nothing says handmade holiday cheer like a custom pillow. Today I’m sharing how I
used my Cricut Maker 3 to create applique shapes to form the design of an adorable
Merry & Bright pillow.

Cricut Maker
Cutting Mat
Rotary cutting blade
Pillow Fabric: (3) 15” squares (1 for pillow top, 2 for envelope back)
(1) 15″ fabric square for quilt backing
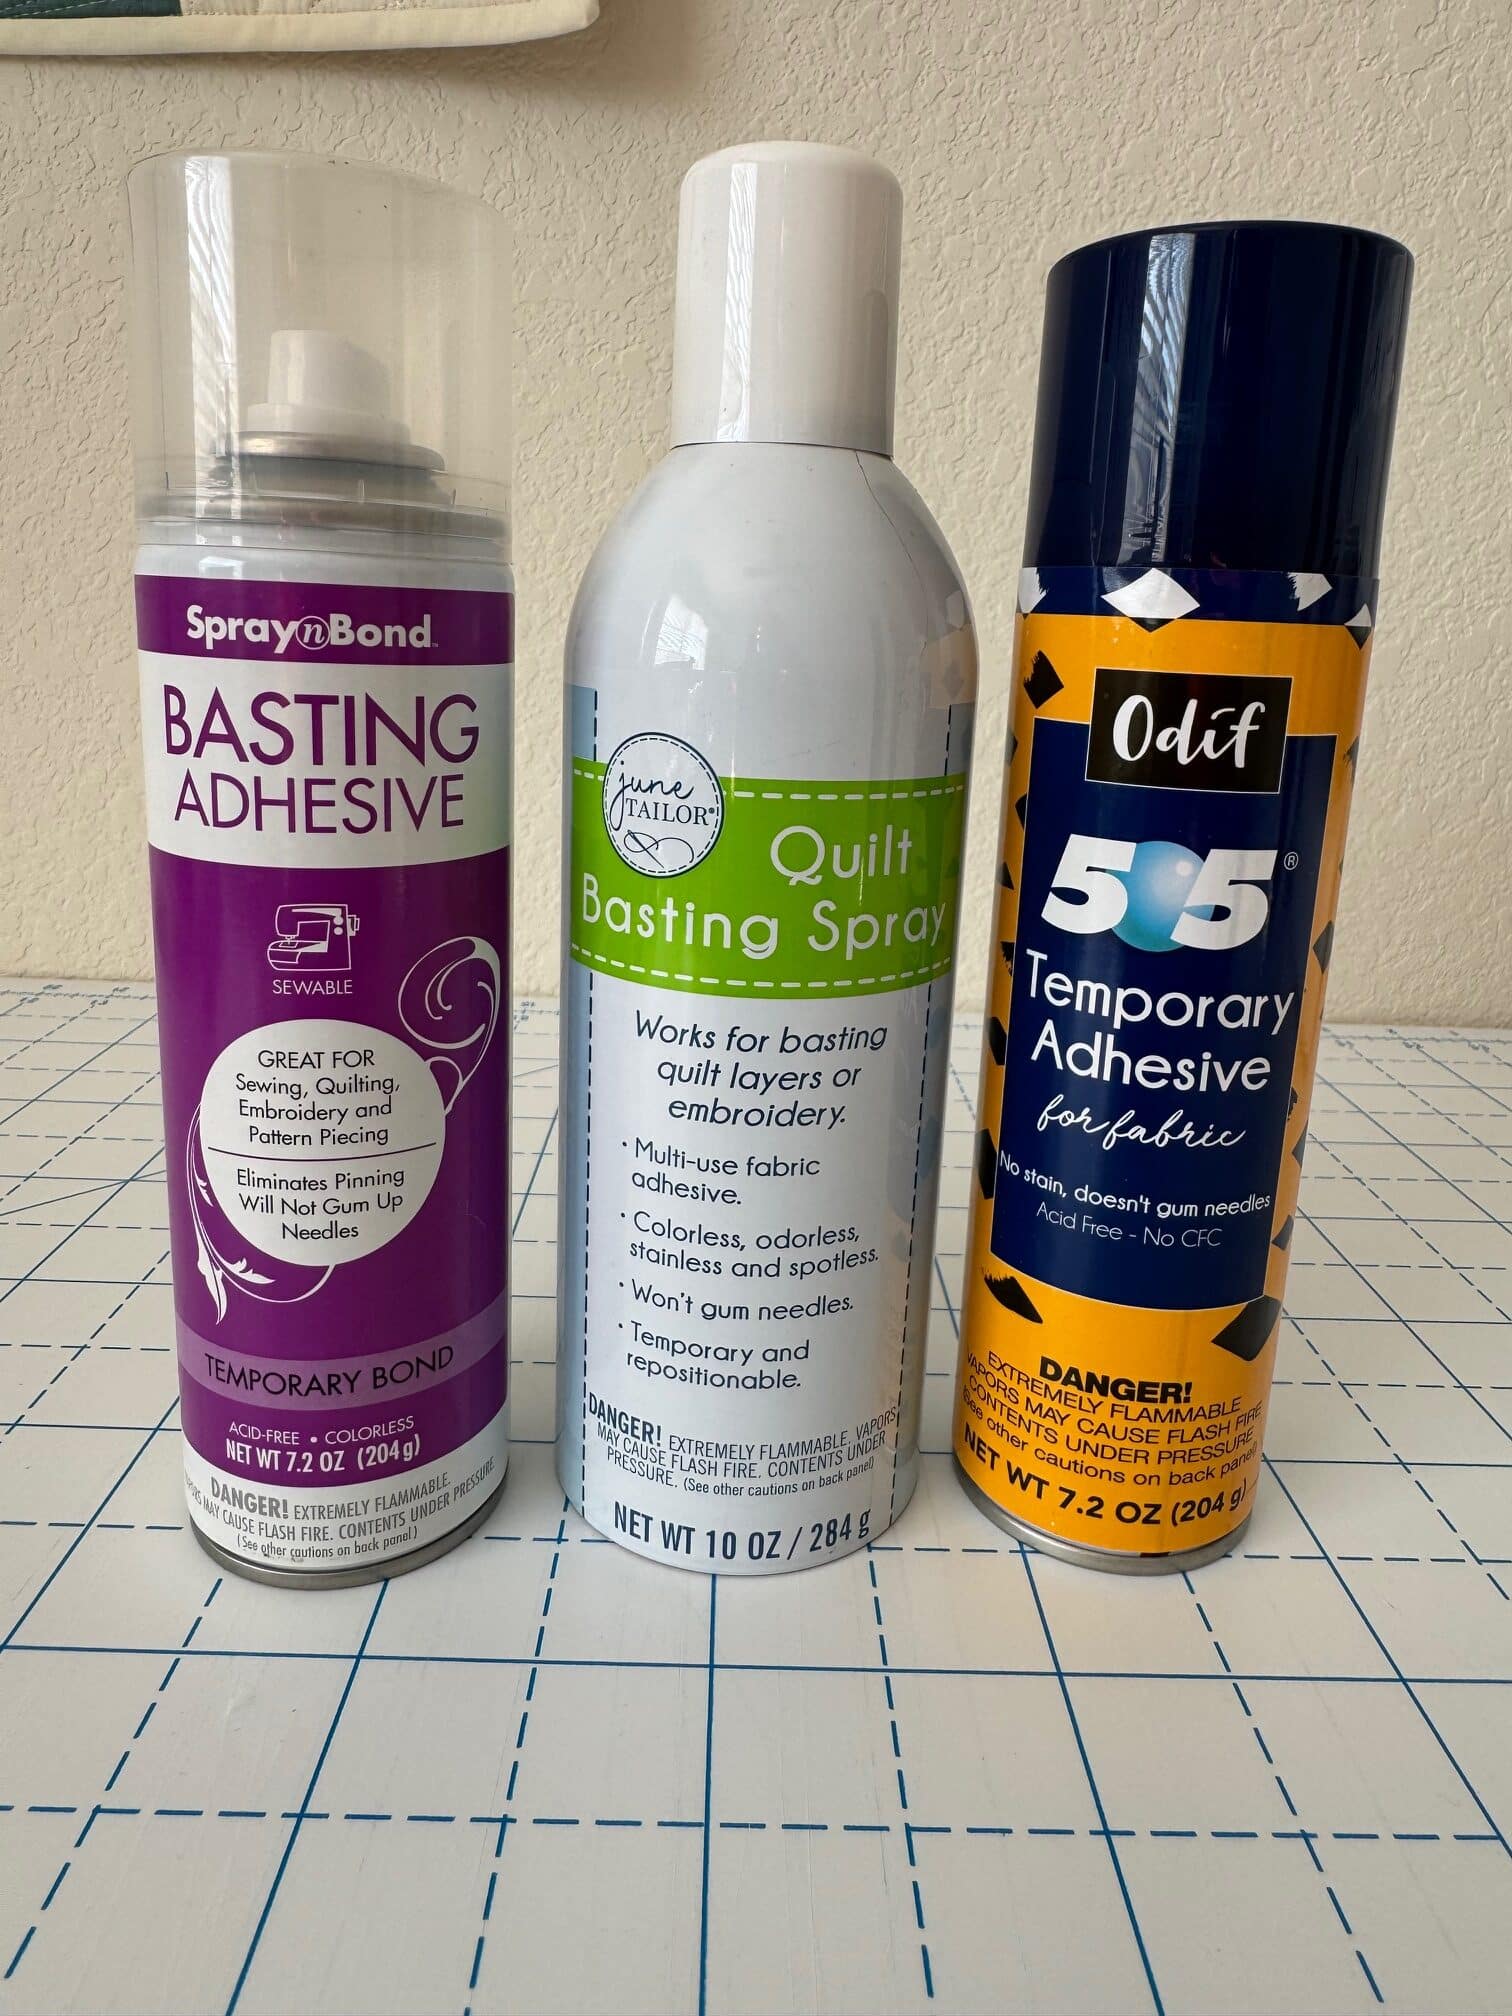
Double sided fusible web (I used Steam A Seam)
14” Pillow Form
Fabric scraps for applique shapes

____________________________
Before I could make anything, I had to decide on a design. I opened up Cricut Design Space and did a search for Merry & Bright. I knew those were the words I wanted to use on my pillow. I found a project with the perfect letters. Then I just needed to find some Christmas trees and stars.


Time to prep my fabrics for cutting. To begin, cut a piece of fusible web in the desired size for your applique fabric. Since I’m using a 12″ cutting mat for my Cricut, I cut my fabric the same size. The Steam a Seam I used, has paper on both sides. Peel the paper from one side of the fusible. Place the sticky side down onto wrong side of fabric.

Iron the fusible in place according to manufacturer directions. Make sure you are ironing on top of the paper side. The sticky side will adhere to your fabric.

To cut fabric on the Cricut, you need a special rotary blade. It works just like a rotary
cutter, slicing your fabric with ease.


Now, on my first attempt, I left the paper on the wrong side and placed the paper side down, on the cutting mat. Once I ran it through the Cricut, it did peel a few of my letters off while cutting. Next attempt, I ironed the fusible on better, and it did not peel off during cutting (even with the fusible paper still on). I also did a trial piece where I removed the paper backing from the fusible — placing the exposed sticky side of the fusible directly onto the cutting mat. That worked like a dream also. I had no problems with peeling at all. So, note to self, make sure to iron fusible on thoroughly!


Check out how clean these cuts are when using the Cricut rotary blade

All that remains is to peel back the fabric to reveal my shapes. They were stuck on pretty good, so I used the Cricut tool to peel them off of the mat. Easy peasy.


Now that all the pieces are cut, it’s time to arrange them on my fabric and press into place.

You know what comes next, right? My favorite part of the quilting process. The free motion quilting! I layered my batting and backing and quilted a simple loop design. I was going to use silver metallic thread, but something was holding me back — since there was already glitter in the fabric, I decided it would be too much.
Note: If you don’t want your pillow top quilted, you can skip this part.

To assemble your pillow envelope back. Take one fabric back square, wrong side facing up. Fold in one raw edge about 1/2″ and press. Then fold in another 2 inches onto itself (hiding the raw edge) and press again. Top stitch in place.


Lay pillow top right side up. Fold the remaining fabric square in half, wrong sides together. Place folded square on one side of pillow top, matching raw edges.

Place the other fabric square with the finished edge on top of pillow, right sides facing. matching raw edges. Pin in place and stitch 1/4″ around the entire pillow. Trim all 4 corners diagonally.


Now pull the pillow right side out through the opening – poking out the corners with your finger.

Insert your pillow form and you’re all done!

I’m already thinking of other applique ideas for quilty projects using my Cricut Maker. If you love quilting and applique, the Cricut will save you some time not having to cut everything out with your scissors. Want a Cricut for yourself? Get your discount coupon HERE.
Happy quilting all!
Disclosure: This post contains third party affiliate links from a collaboration I took part in. All opinions are my own.
Mary Davis